
Step-by-step

Step 1
The edding 5300 fine acrylic markers come in a wide range of colours. To design and decorate the wooden slices in our example, we've used the colours in the edding Nature acrylic marker set (you can see them in the picture below). Our template includes motifs and wordings. Simply print out the ones you want to use.

Step 2
We recommend you first sketch out your design in pencil so that it’s easy to colour everything in. Before you start, you'll also need to activate your acrylic markers. To do this, shake the marker with the cap still on until you can hear the mixing ball start to rattle inside. Next, carefully press the nib down a few times until the ink fills the tip. Try out a few practice marks on a piece of scrap paper. For our design, we used sunny yellow for the word “hello”.

Step 3
We then combined hazel with anthracite to create a harmonious effect. We also added a few bright highlights in gold.

Step 4
Finally, we used pastel green to give the design a fresh feel.

Step 5
Here you can see all our wooden slices, now decorated to serve as a reminder of the key milestones in baby's first year.
Products and materials

Other materials
- Wooden slices
- Pencil
- Templates (optional)
Templates

Hello World
Additional images

Related ideas

Shelf decorated with love
Make children’s dreams come true

Create your own concrete look
Unique upcycled bedside table

Earth Day
A little better every day

Discover the joy of manga drawing
Create impressive manga characters with ease
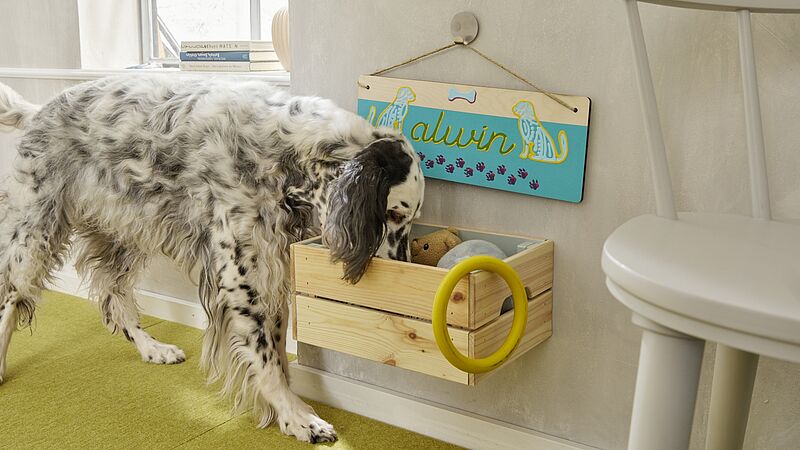
Name plaque for your best friend
DIY idea for dog lovers
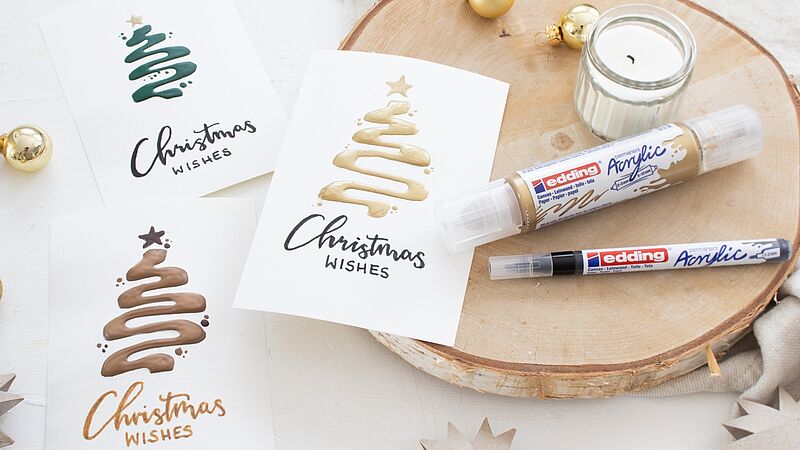
Easy-peasy season’s greetings
Creatively designed Christmas cards
Creative Newsletter
Subscribe to our newsletter, and we’ll send you inspirational and creative DIY ideas, along with details of our latest products and special offers.