
Step-by-step

Step 1
The edding 5100 medium set contains five delightfully elegant festive shades. Alternatively, you can choose your own favourite colours for the stars. Combine the dough ingredients well and knead thoroughly.

Step 2
Roll out the dough and cut out the stars, using a toothpick to make holes to enable you to hang the stars up. Leave the stars to dry out for around 4 days, turning them over after 2 days. Alternatively, you can also dry out the stars in the oven.

Step 3
Now it’s time to decorate the stars. Firstly, you’ll need to activate the acrylic marker as follows: shake the marker with the cap still on until you can clearly hear the mixing balls inside, then pump the marker up and down carefully until ink appears in the tip. Test on a piece of paper first. Decorate the stars in whatever way you wish: for example, you could colour in your star using just one shade, or cover half of it in gold, as you can see in our photo.

Step 4
Graphic patterns are also really striking, as we’ve demonstrated here by using berry and moss green as our chosen colours.
Products and materials

Other materials
- For the salt dough:
- 2 cups of flour
- 1 cup of salt
- 1 cup of water
- 1 tbsp. oil
- Baking paper
- Rolling pin
- Star-shaped cookie cutter
- Toothpick
- Cord
Additional images

Related ideas
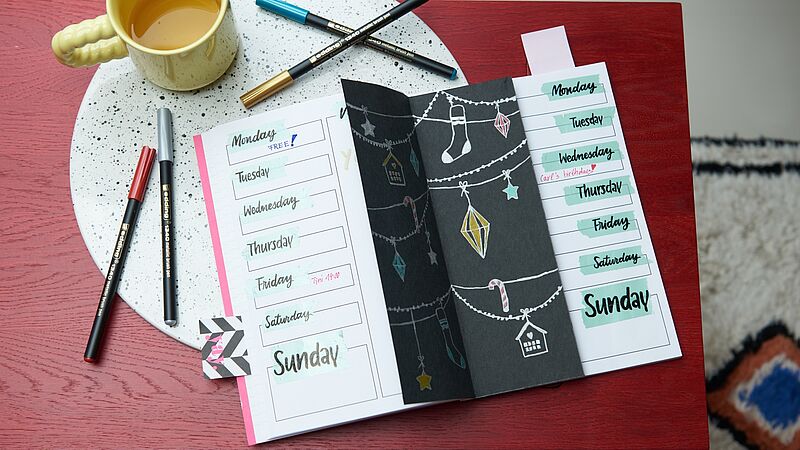
A festive look for your journal
Decorate your weekly planner with this stylish insert

Festive glass baubles
Hand-decorated baubles for the Christmas tree

Easy-peasy season’s greetings
Creatively designed Christmas cards

Individual gift jar
Small gifts, beautifully packaged

Design your own circle of light
Create a festive atmosphere

Christmas post with added sparkle
Eye-catching cards for your nearest and dearest
Creative Newsletter
Subscribe to our newsletter, and we’ll send you inspirational and creative DIY ideas, along with details of our latest products and special offers.