
Step-by-step

Step 1
The metallic colours of the edding 1340 metallic brush pen come in a handy set of six. Firstly, sketch out the wording on the envelope in pencil, as we’ve done here with the greeting “Merry Christmas”. For a particularly stylish look, create broad letters in a hand-lettered style. Use the brush pen to go over the letters.

Step 2
Handmade cards are also great for gift vouchers. Here, too, start by using the pencil to sketch out the motif before going over the hand in blue metallic.

Step 3
Now it’s time to “make a wish”, as the saying goes. When you’re writing, make sure that the loop of the “k” is attached to the finger. Use the silver-coloured brush pen to do this.

Step 4
The metallic ink of the brush pens also comes into its own on light-coloured paper. Likewise, sketch out the outline of the snowflakes or other elements of the picture first, before colouring them in with the brush pen, as shown here in red metallic.

Step 5
Now go over the outlines, before colouring in the snowflakes.

Step 6
Your Christmas card is now ready!
Products and materials


Other materials
- Coloured folding card and envelopes
- Pencil
Additional images


Related ideas
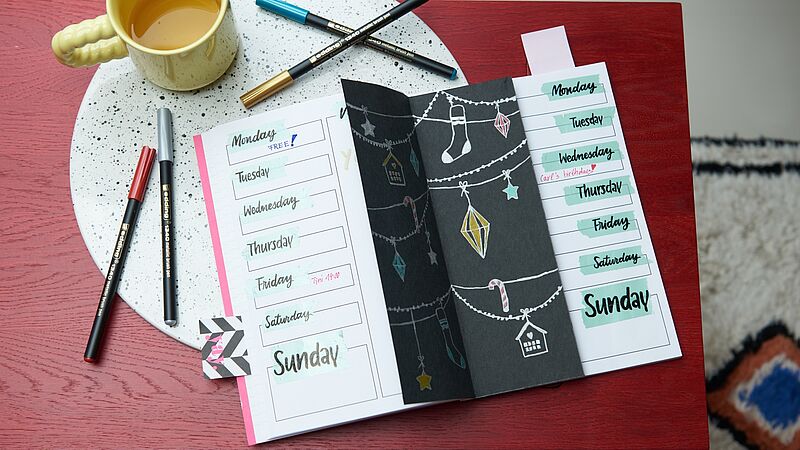
A festive look for your journal
Decorate your weekly planner with this stylish insert

Festive glass baubles
Hand-decorated baubles for the Christmas tree
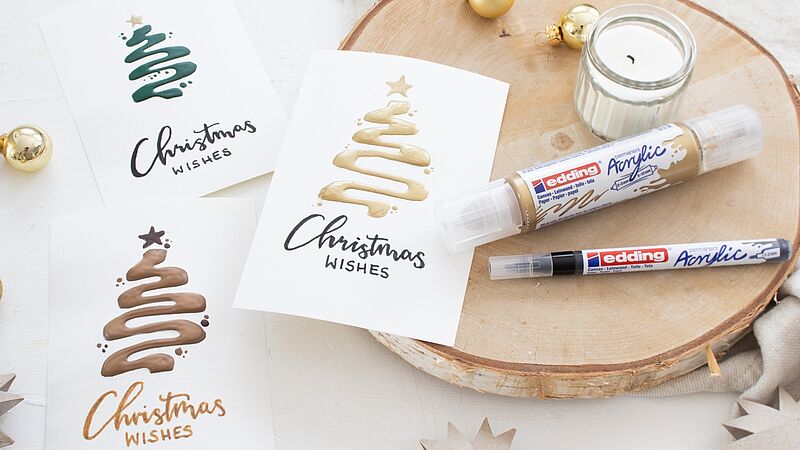
Easy-peasy season’s greetings
Creatively designed Christmas cards

Individual gift jar
Small gifts, beautifully packaged
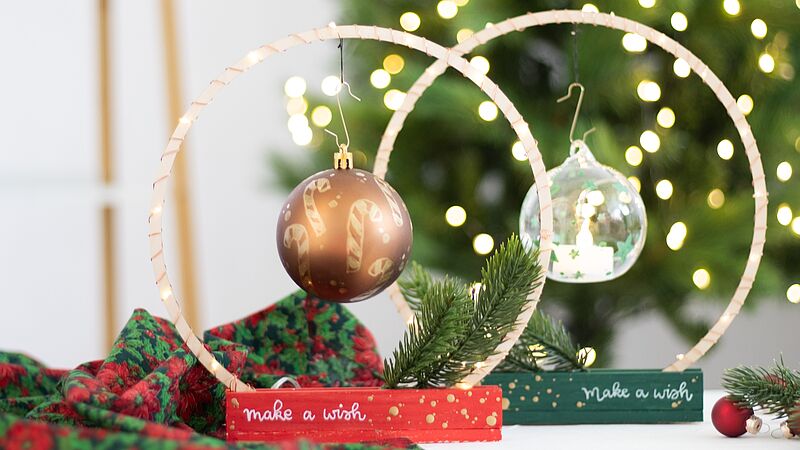
Design your own circle of light
Create a festive atmosphere
Atmospheric decorations for Advent
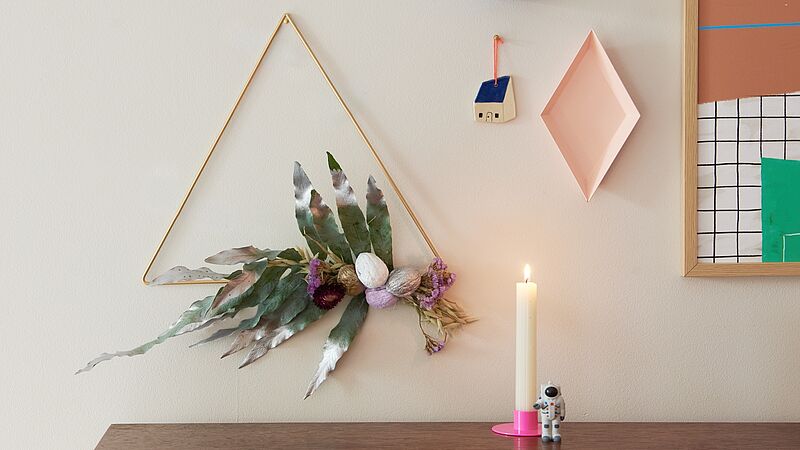
Designs using natural materials
Creative Newsletter
Subscribe to our newsletter, and we’ll send you inspirational and creative DIY ideas, along with details of our latest products and special offers.