
Step-by-step

Step 1
Pick your favourite colours – there are up to 26 to choose from, including glossy metallic shades. If you prefer, you can first sketch the outline of the Christmas tree using a pencil. The flexible tube contains acrylic paste and has two different nozzles. For the Christmas trees, open the wide end and draw a zig-zag pattern in the shape of a Christmas tree on the card.

Step 2
Let the acrylic paste dry thoroughly before using the fine acrylic marker in black or another suitable colour to add your Christmas greetings. Using the narrow end of the 3D double liner, it’s really easy to create effective drip patterns that look like a shiny pearl necklace. These can be seen here on the card with the wreath.
Products and materials


Other materials
- Pencil
- Blank cards
Related ideas
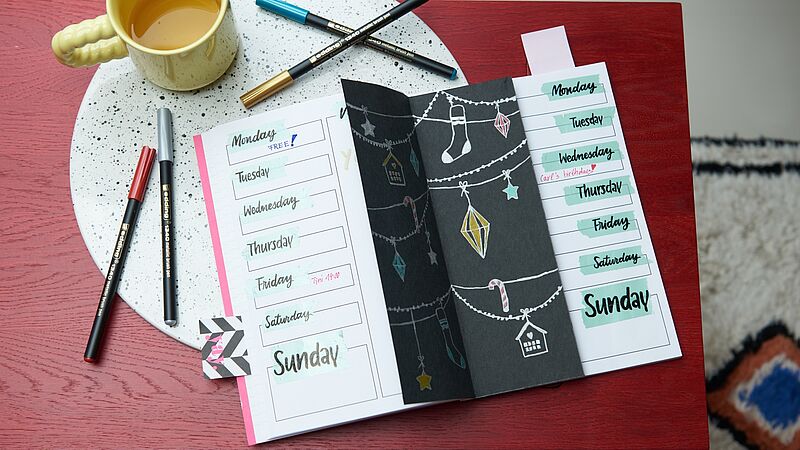
A festive look for your journal
Decorate your weekly planner with this stylish insert

Festive glass baubles
Hand-decorated baubles for the Christmas tree

Individual gift jar
Small gifts, beautifully packaged

Design your own circle of light
Create a festive atmosphere
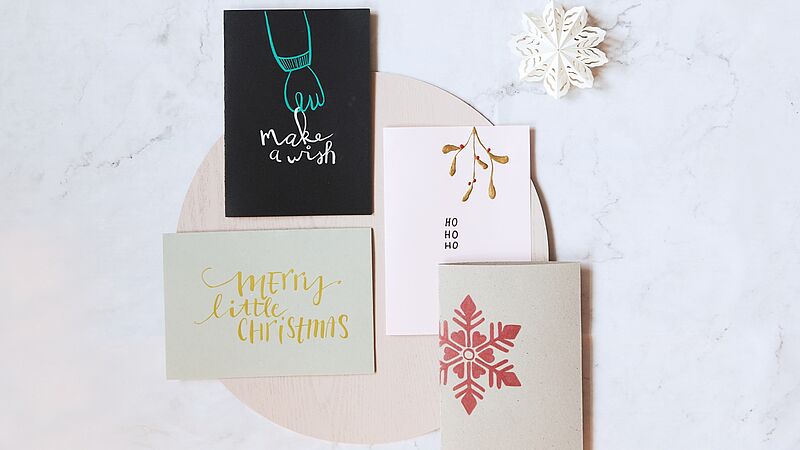
Christmas post with added sparkle
Eye-catching cards for your nearest and dearest
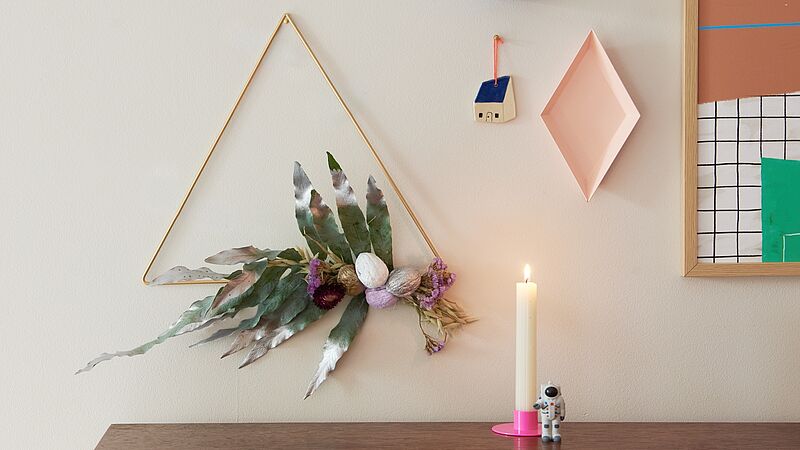
Atmospheric decorations for Advent
Designs using natural materials
Creative Newsletter
Subscribe to our newsletter, and we’ll send you inspirational and creative DIY ideas, along with details of our latest products and special offers.