
Step-by-step
Step 1
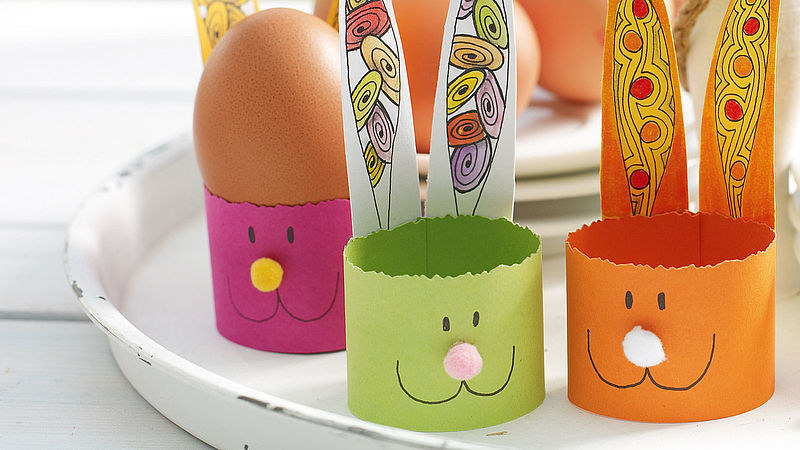
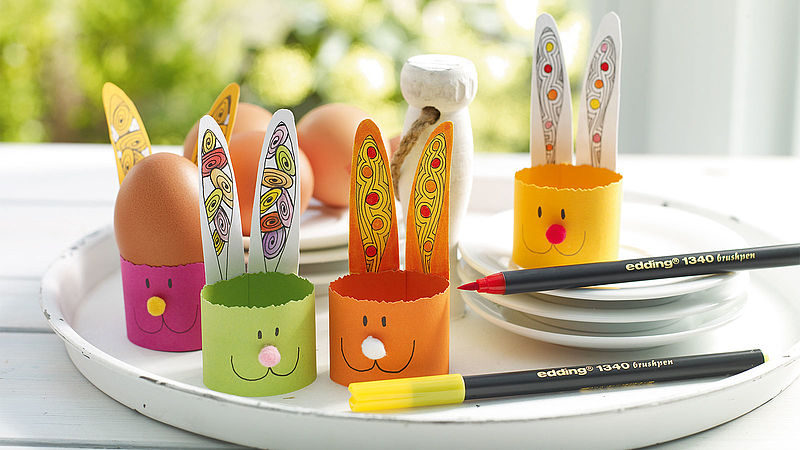
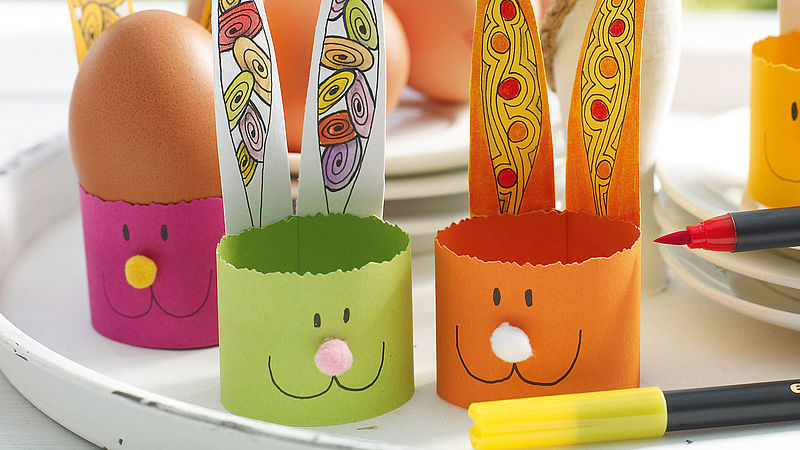
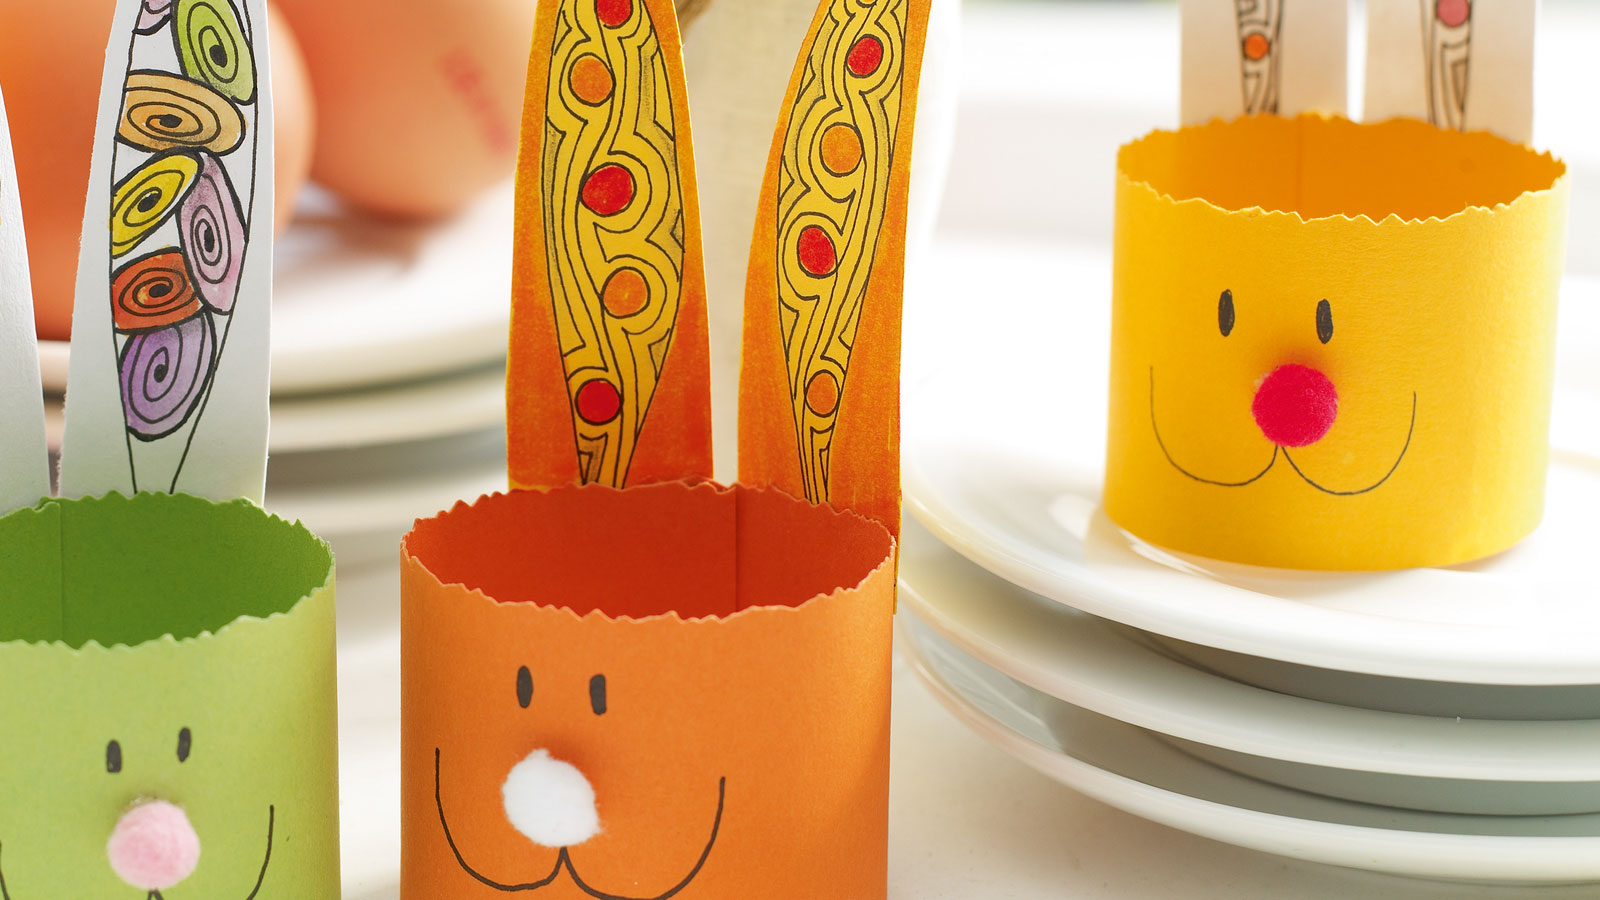
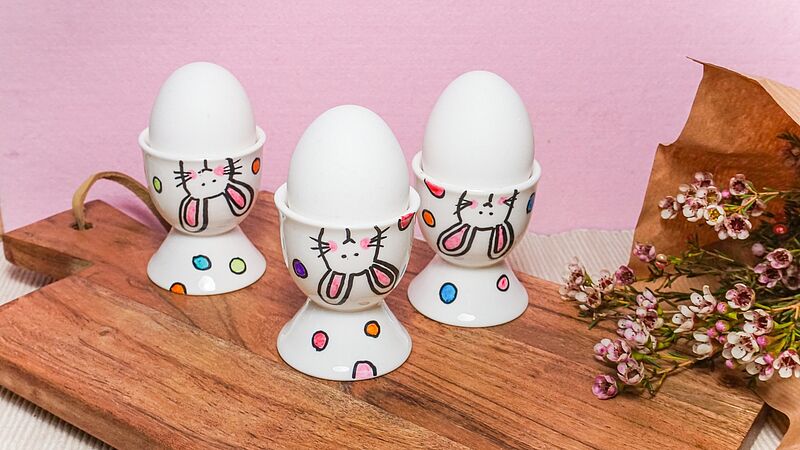
For each egg cup you will need one strip of thick coloured paper measuring 14 cm x 3.5 cm. Use the edging scissors to create a decorative top edge. Cut out the ears from the light-coloured paper with the aid of the stencil. Begin by drawing the eyes and mouth in the centre of the strip of paper using the edding 1800. Stick on a mini pom-pom as a nose.
Step 2
To decorate the bunny ears: First, draw the outline with the edding 1800. Then fill it in with individual strokes and circles, linking them together little by little. Add lots of colour to the whole design (or just parts of it) with the edding 1340 brushpens. To make the orange egg cups, we coloured in the area around the Zendoodle pattern with an orange pen. We've put together templates with beautiful tangling patterns, which you can download.
Step 3
Bend the strip of paper with its bunny face into an egg cup shape. Glue the ends together, then glue the ears on. And there it is – your finished Easter bunny egg cup!
Products and materials


Other materials
- Thick paper in a range of bright colours
- Thick paper in white or yellow (for the ears)
- Pencil, glue, scissors, edging scissors
- Mini pom-poms (for the noses)
- Our pattern template
- Curved shapes for the ears


Additional images
Related ideas
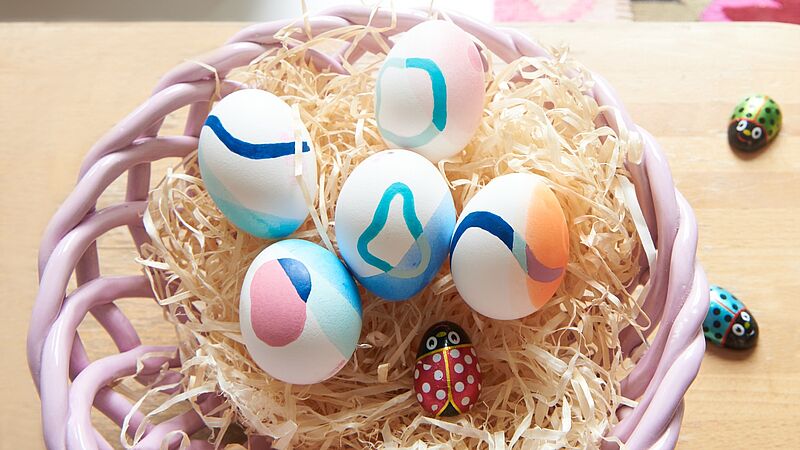
Easter eggs to outshine all the rest!
Easter in bright colours
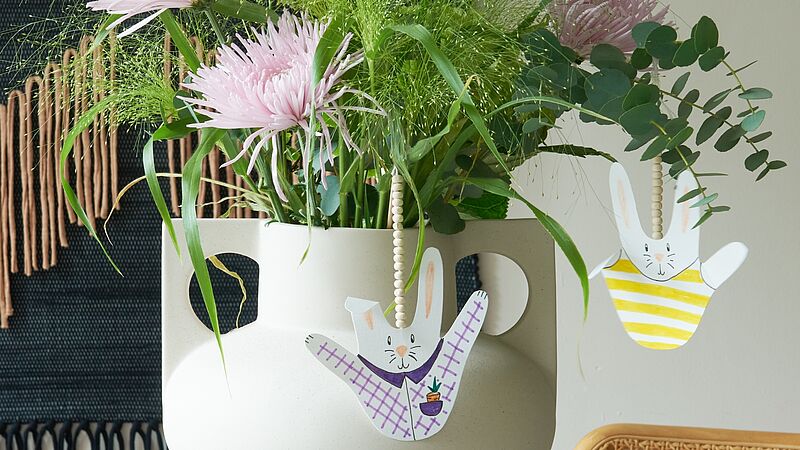
Bunnies abound!
Cute Easter idea for kids
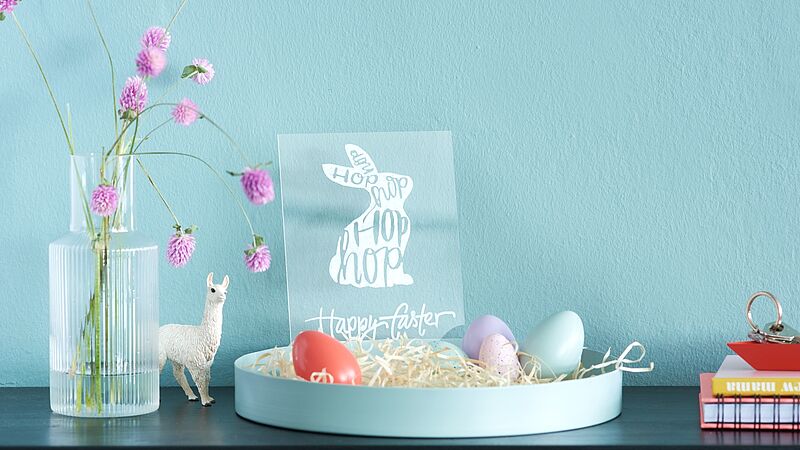
Design an Easter sign
Decorative eye-catcher for Easter
Fun egg cups
Easy-peasy: colourful egg-cup design
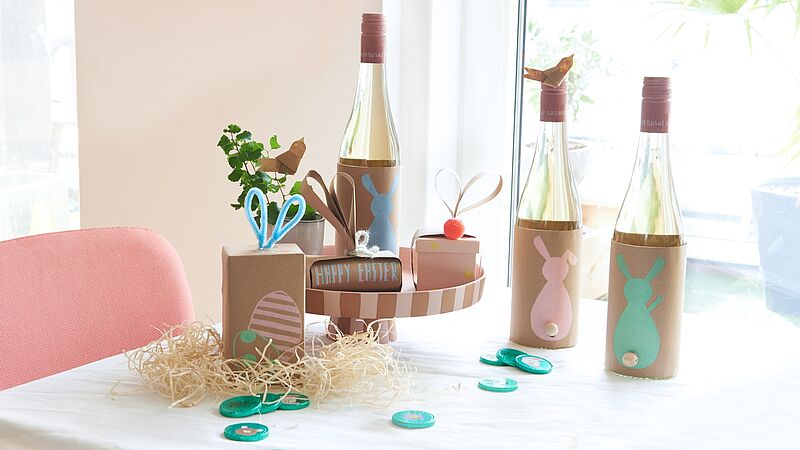
Adorable Easter gifts
Little Easter gifts – quick and easy to make
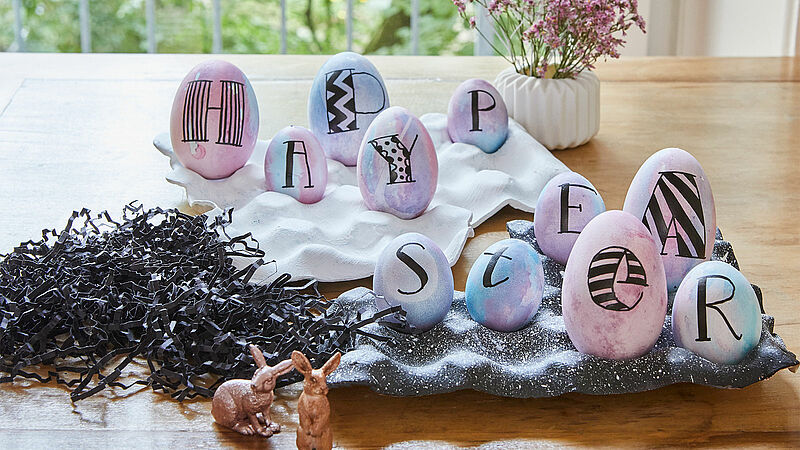
Writing on Easter eggs
“Happy Easter” letter puzzle
Creative Newsletter
Subscribe to our newsletter, and we’ll send you inspirational and creative DIY ideas, along with details of our latest products and special offers.