
Step-by-step
Step 1
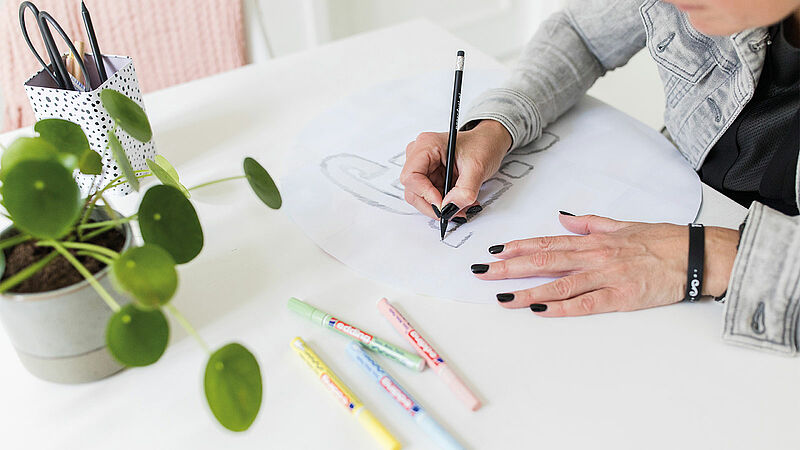
First of all, plan your design and sketch it on the sheet of paper, making it the right size to fit your tray. Our example shows a jumble of big, bold, colourful letters. We chose the colours pastel rose (colour code 138), pastel green (137), pastel yellow (135) and pastel blue (139). You can colour in your sketch to see how it will look, but only if you want to.
Step 2
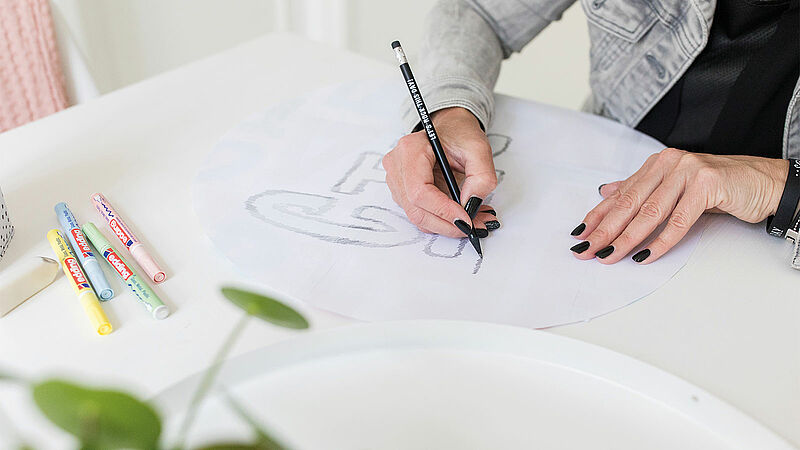
Turn over the sheet of paper with the sketch and, on the back, trace over the outlines of the letters using the soft pencil. You only need to draw over the outlines, not the whole letters.
Step 3
Cut out the template to fit your tray, then turn the paper over again. Place it on the tray with the pencil lines facing downwards. Now trace over all the letters using the hard pencil, pressing firmly to make an imprint of the outlines on the tray.

Step 4
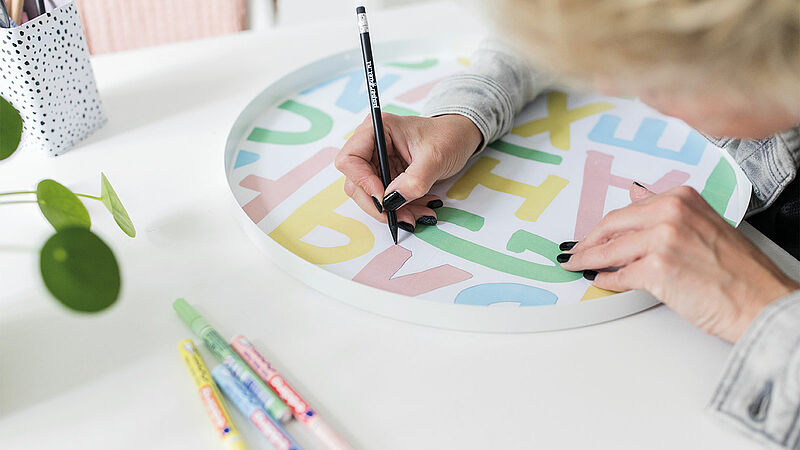
Remove the paper – and you’ll see that your sketch has been transferred.
Step 5
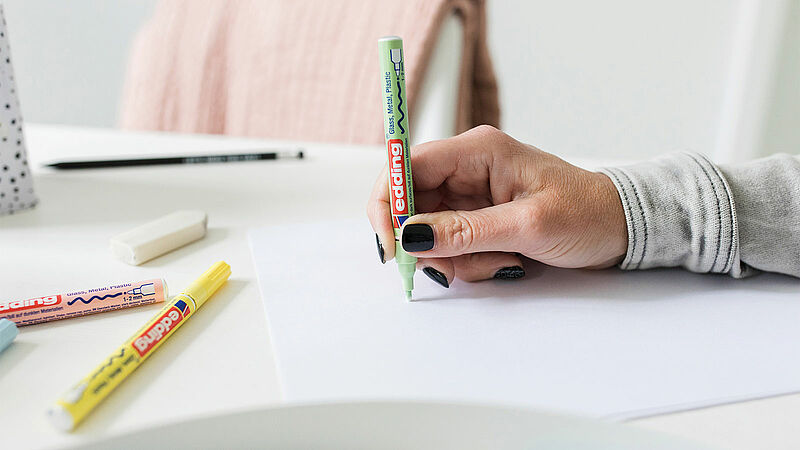
Now it’s time for the decorating part. Before you begin, you need to activate the gloss paint marker: shake the marker vigorously with the cap on; remove the cap, place the nib on absorbent paper and pump it up and down gently a few times until ink appears in the nib. Now you’re ready to get started. And after use, always store the marker horizontally.

Step 6
Using the gloss paint markers, colour in the letters to your heart's content.
Products and materials

Other materials
- A plastic or metal serving tray
- A sheet of good quality paper for the template
- 1 soft pencil, 1 hard pencil (or a ball-point pen)
- Scissors
Related ideas

From old plates to stylish wall art
Upcycling idea for gran’s old porcelain

Handmade wine labels
Beautifully designed wine labels - idea for Father's Day
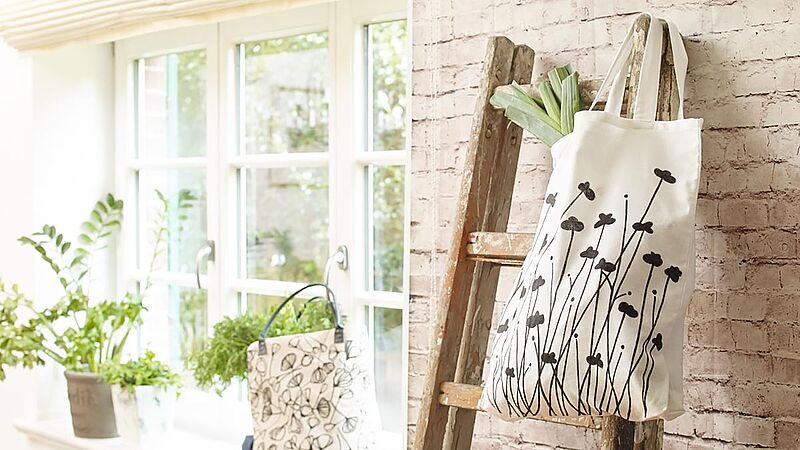
DIY shopping bags
Trendy bag designs – the easy way
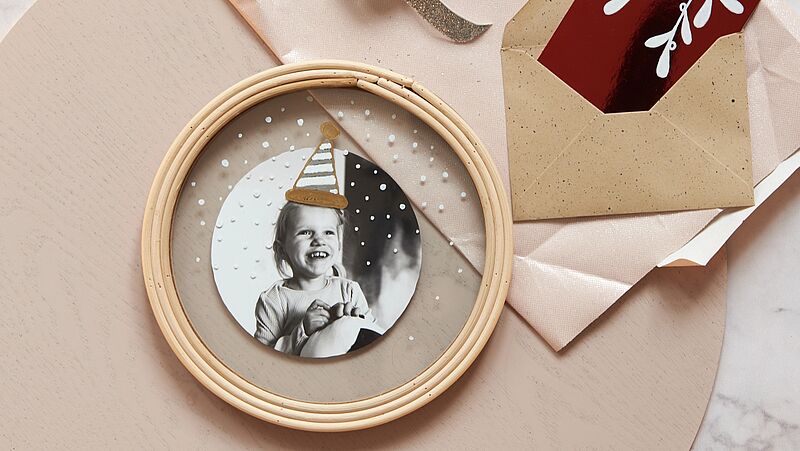
Photo styling
Design your own photo gifts with ease

Surprise!
Glitter card with the wow factor

For magical moments
A glittery look for your party
Creative Newsletter
Subscribe to our newsletter, and we’ll send you inspirational and creative DIY ideas, along with details of our latest products and special offers.