
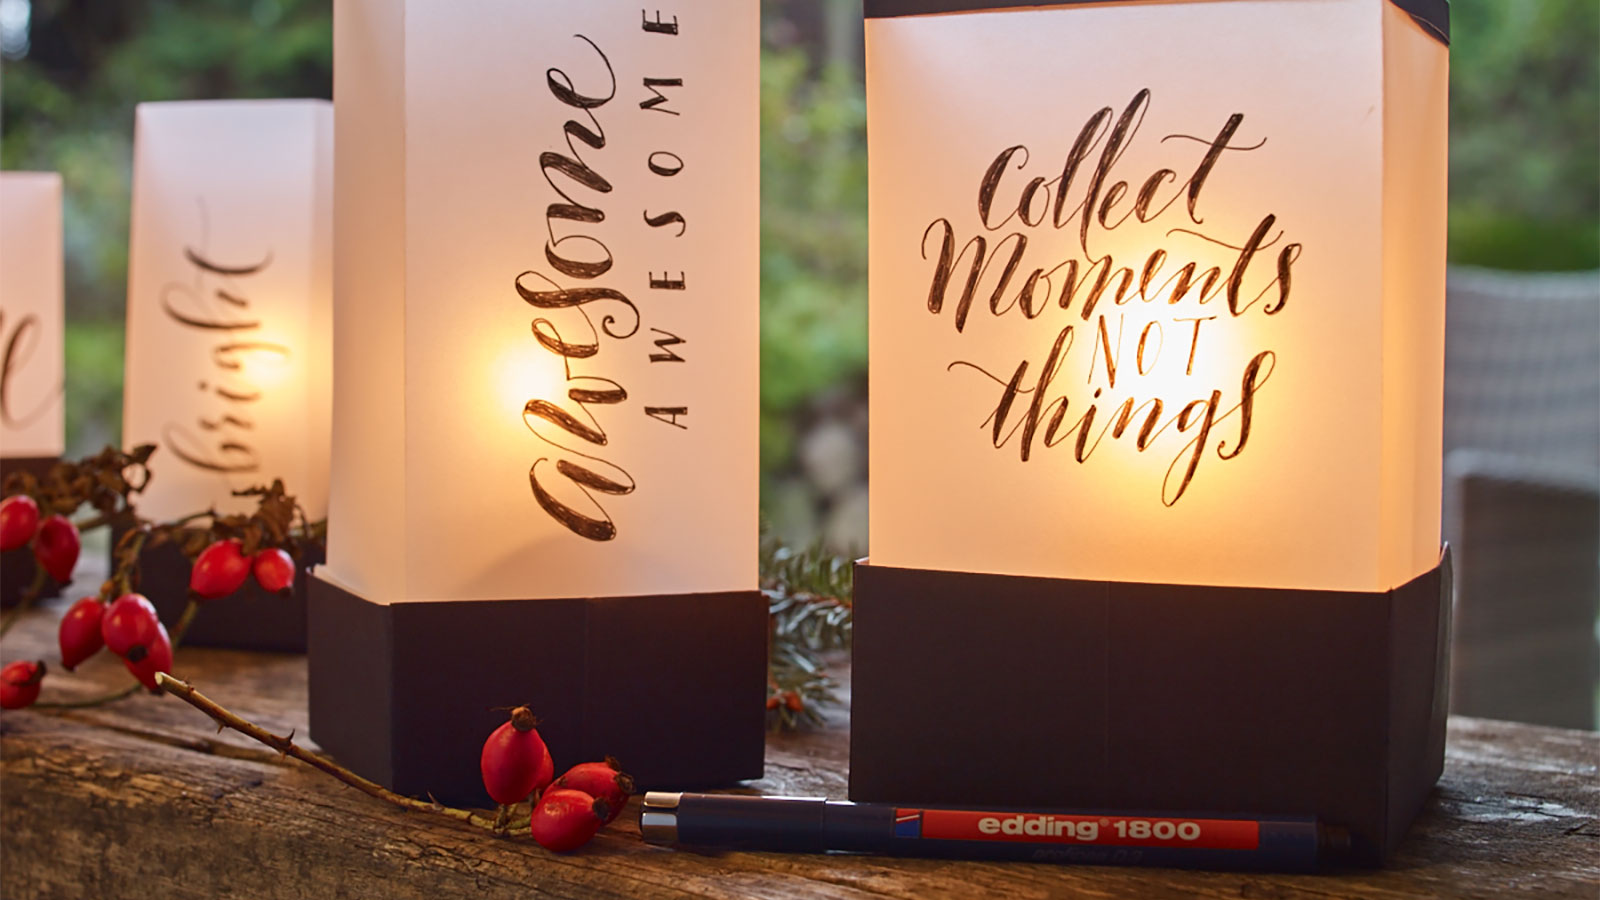
Step-by-step
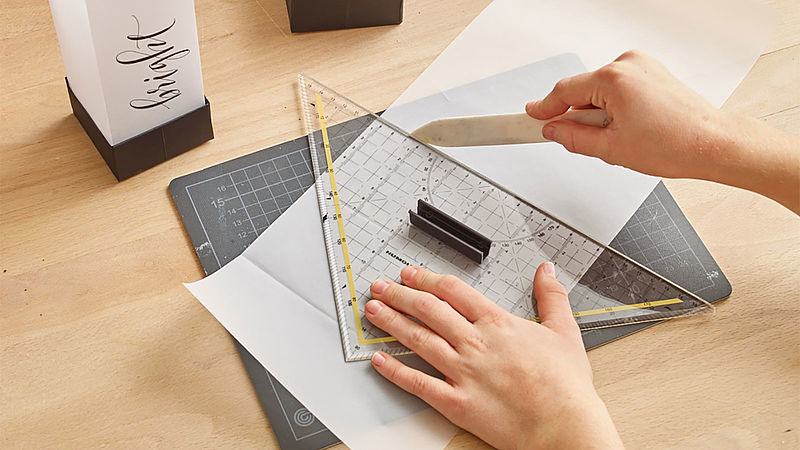
Step 1
Divide the length of the vellum paper into four equal sections and remember to include a 1 cm edge for joining and sticking down. Make sharp folds between each section with the aid of the bone folder.
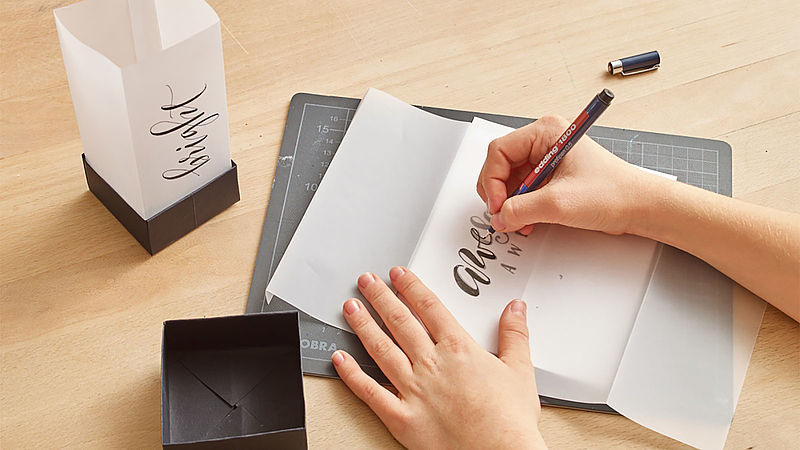
Step 2
When you’ve decided on a suitable message or word, use the edding 1800 profipen to make a template. You can trace this onto the vellum paper afterwards. Hand lettered words look especially nice; try combining large and small letters, cursive script and print characters. Play around with different styles until you find the one you like best. Place your template under the translucent paper and go over the letters with the edding 1800 pen.
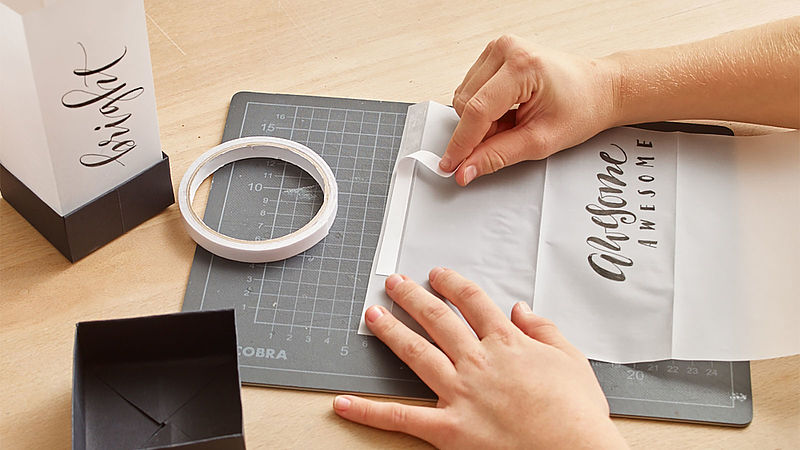
Step 3
Next, stick three strips of double-sided adhesive tape on the 1 cm edge you allowed for, fold into a square block shape to form the lantern and press the edges together to secure.
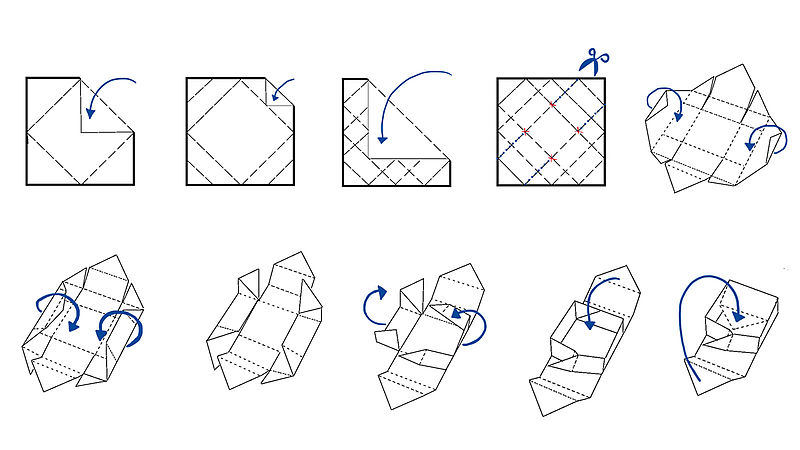
Step 4
Now take the black drawing paper and make the folded lid and base by following the folding instructions. Make sure that the vellum paper sleeve is a little smaller than the lid and base so it fits inside.

Step 5
Assemble the base and lid and place a tea-light inside your lantern.
Products and materials

Other materials
- Good quality translucent vellum paper. Suggested size: 18 cm high x 32 cm long
- Square pieces of black card for the base and cover
- Pencil for sketching out design (if required), transparent adhesive tape
- Bone folder; ruler;
- Double-sided, transparent adhesive tape
- LED tea-light
Templates
Gift box
Additional images
Related ideas
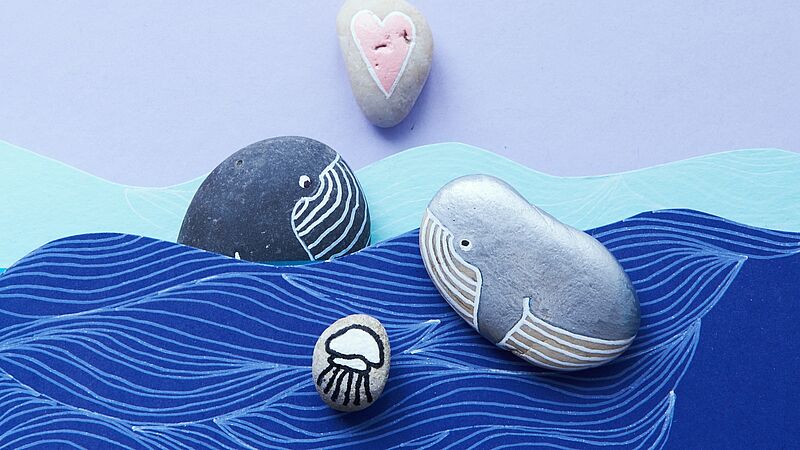
Design your own marine idyll
Memories of the beach and the sea
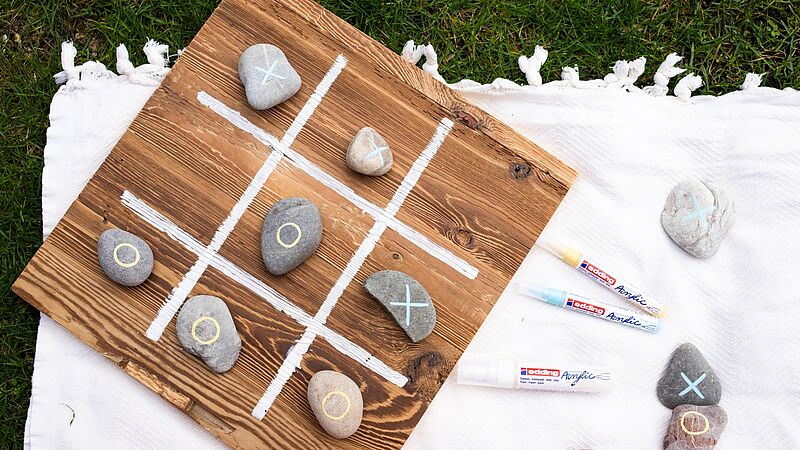
Play Noughts and Crosses
Get that summer feeling with a handmade board game
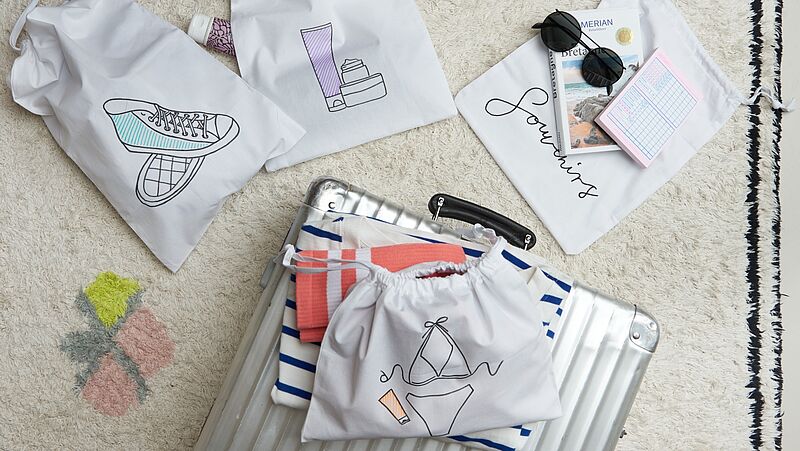
Create your own luggage bags
See exactly what’s in your suitcase!
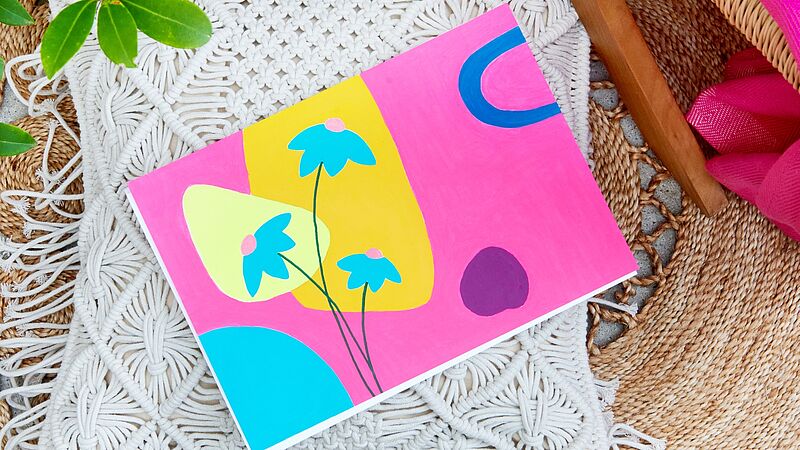
From white to bright!
It's easy to become an artist
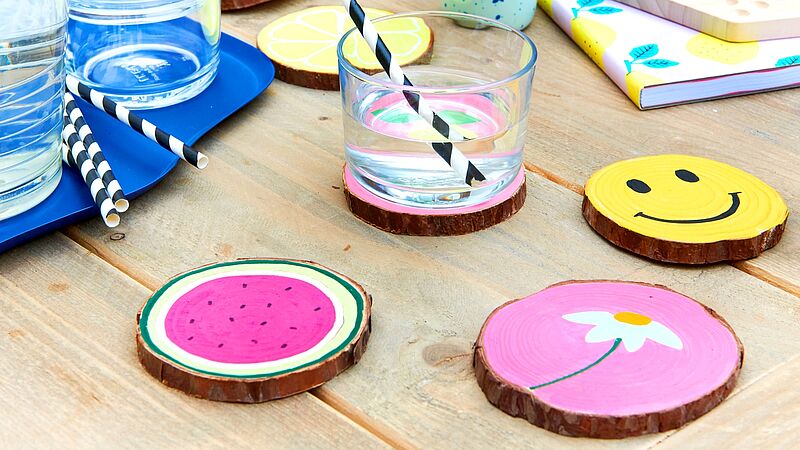
Wood slices with striking designs
Add summer motifs to your DIY coasters
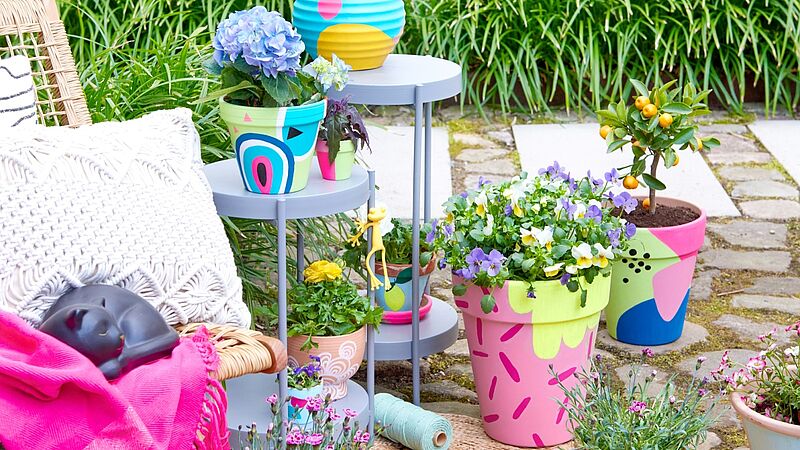
It's the season for colour!
Colourful flowerpots to brighten up your garden
Creative Newsletter
Subscribe to our newsletter, and we’ll send you inspirational and creative DIY ideas, along with details of our latest products and special offers.