
Step-by-step

Step 1
The acrylic markers come in a wide choice of highly expressive colours, so choose your favourites. We’ve used the broad edding 5000 acrylic marker in traffic white for the board. We’ve marked the stones using the medium edding 5100 acrylic marker in opulent turquoise and pastel yellow.

Step 2
First, activate the markers as follows: shake the marker with the cap on until the mixing balls inside the pen can be clearly heard, then carefully pump the pen up and down until ink appears in the tip. Test the pen out on a piece of scrap paper. Now you can start to use the white acrylic marker and draw two vertical and two horizontal lines to divide the wooden board into 3x3 sections.

Step 3
Each player receives the same number of pebbles, with each set featuring different marks such as noughts or crosses. The medium acrylic markers are ideal for adding permanent, clearly visible markings to the pebbles.

Step 4
We recommend using clearly visible colours to mark the stones, such as pastel yellow and opulent turquoise. In total, 26 vibrant and pastel shades are available.
Products and materials


Other materials
- Wooden board (approx. 30 x 30 cm)
- 12 pebbles /stones
- Damp cloth
Video
Related ideas

DIY plant pots
Decorative upcycling idea using plastic bottles
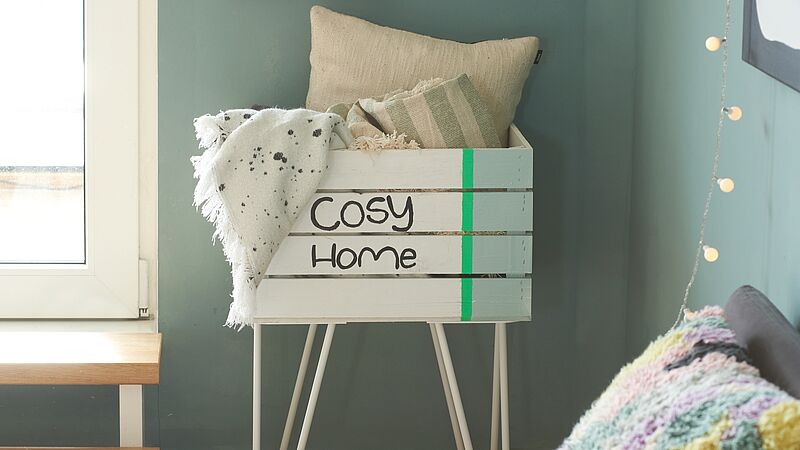
Neat storage idea for your cushions
Upcycling idea for your home
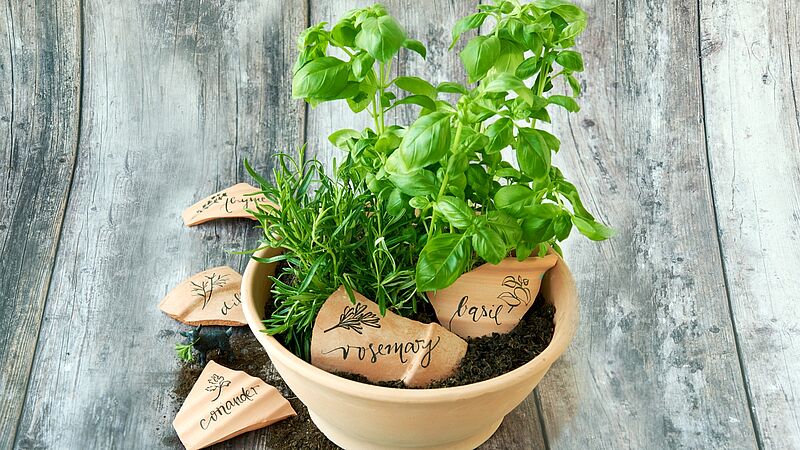
Decorative kitchen herbs
Stylish terracotta plant labels
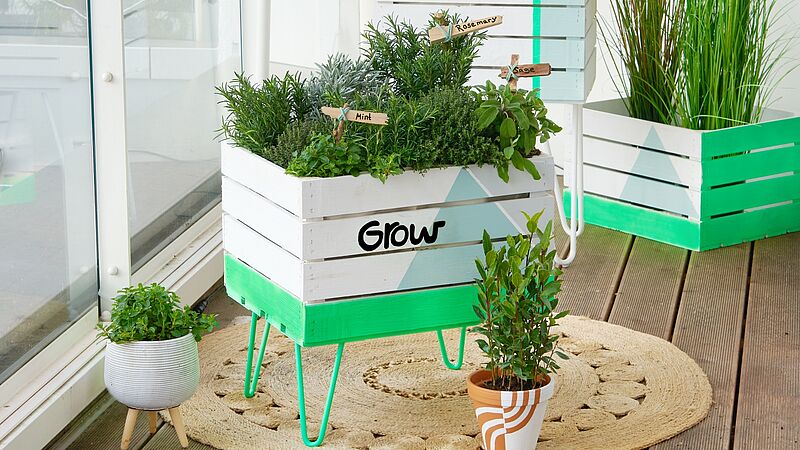
Jazz up crate planters
Attractive upcycling idea for old wooden crates
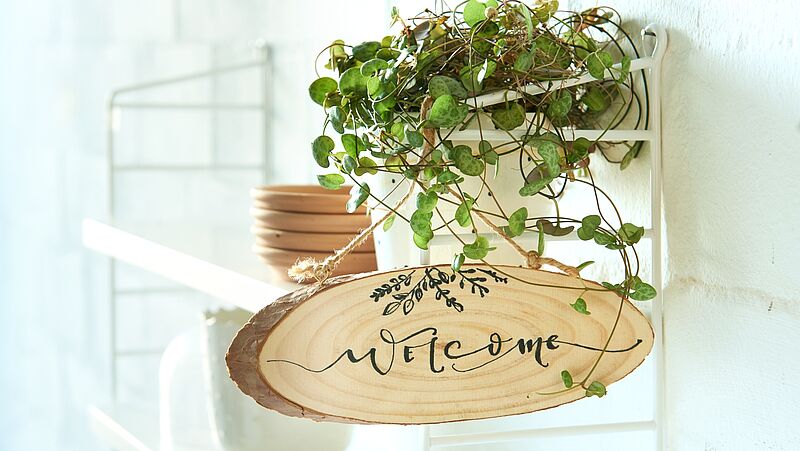
Wooden welcome sign
Stylish greeting sign for your guests
Unique ornaments for your windowsill
Homemade designer objects
Creative Newsletter
Subscribe to our newsletter, and we’ll send you inspirational and creative DIY ideas, along with details of our latest products and special offers.