
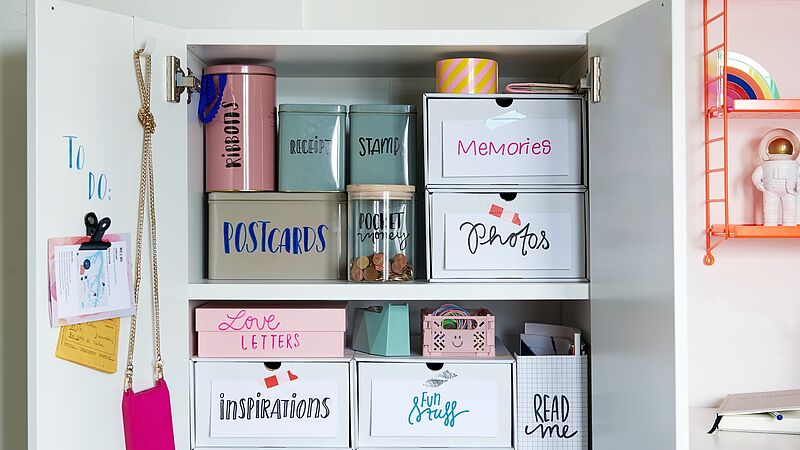
Step-by-step

Step 1
To design the signs, you’ll need a classic edding 3000 in black. However, there are many other bright colours available, so pick whichever you like! Print out the template and cut the card into suitably-sized pieces.

Step 2
The best way to transfer the motif is to use carbon paper by placing it between the card sign and the template. Using a pencil or ball-point pen, transfer the motif. Next, go over it using the edding 3000.

Step 3
Transfer the other symbols mentioned in Step 2 as required. For items that are particularly precious to you, there’s even a symbol featuring two hands that form a heart shape.

Step 4
Finally, stick the cards on the boxes in a place where they’ll be easily seen.
Products and materials

Other materials
- Plastic boxes
- Card in various colours
- Scissors
- Carbon paper (optional)
- Pencil
- Glue or sticky tape
Additional images

Related ideas
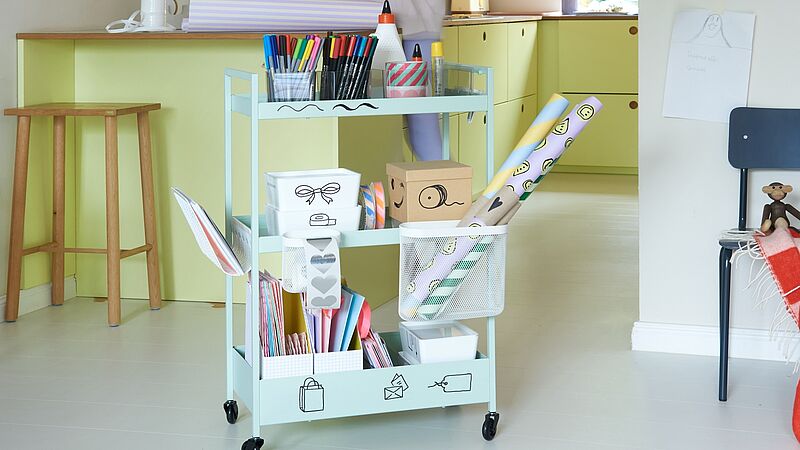
Everything neat and tidy
Keep track of what’s where in your craft room

Desk organiser
A pastel look to keep you smiling
Uplifting pastels
Creative ideas with pastels bearing the Blue Angel ecolabel
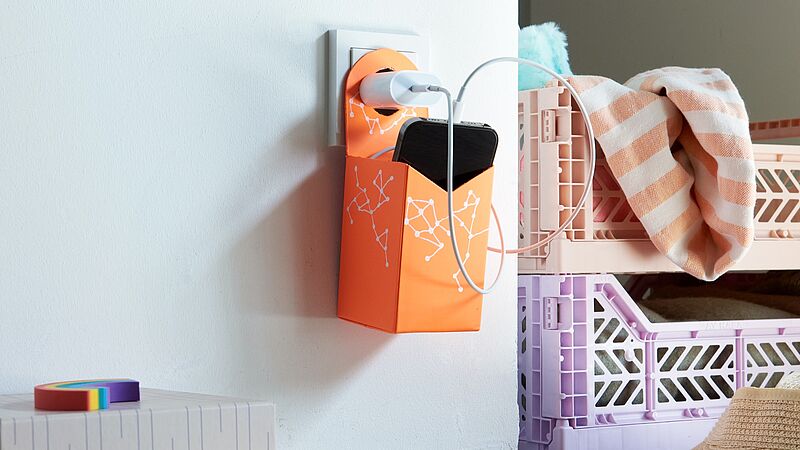
Practical and sustainable!
Upcycling idea for a DIY charging station
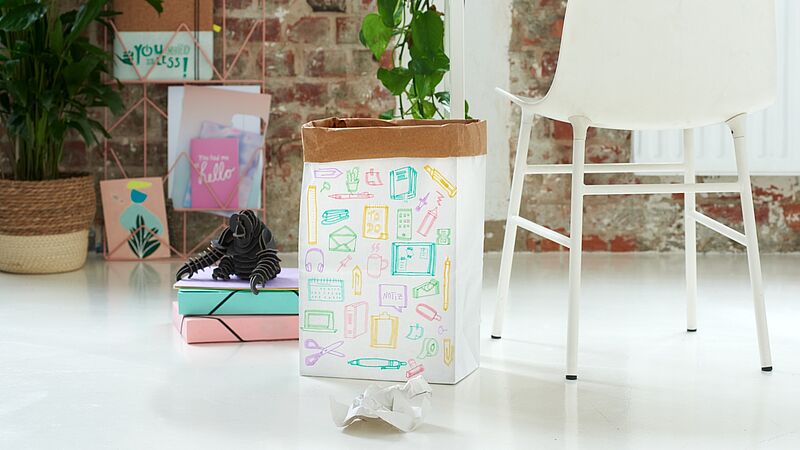
Everything in its place
An easy way to keep things neat and tidy
DIY memo holder
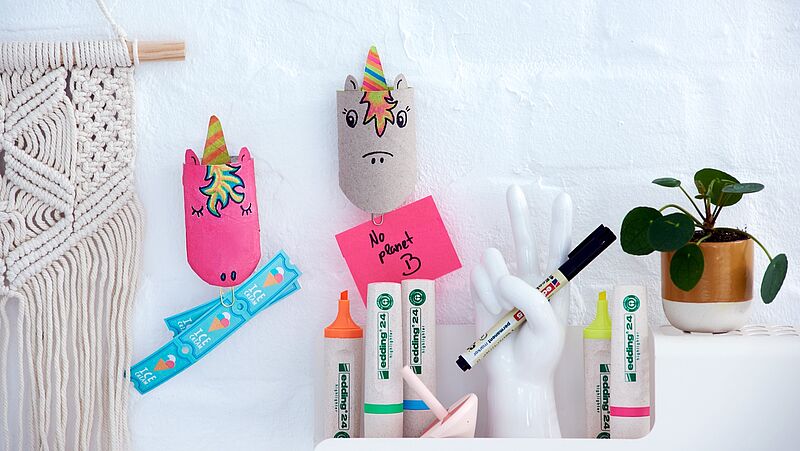
Make your own unicorn memo board
Creative Newsletter
Subscribe to our newsletter, and we’ll send you inspirational and creative DIY ideas, along with details of our latest products and special offers.