
Step-by-step
Step 1
Start by cutting the fabric to the size you want your bag to be. Our example measures roughly 12.5 cm x 20.5 cm. To design the bags, we used edding 4600 textile pens (available in handy sets of 5). To ensure maximum ink absorption, we recommend you wash the fabric first. To create the bag shape, iron a couple of vertical creases into the fabric.
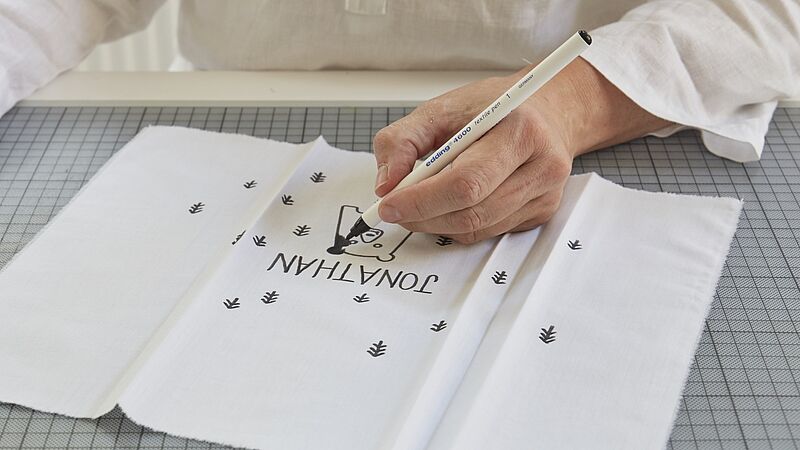
Step 2
Placing the fabric on a protective layer, take the black textile pen and draw your chosen motif on the bag in the place where you want it to be. If you prefer, you can prepare a template of your design; place this under the fabric and trace over it.
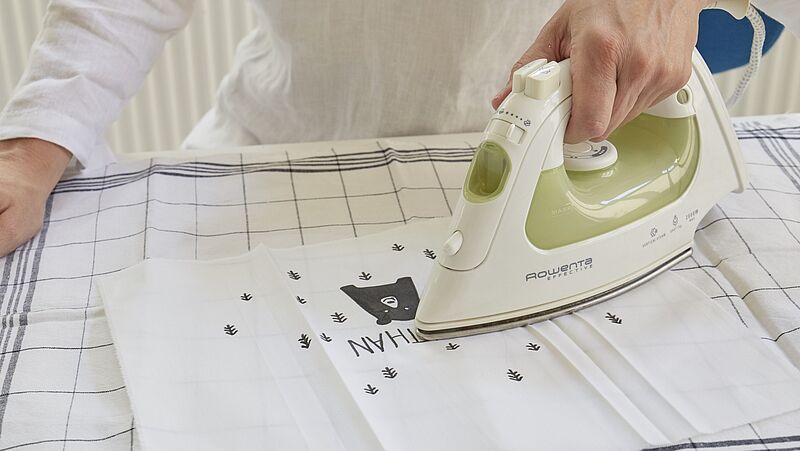
Step 3
Now iron without steam to heat-fix the design.
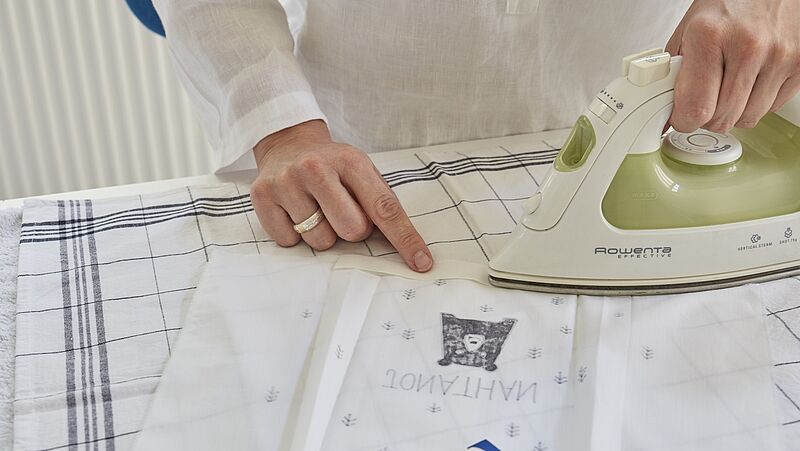
Step 4
Iron on a piece of hemming web along the bottom edge on one side, remove the backing strip, then fold the edge over and fix in place. This will hold the bag together when assembled. Fold the fabric lengthwise to form a bag, then iron on another strip of hemming web on the left and right. You can "hem" the open top edge with the pinking shears so it won't fray so easily.
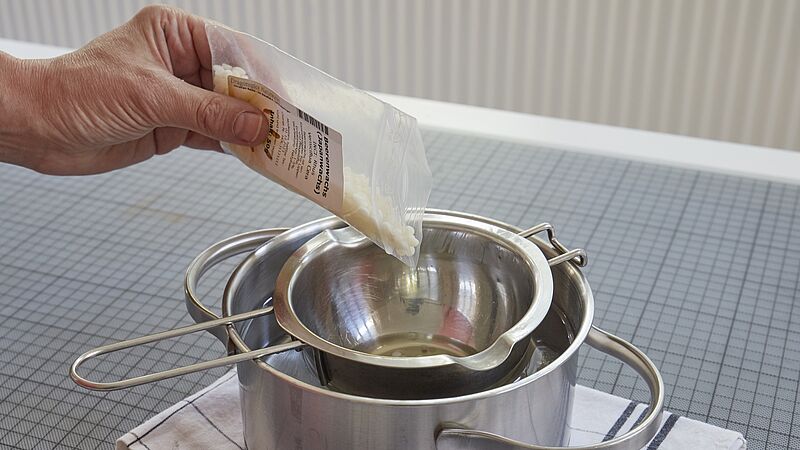
Step 5
To prepare your workspace for waxing the fabric, spread out the towel and lay the baking parchment over the top. Following the instructions provided, melt the wax in a saucepan placed in a water bath.
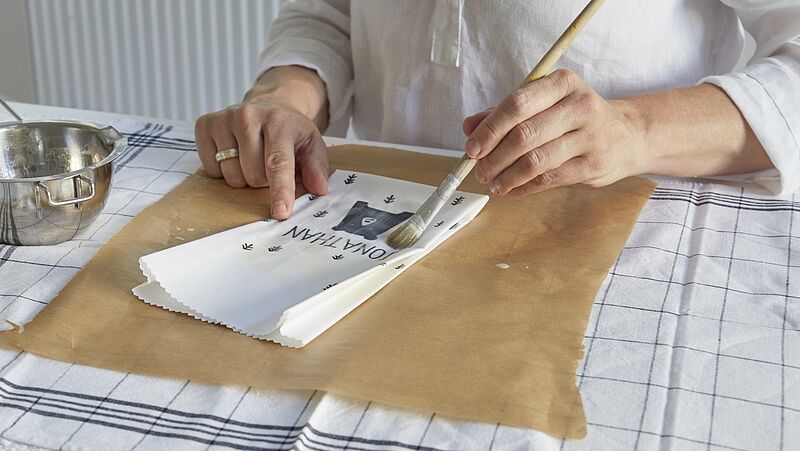
Step 6
Using a wide brush, carefully apply wax over as much of the surface as possible. To prevent the two sides of the bag from sticking together, it's a good idea to insert a piece of baking parchment beforehand.
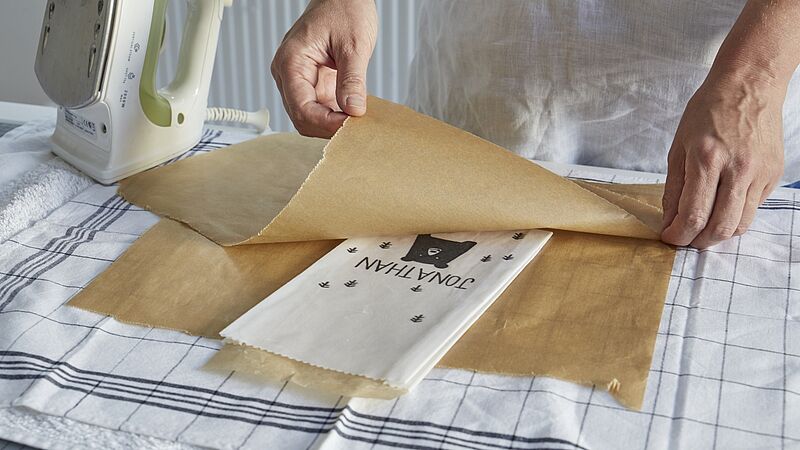
Step 7
Now place another sheet of baking parchment over the bag and iron the wax from the centre outwards, with your iron set to medium heat. This will spread the wax nice and evenly and will help it penetrate deep into the cloth. At the same time, any excess wax will be pushed outwards. Once it has cooled down, remove the baking parchment. Your bags are now ready for filling. With repeated use, the bags will get softer over time. Please note, however, that beeswax may eventually turn rancid. With this in mind, we suggest using the bags for around 12 months.
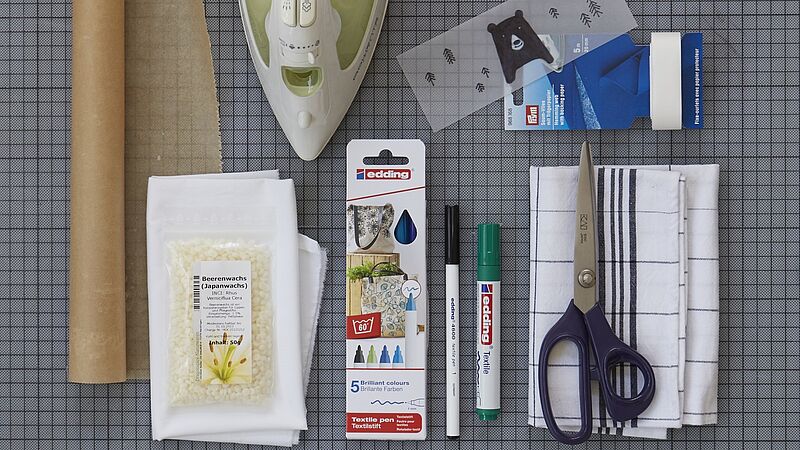
Products and materials

Other materials
- Lightweight cotton in a pale shade
- Approx. 100g Japan wax or beeswax
- Paintbrush
- Baking parchment
- Terry towelling hand towel
- Hemming web with backing paper
- Scissors
- Pinking shears (optional)
- Cardboard to protect your work surface
- An iron
Additional images
Related ideas
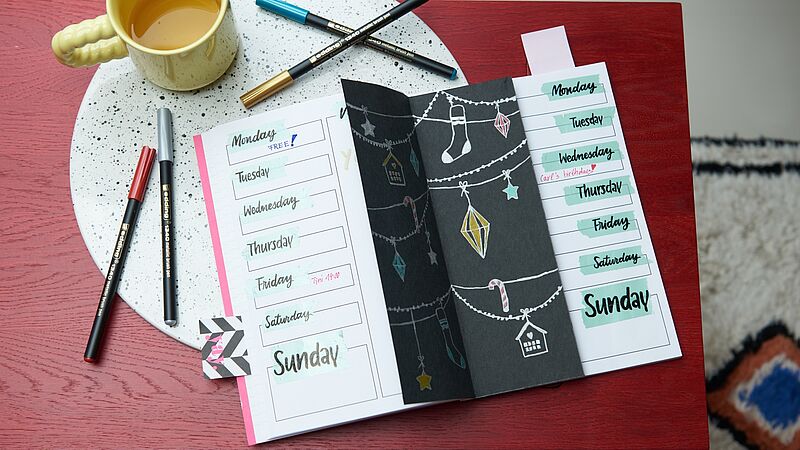
A festive look for your journal
Decorate your weekly planner with this stylish insert

Festive glass baubles
Hand-decorated baubles for the Christmas tree
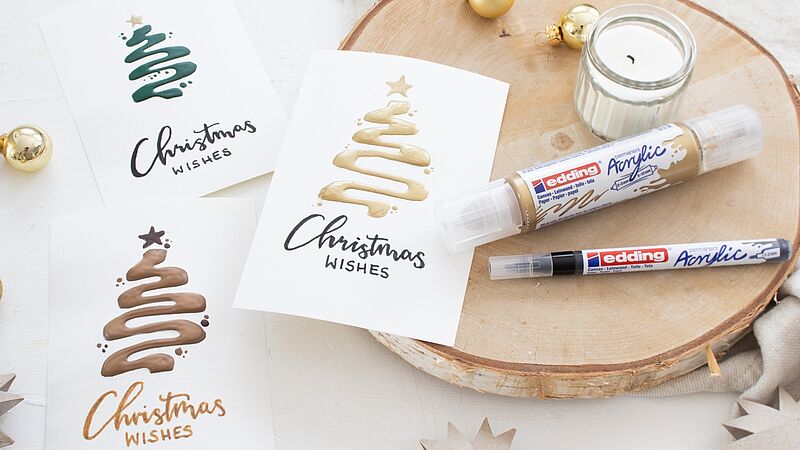
Easy-peasy season’s greetings
Creatively designed Christmas cards

Individual gift jar
Small gifts, beautifully packaged

Design your own circle of light
Create a festive atmosphere
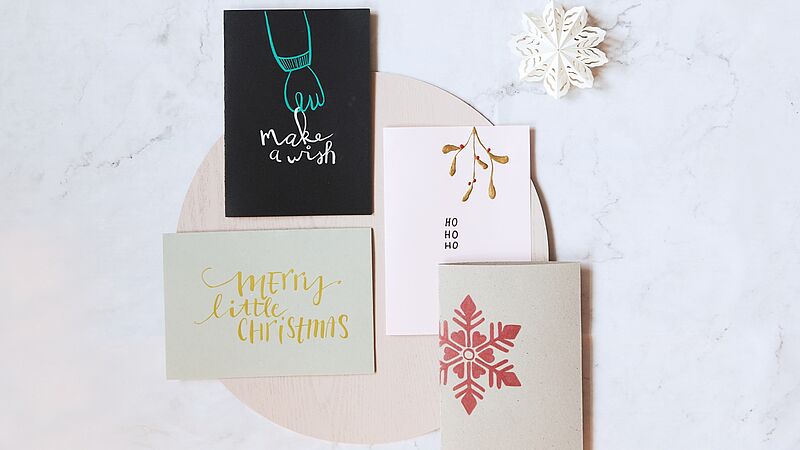
Christmas post with added sparkle
Eye-catching cards for your nearest and dearest
Creative Newsletter
Subscribe to our newsletter, and we’ll send you inspirational and creative DIY ideas, along with details of our latest products and special offers.