
Step-by-step

Step 1
You can see everything you need in this photo. First, print out the crafting template for the bag on A4 paper.

Step 2
Colour in the rainbow and the lettering in whatever way you like using pastel shades or another glittery colour of your choice.

Step 3
Use the scissors to cut along the wavy edge.

Step 4
Fold the paper in half down the middle before folding back the marked gluing edge left of the motif.

Step 5
Use the glue stick to glue the fold firmly to the other side so that both the left- and right-hand sides of the bag are sealed.

Step 6
Turn the bag over and fold approx.3 cm of the bottom edge towards you.

Step 7
Open up the fold and turn the corners in, as shown in the photo.

Step 8
To create the base of the bag, fold both of the long edges over towards the middle once more before gluing firmly in place.

Step 9
Cut two matching pieces of ribbon of the right length and glue the ends of them to the inside of the bag in order to create handles.
Products and materials

Other materials
- A4 white paper
- Glue stick
- Scissors
- Matching ribbon for the handles
Templates

happy gift bag
Video
Additional images

Related ideas
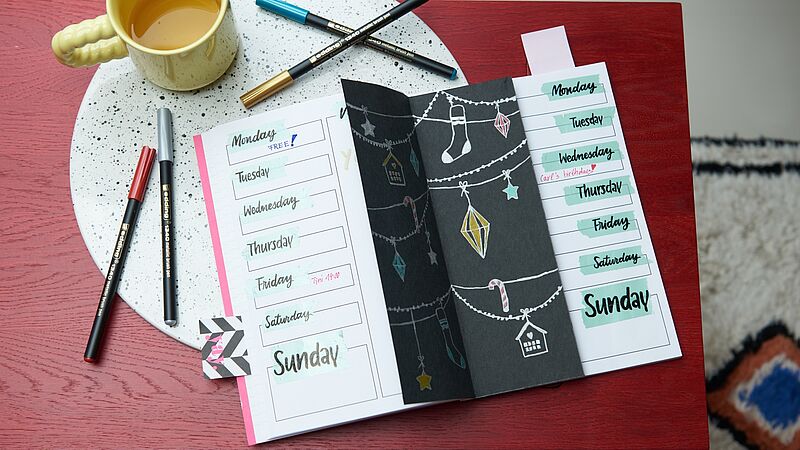
A festive look for your journal
Decorate your weekly planner with this stylish insert

Festive glass baubles
Hand-decorated baubles for the Christmas tree
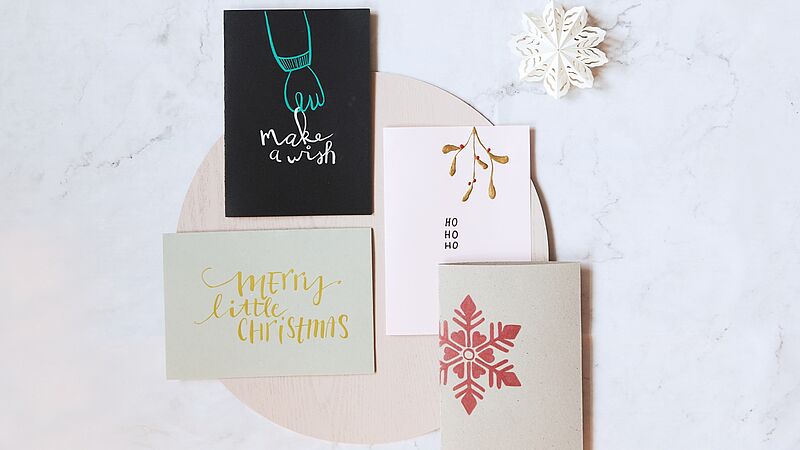
Easy-peasy season’s greetings
Creatively designed Christmas cards

Individual gift jar
Small gifts, beautifully packaged

Design your own circle of light
Create a festive atmosphere
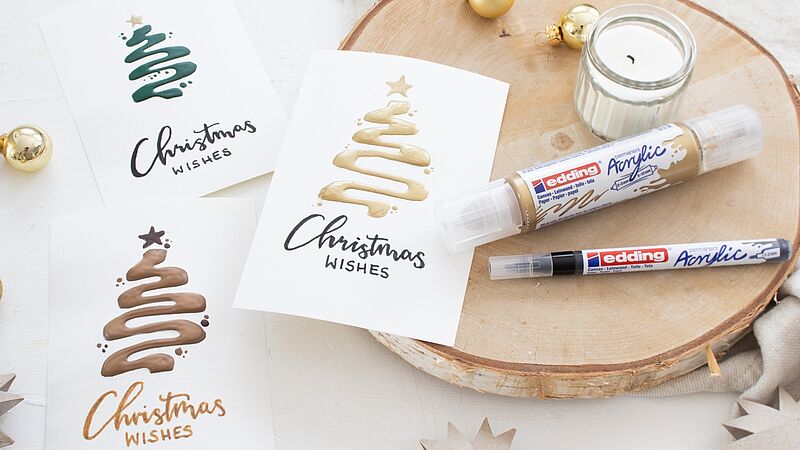
Christmas post with added sparkle
Eye-catching cards for your nearest and dearest
Creative Newsletter
Subscribe to our newsletter, and we’ll send you inspirational and creative DIY ideas, along with details of our latest products and special offers.