
Step-by-step
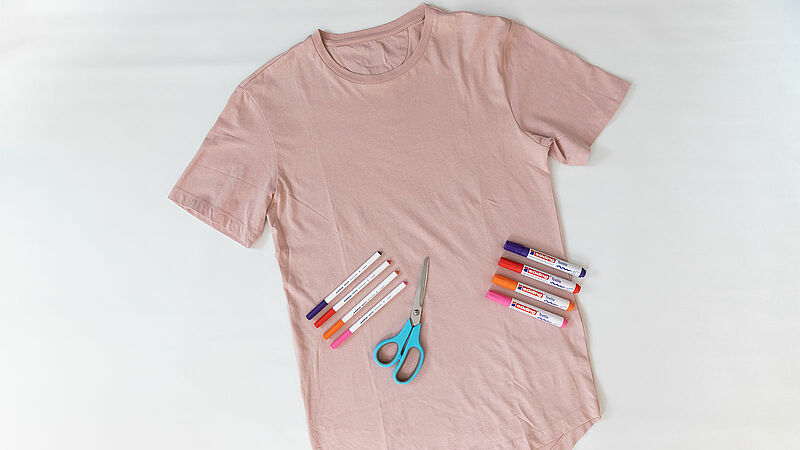
Step 1
If the T-shirt is new, you should wash, dry and iron it first so that it absorbs the ink better. You’ll need edding 4600 textile pens and 4500 textile markers in pink (colour code 009), orange (006), red (002) and violet (008).
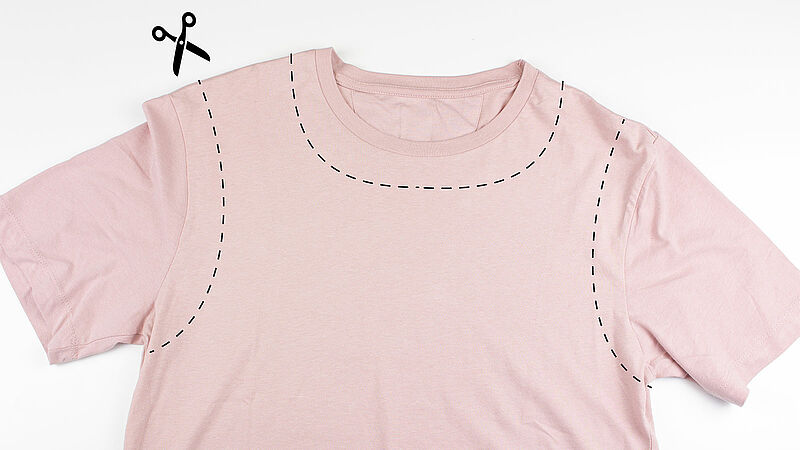
Step 2
Lay the T-shirt flat on the table and cut off the neck and sleeves.
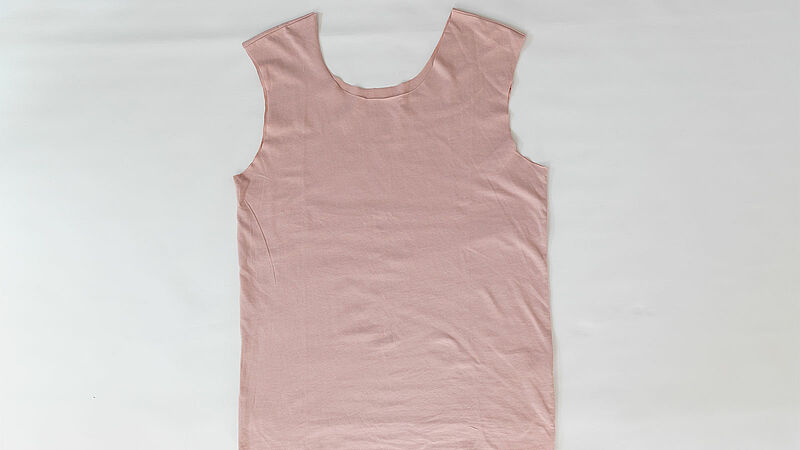
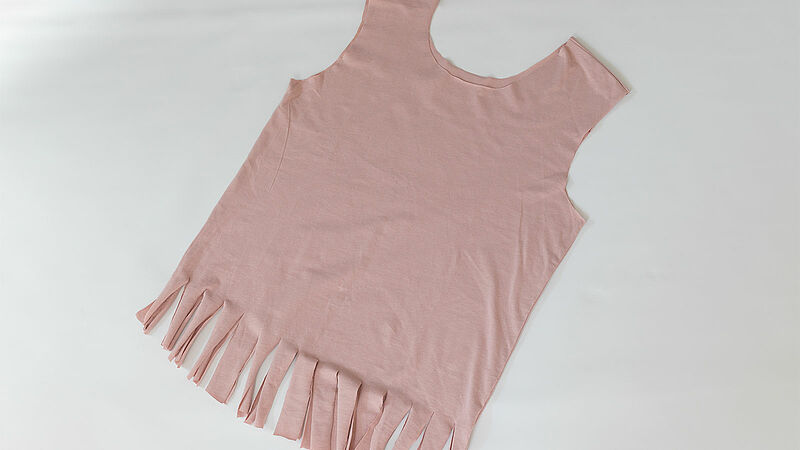
Step 3
This is what your “sleeveless” T-shirt should look like.
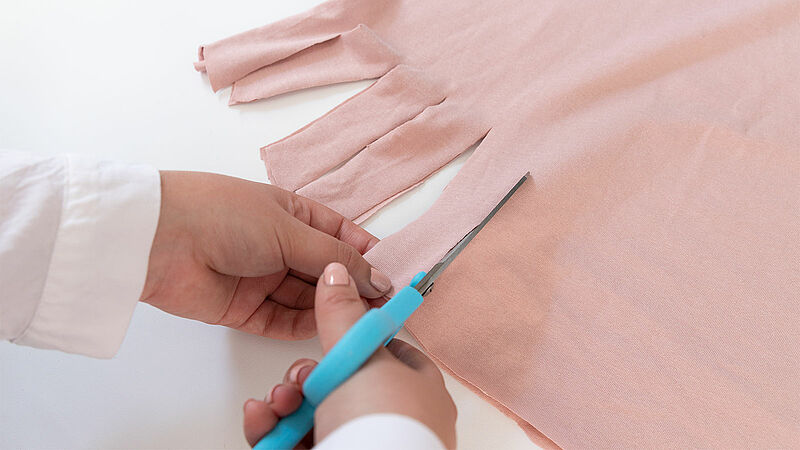
Step 4
Cut slits in the bottom of the shirt, about 1 cm wide and 4 cm long. Cut both the front and back layers together to match.
Step 5
Here is a photo of the T-shirt with fringe.
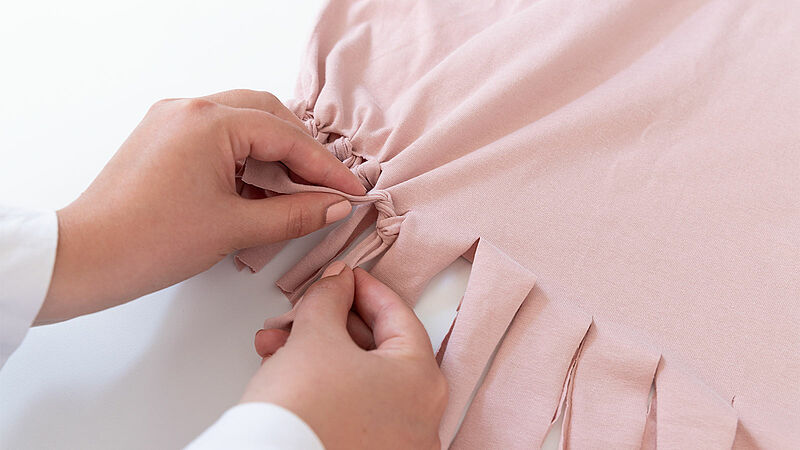
Step 6
To close up the bottom of the bag, take the pairs of front and back fringes and tie each one into a knot, then knot each pair diagonally.
Step 7
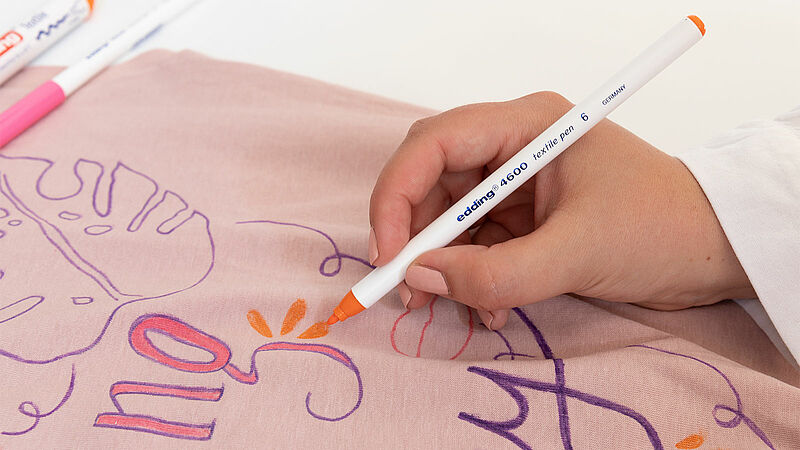
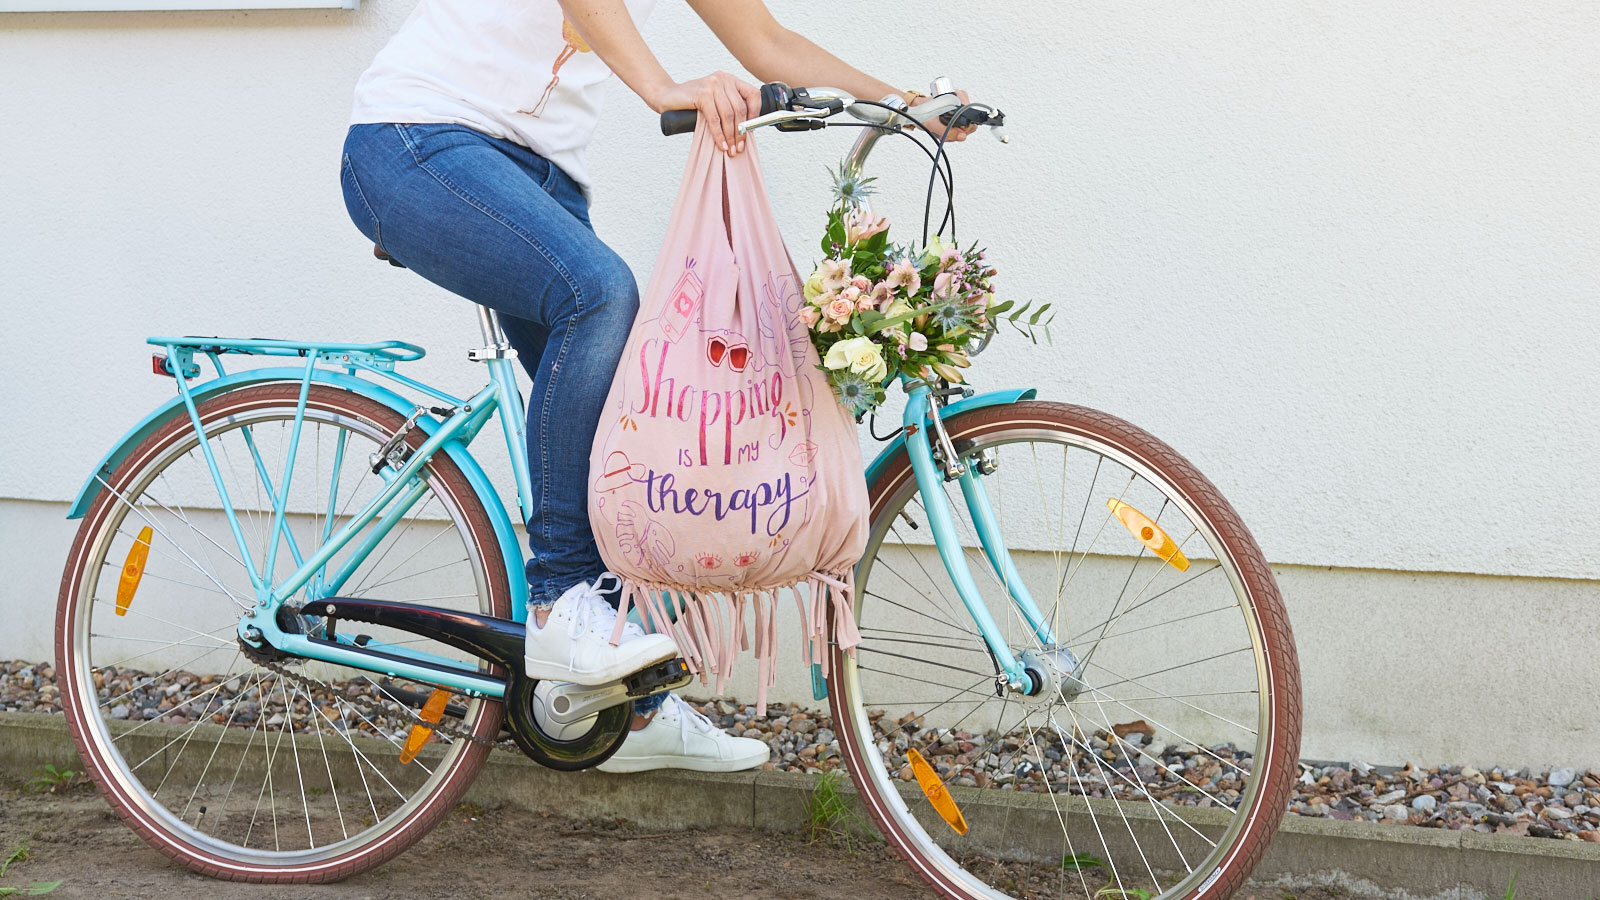
Cut a piece of cardboard the same size as the T-shirt and insert it between the two layers of fabric. This prevents the ink from bleeding through to the back. Now for the design: paint your DIY bag with your chosen motif using edding textile pens. A really practical way to do this is to prepare a template of the motif and place it under the fabric so the design shows through. Now all you have to do is simply copy the motif. To heat-fix the design, iron it on the no-steam setting and your T-shirt bag is now resistant to washes up to 60°C.
Products and materials


Other materials
- Light-coloured T-shirt
- Scissors
- Piece of cardboard as a protective backing
- Template (optional)
- An iron
Additional images
Related ideas

Picnic time!
Plan ahead for the perfect day out

For magical moments
A glittery look for your party
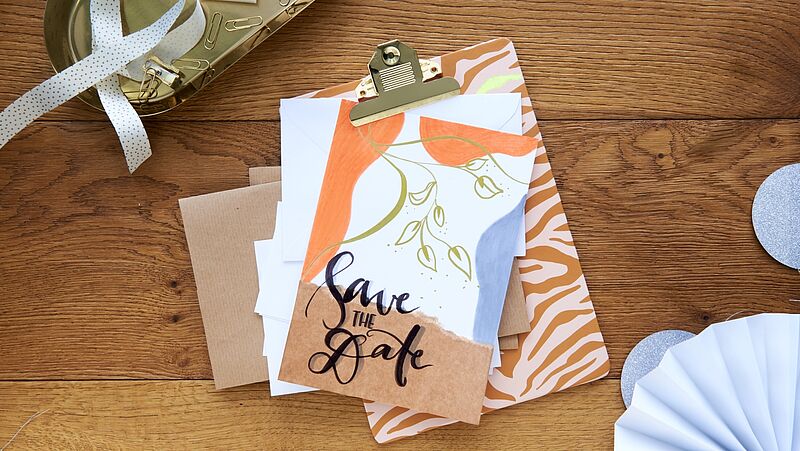
Save-the-date card
Highly effective decoration

Happy Birthday!!
Shiny metallic shades for eye-catching birthday cards

Cards with a watercolour effect
Beautiful hand lettered motifs and sentiments
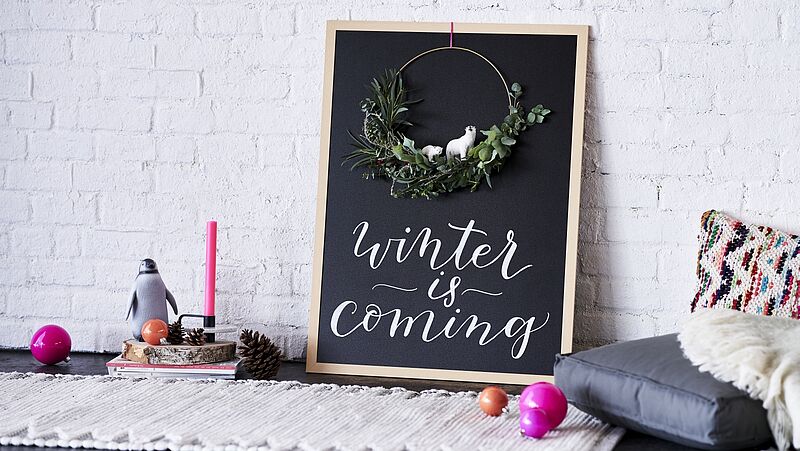
Chalkboard design statement
A beautiful focal point for your home
Creative Newsletter
Subscribe to our newsletter, and we’ll send you inspirational and creative DIY ideas, along with details of our latest products and special offers.