
Step-by-step
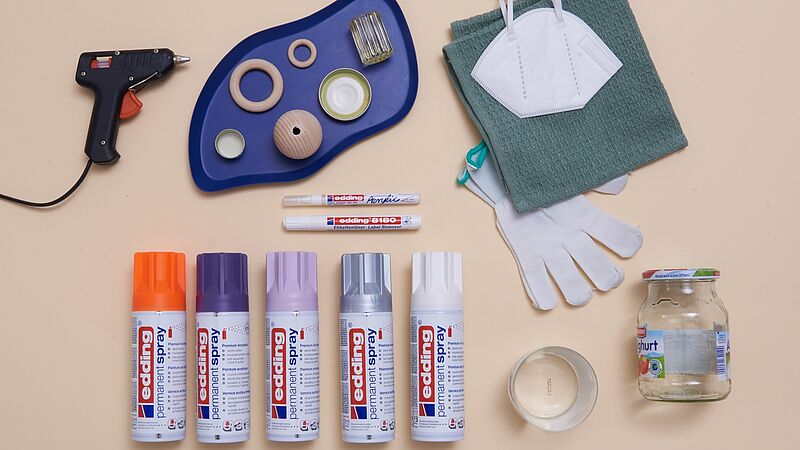
Step 1
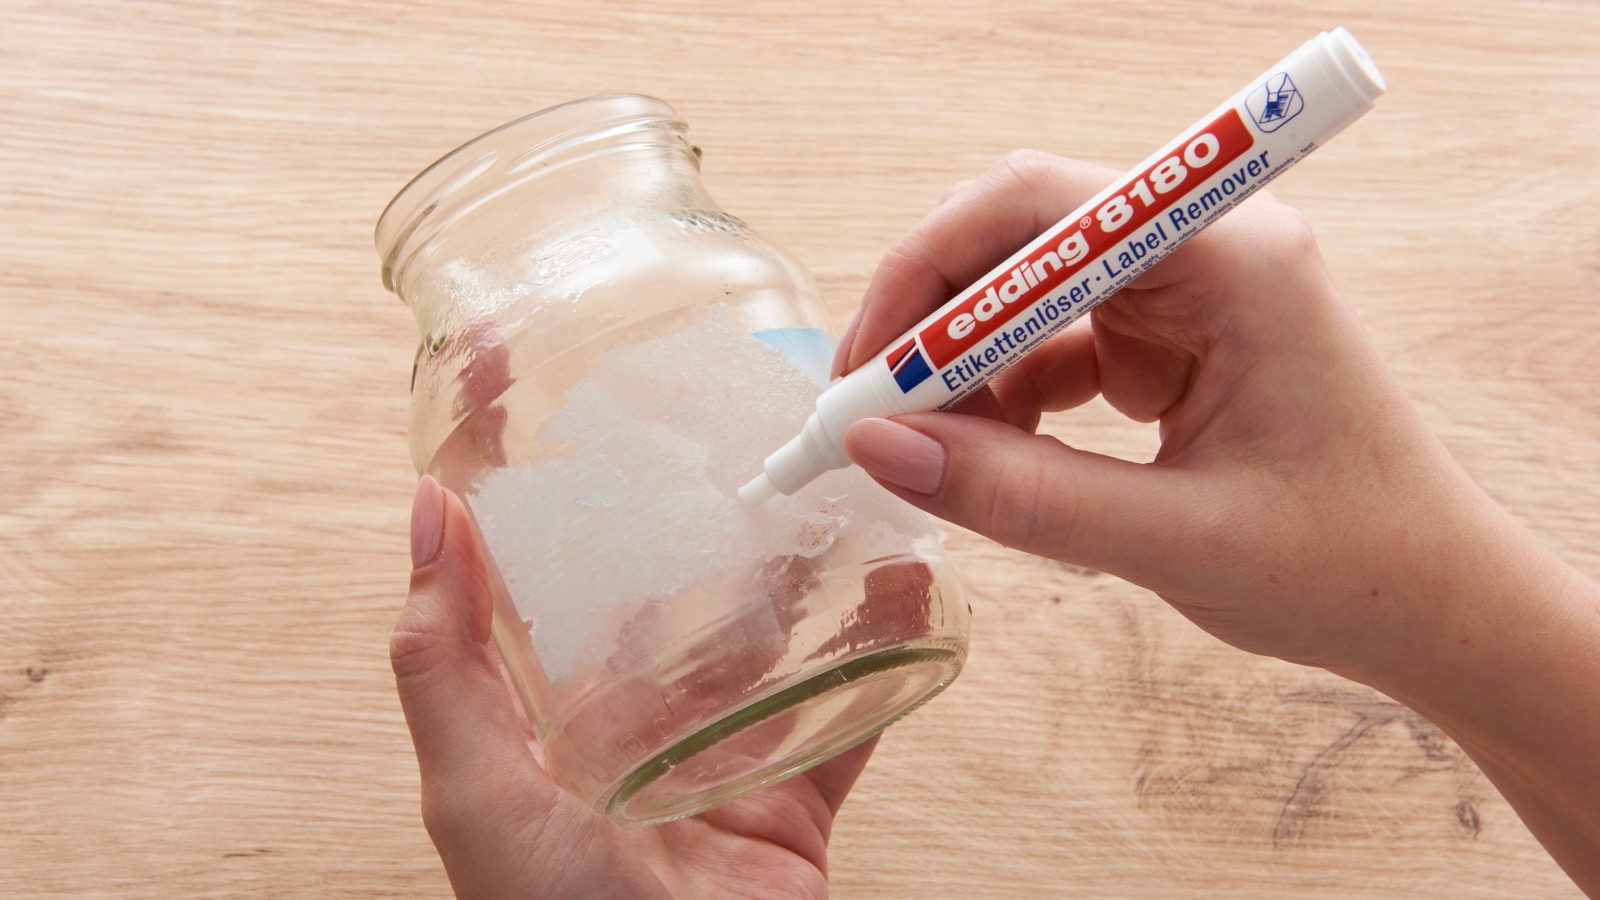
You can see everything you need in this photo. You will need edding 5200 permanent spray in a spray colour of your choice. In our example, we’ve used traffic white (922), silver (923), neon orange (966), light lavender (931) and lilac (908) as well as the fine acrylic marker in white. Use the edding 8180 label removal marker to remove labels from jam or pickle jars with ease, without leaving any residue behind.
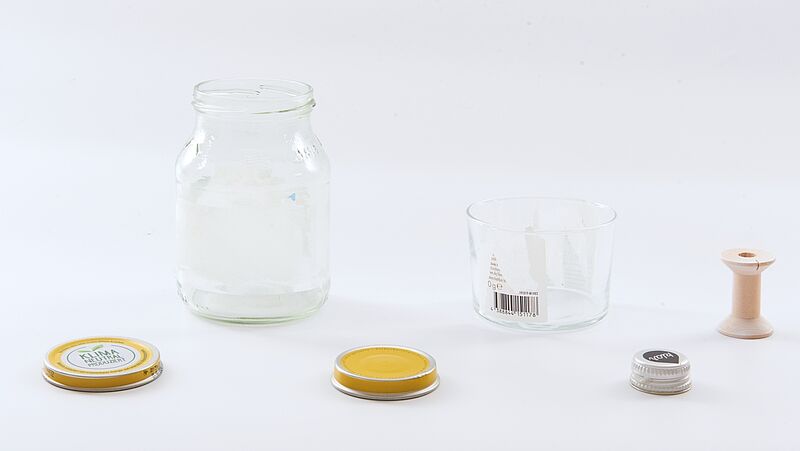
Step 2
All kinds of cotton reels, lids, caps and much more are great for using in upcycling projects. You can also use different types of lid (e.g. screw lids and crown caps from empty perfume bottles). The photo shows just a small selection.
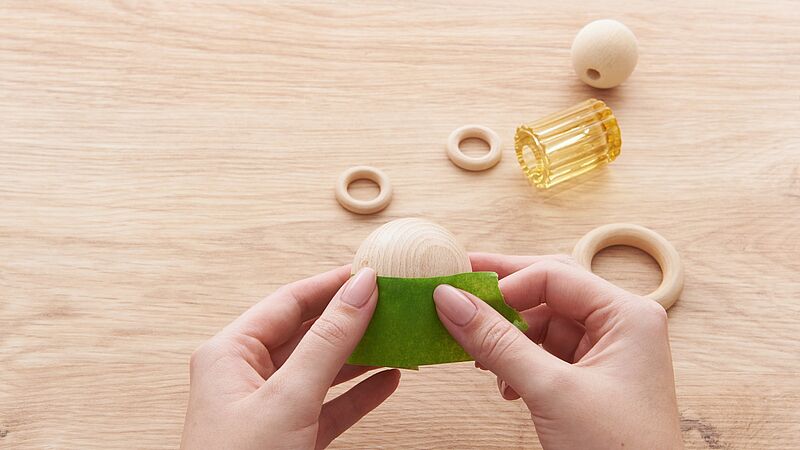
Step 3
If you only want to decorate half of the wooden ball, carefully mask off the other half with masking tape or other some other kind of adhesive tape.
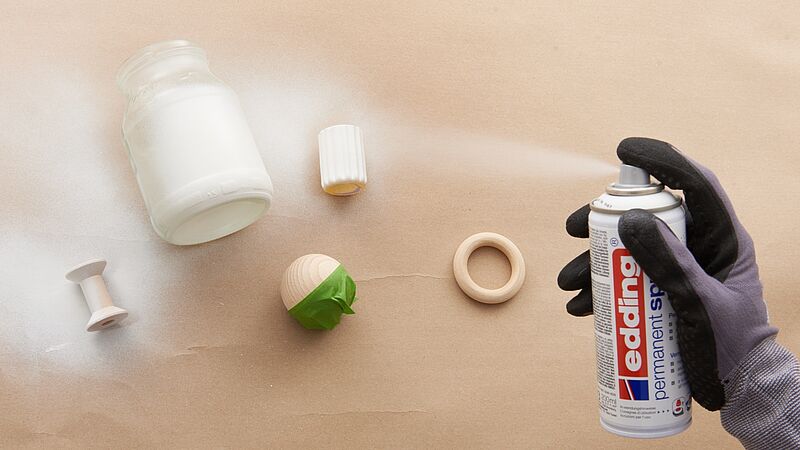
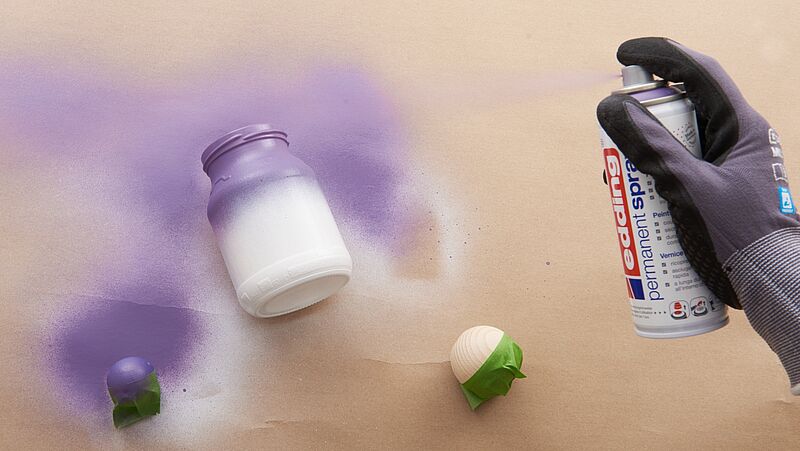
Step 4
Before you spray, make sure your work area is well protected by covering it with film or paper. In our Spray basics section, we’ve got important tips to help you achieve the perfect spraying technique. We recommend you spray at a distance of approx. 25 cm in a criss-cross motion to ensure as even coverage as possible. Firstly, spray all parts in traffic white at a constant distance. Let everything dry thoroughly.
Step 5
Here, we’ve decorated a wooden ball in “lilac” to match the top part of the jar. You don’t need to mask off the jar, as this technique lets you create an interesting, slightly irregular transition between the colours. Now let everything dry thoroughly.
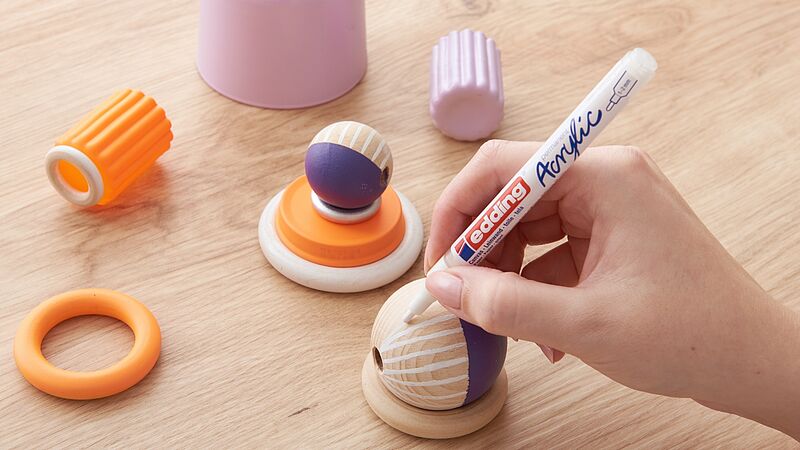
Step 6
You can spray the jars, lids and wooden rings in further spray colours of your choice. Our neon orange spray lets you add fabulous touches which really stand out. The acrylic marker can be used to add further detail to the wooden ball, for example by adding white stripes. Before use, the acrylic marker must be activated by following the instructions displayed on the pen.
Step 7
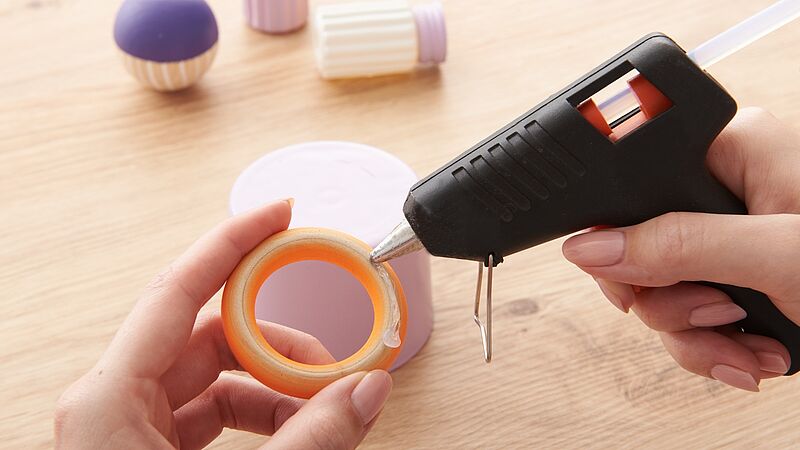
Use the hot glue gun to glue all of the separate parts together.

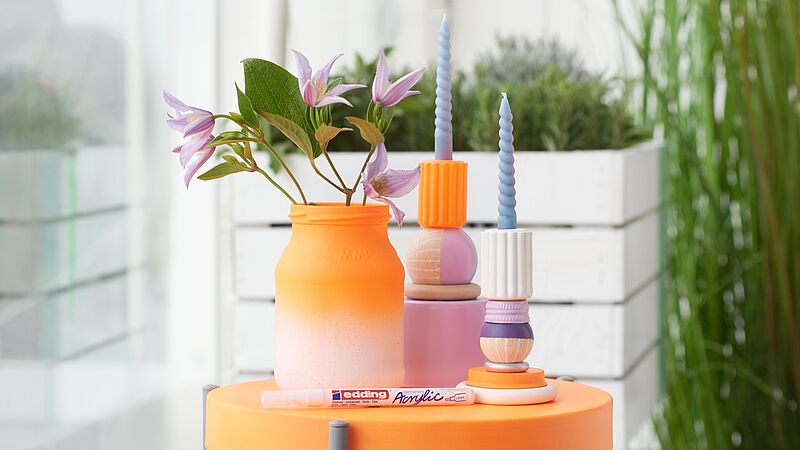
Step 8
For maximum stability, we recommend placing the wider objects (such as the glass containers) at the bottom. The fluted mini candleholders form the final touch at the top of the pyramid.
Step 9
These decorations will also look great on the balcony, providing a stylish look with their neon-coloured accents. You can also jazz up an old table to match by using permanent spray in co-ordinating colours.
Products and materials


Other materials
- Empty jars or glass containers
- A selection of lids and caps
- Wooden rings (e.g. from old curtain rails)
- Wooden balls
- Small glass candle holders
- Mask
- Gloves
- Masking tape
- A protective base for use when spraying
- Hot glue gun
Video
Additional images

Related ideas

Create your own concrete look
Unique upcycled bedside table

Upcycling idea for an old chest of drawers
A stylish new look for planters

Placemat upcycling idea
A stylish addition for your dinner table

Your very own designer side table
Create an eye-catching piece of furniture with this fun upcycling project
Repair scratches in your wooden floor
DIY hack: the simple way to get rid of dents and scratches
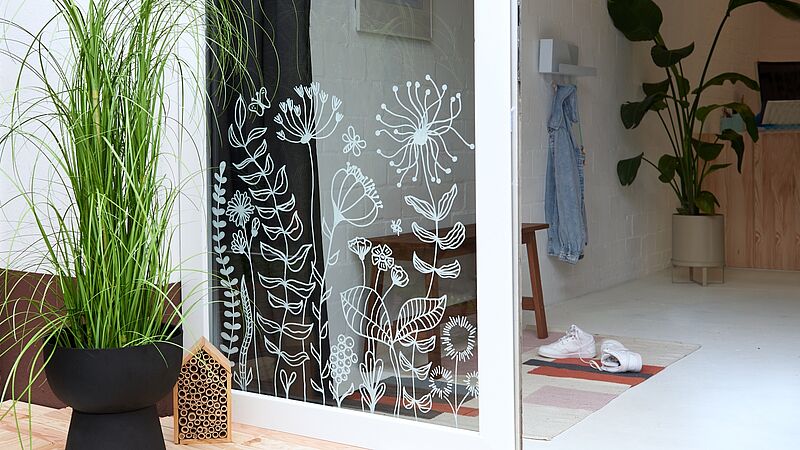
Magical flowers on your window
Decorate your windows and glass doors with striking floral designs
Creative Newsletter
Subscribe to our newsletter, and we’ll send you inspirational and creative DIY ideas, along with details of our latest products and special offers.