
Step-by-step

Step 1
Before you start, wash, dry and iron your bag to make sure the ink adheres to the fabric. edding 4500 textile markers come in a range of 20 colours, so just pick your favourites. Next, cut off one end of each of the handles, leaving the other two ends still connected to the bag.

Step 2
Cut along the bag's two longest seams, so that you have two pieces of fabric.

Step 3
Before you start creating your design, place a sheet of cardboard under the fabric to prevent the ink from leaking through to your work surface. Next, grab your textile markers and start gradually building up your design with a series of wavy lines that branch out from one point and then converge again at other points. Keep adding lines until you've created a beautiful harmonious pattern.

Step 4
Iron over your finished design (without steam) to set the ink and ensure your new placemats can be machine washed even at 60°C.

Step 5
Fold the fabric in half and make two small cuts to create a small loophole. This will be used to fix the strap in place when you set the table later (see picture in next step).

Step 6
And that's it – your new placemats are complete!
Products and materials


Other materials
- Light-coloured fabric bag
- Cardboard to protect your work area
- Scissors
- Iron
Related ideas

Create your own concrete look
Unique upcycled bedside table

Upcycling idea for an old chest of drawers
A stylish new look for planters

Your very own designer side table
Create an eye-catching piece of furniture with this fun upcycling project
Repair scratches in your wooden floor
DIY hack: the simple way to get rid of dents and scratches
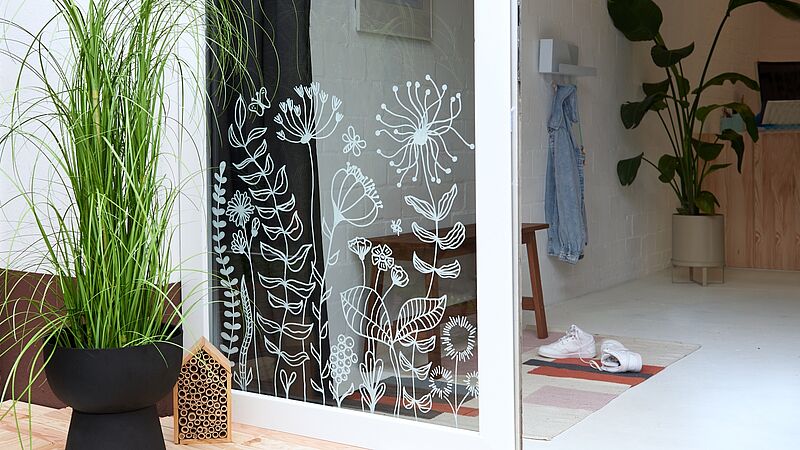
Magical flowers on your window
Decorate your windows and glass doors with striking floral designs
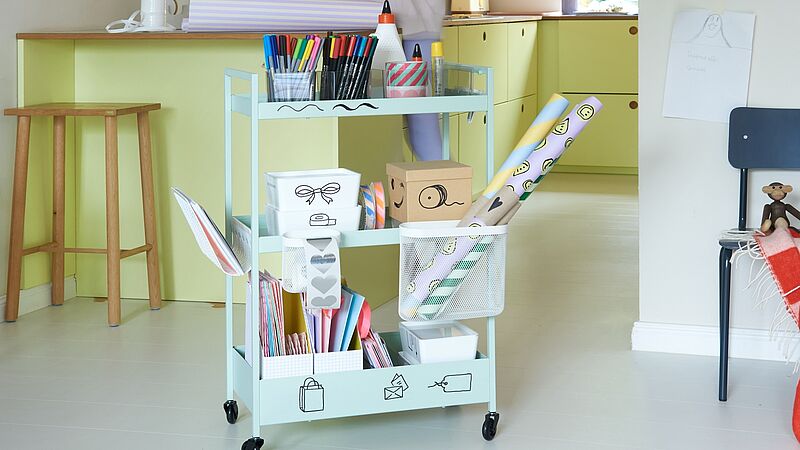
Everything neat and tidy
Keep track of what’s where in your craft room
Creative Newsletter
Subscribe to our newsletter, and we’ll send you inspirational and creative DIY ideas, along with details of our latest products and special offers.