
Step-by-step
Step 1
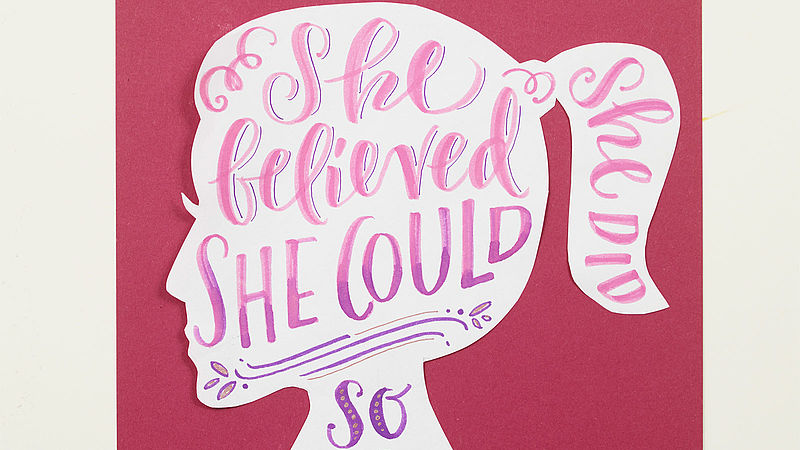
Print out the silhouette image in the size you want and cut it out. There are no set rules when it comes to lettering – how it looks is entirely up to you. You can use a variety of fonts, such as script or block lettering, and either narrow or broad letterforms. It’s a good idea to try out a range of styles beforehand.
Step 2
Using a brush pen can make expressive fonts look really beautiful; as you write, apply pressure on the downstrokes and contrast these by making the upstrokes really light. Varying the distance between the letters also gives you more scope for design. You can mix colours however you want with the help of the Brushpen Colour Mixer. The edding 1340 brush pen is also great for adding finishing touches such as shading, fine decorations and embellishments.
Products and materials

Other materials
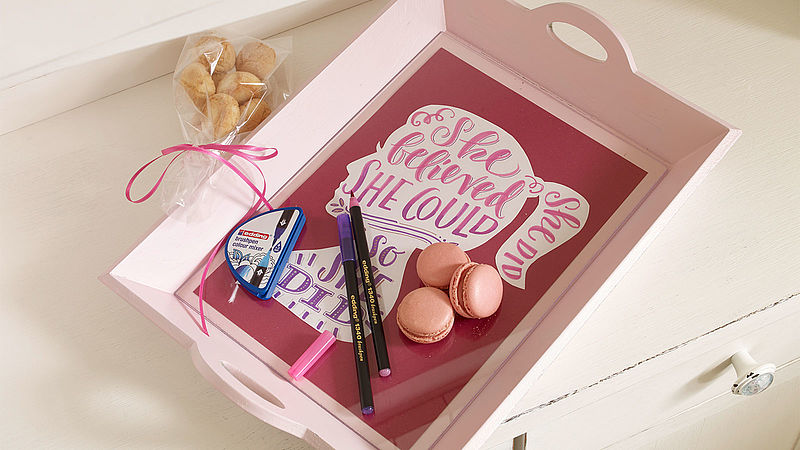
- Sheet of white paper to fit inside the tray
- A tray, plus a sheet of acrylic glass
- “Silhouette” template
- Good quality pointed scissors (e.g. by Fiskars)
Templates

Silhouette
Related ideas

Utensil holders in concrete grey
Upcycling idea for your kitchen accessories

Freshen up your grouting
Add sparkle to bathroom and kitchen grouting

Handmade wine labels
Beautifully designed wine labels - idea for Father's Day
A new look for vintage crockery
Upcycle granny’s porcelain plates
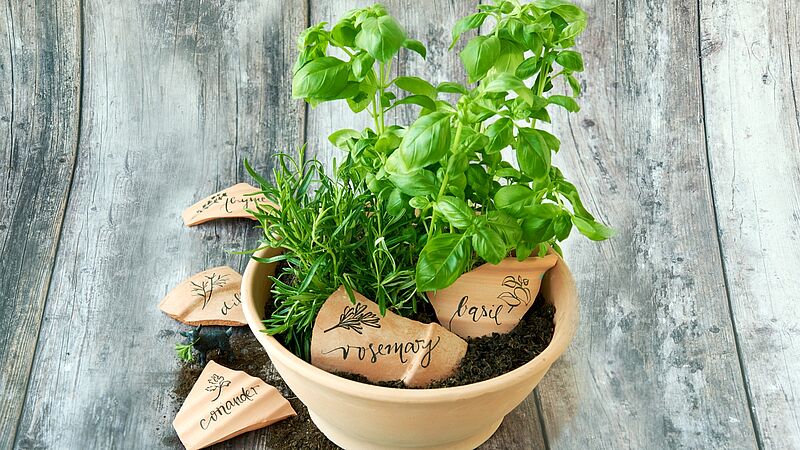
Decorative kitchen herbs
Stylish terracotta plant labels
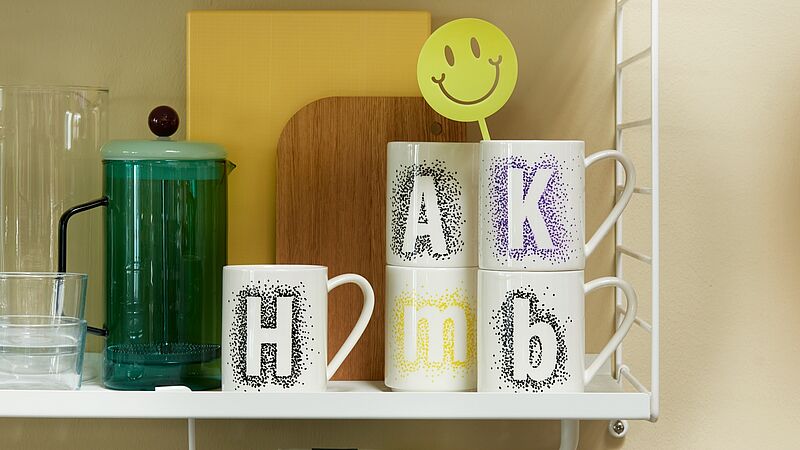
Favourite mugs with a DIY design
Set the tone with patterns of dots
Creative Newsletter
Subscribe to our newsletter, and we’ll send you inspirational and creative DIY ideas, along with details of our latest products and special offers.