Step-by-step

Step 1
First, you'll need to activate your grout marker by shaking it vigorously with the cap still on. Remove the cap and carefully press the nib down a few times on a piece of absorbent paper until the ink fills the tip. Once you've finished using your marker, remember to always replace the cap properly and store it horizontally.

Step 2
Next, go over your grouting using the marker. The sturdy nib is designed to help you draw neatly and accurately along the grouting without marking the surrounding tiles.

Step 3
Keep going until you've treated all the grouting that needs freshening up. If the nib wears out or becomes frayed, you can simple swap it for one of the replacement nibs included in the pack.

Step 4
And that's it! In next to no time, your grouting will look like new once more. It will be water-resistant and smudge-proof, too!
Products and materials
Other materials
- Scrap paper
- Cleaning cloth
Related ideas
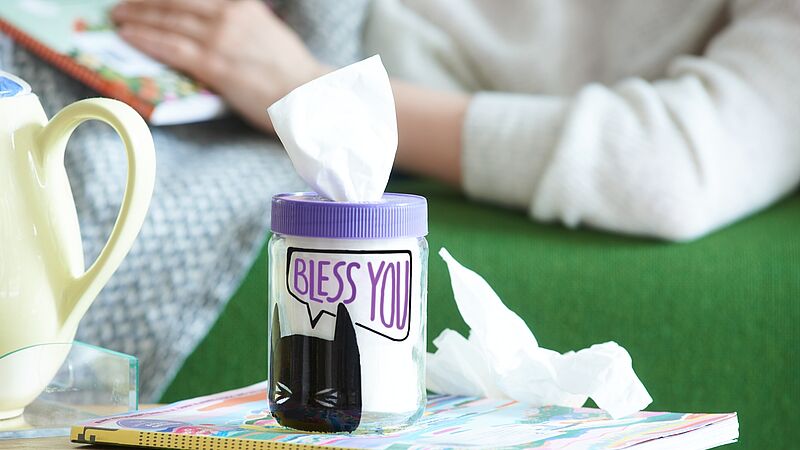
DIY tissue box
Put a smile on your face with this eye-catching tissue dispenser
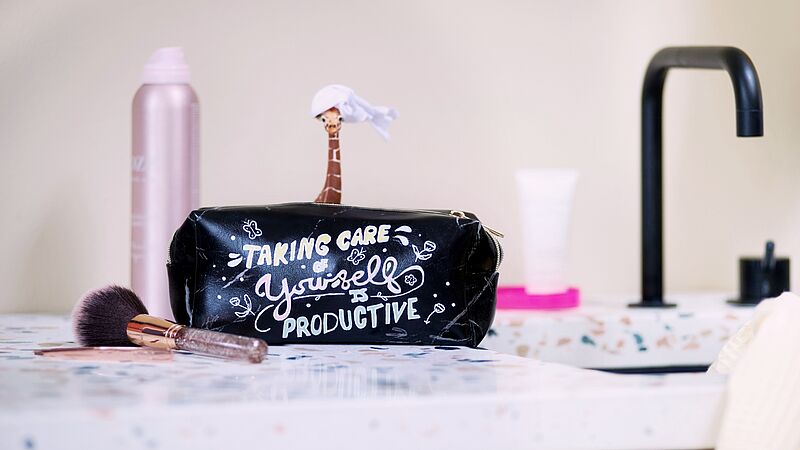
Makeup bag with a cool design
Add a touch of chic to your morning routine

Decorate your spa slippers
The perfect footwear for a relaxing spa
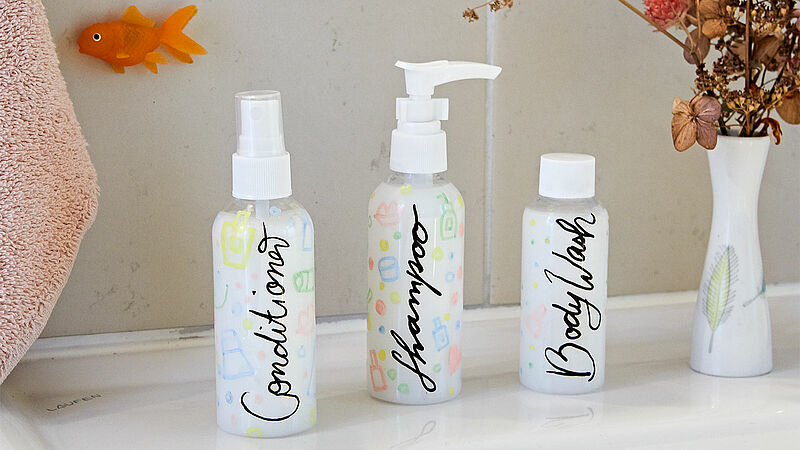
Stylish travel soap dispenser
Get organised for your wellness weekend
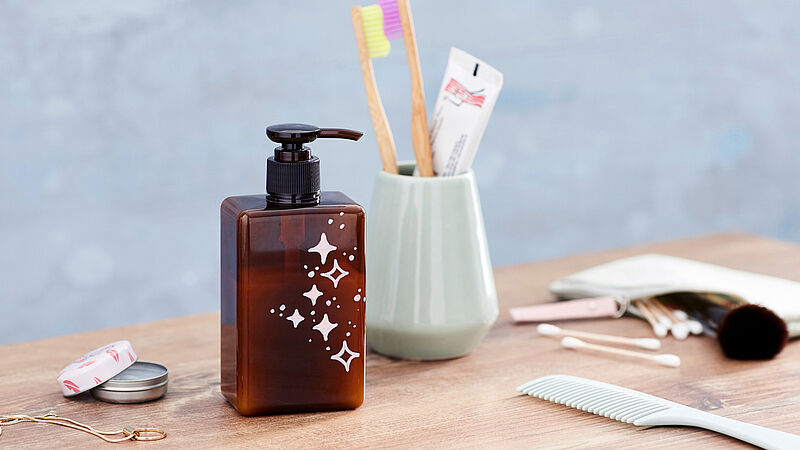
Painted soap dispenser
Follow the pastel craze with chic DIY bathroom accessories
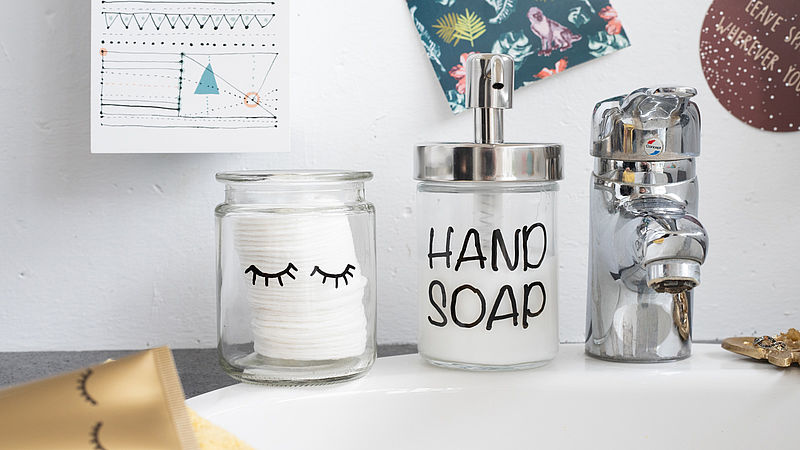
DIY bathroom storage jars
A snazzy decorative jar for storing cotton wool pads
Creative Newsletter
Subscribe to our newsletter, and we’ll send you inspirational and creative DIY ideas, along with details of our latest products and special offers.

