
Step-by-step
Step 1
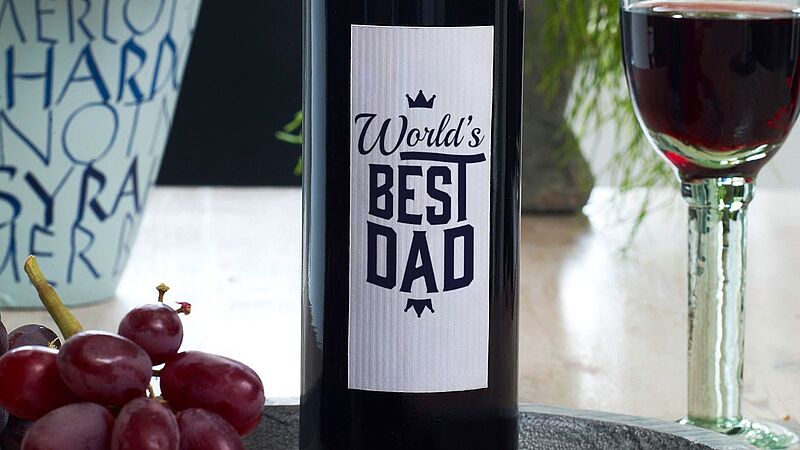
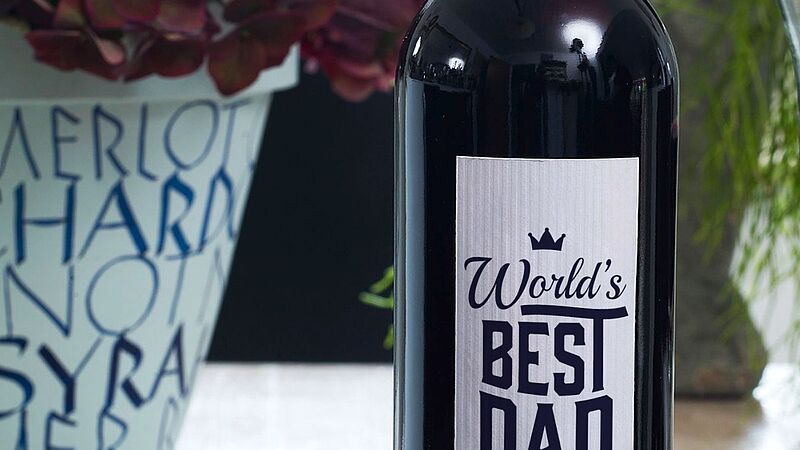
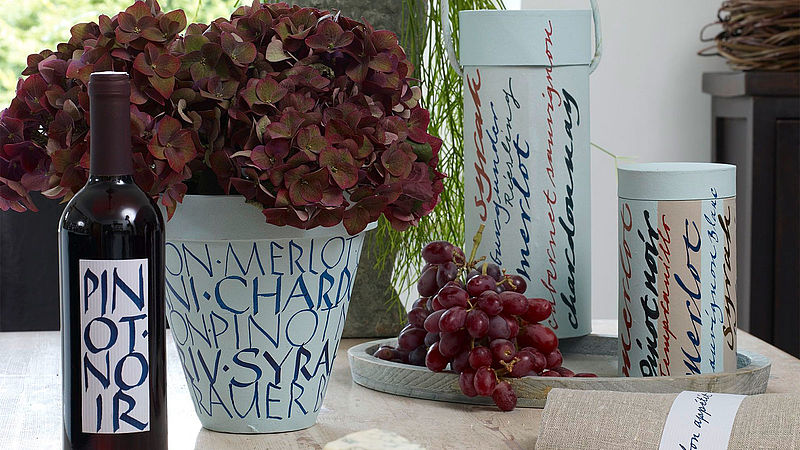
Cut out a label to the correct size from the light-coloured paper. You can use the size of the original label on the bottle as a guide, or make it larger so you have more space to write in.
Step 2
Add your text to the label in large letters using the calligraphy pen or marker. By using large letters and not leaving much space in between them you will increase the graphical impact (see picture), and you can enhance the effect even more by using all of the paper right up to the very edges. We've prepared a sample alphabet for you.
Step 3
Soak the original label off the glass bottle with water and then dry the bottle. Alternatively, you can also use the edding label remover. This makes it particularly easy to remove labels. Stick your own label onto the bottle using a suitable adhesive.
Step 4
Creative tip: If you want to learn the basics of calligraphy (the art of beautiful writing) then take part in our online Calligraphy Training with graphic designer and calligraphy expert Birgit Nass.
Products and materials


Other materials
- Light-coloured paper, scissors

Related ideas

Utensil holders in concrete grey
Upcycling idea for your kitchen accessories

Freshen up your grouting
Add sparkle to bathroom and kitchen grouting
A new look for vintage crockery
Upcycle granny’s porcelain plates
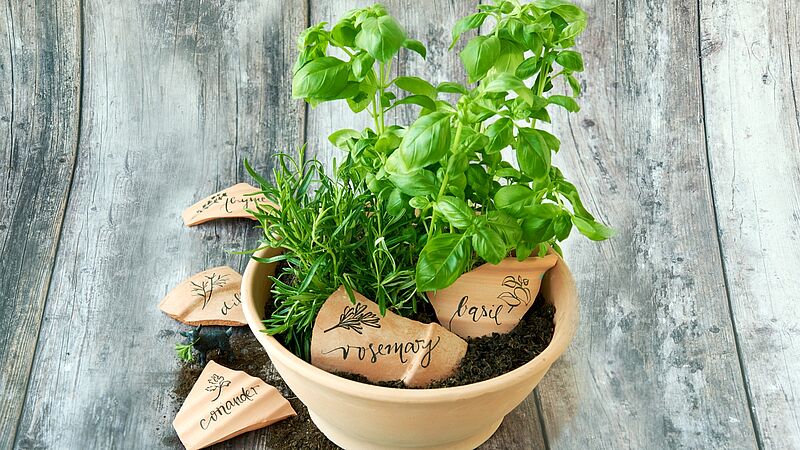
Decorative kitchen herbs
Stylish terracotta plant labels
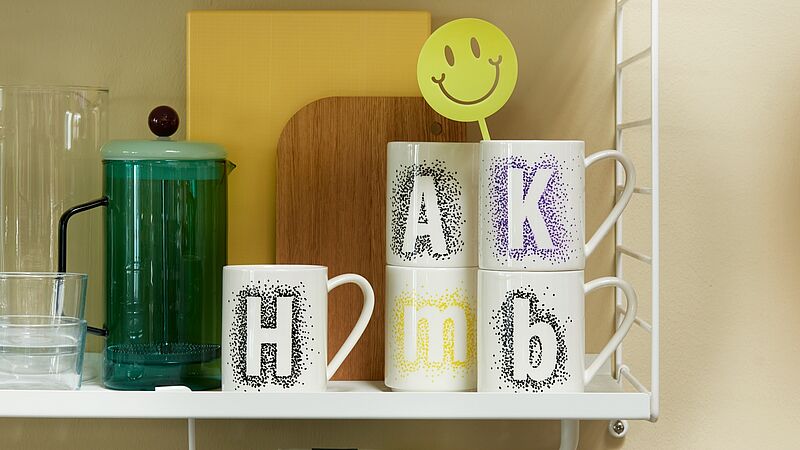
Favourite mugs with a DIY design
Set the tone with patterns of dots
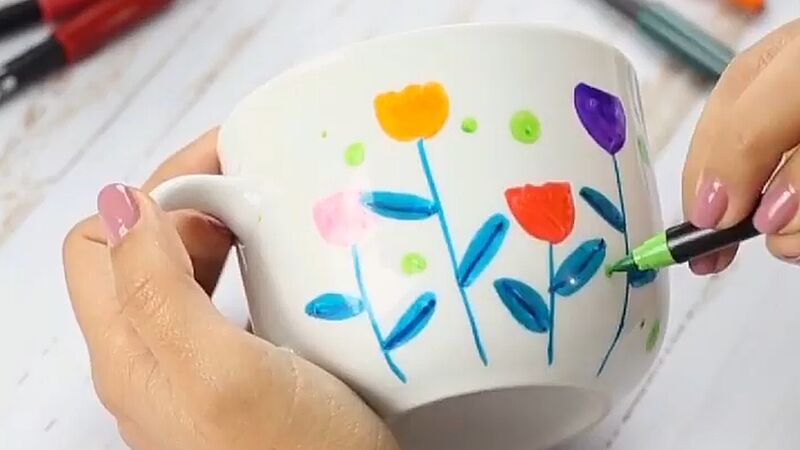
A favourite cup
Get your day off to a bright start
Creative Newsletter
Subscribe to our newsletter, and we’ll send you inspirational and creative DIY ideas, along with details of our latest products and special offers.