
Step-by-step
Step 1
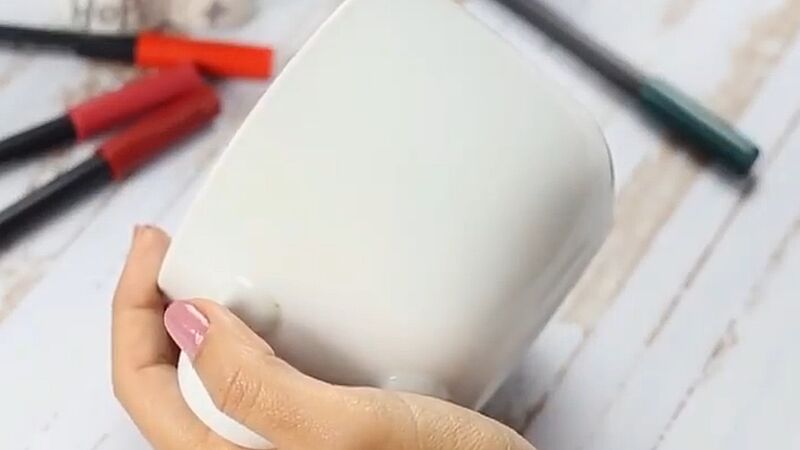
Before you start decorating, first wash the cup with water then wipe over with methylated spirits. Thorough cleaning is essential in order to remove any invisible protective film applied during manufacture.
Step 2
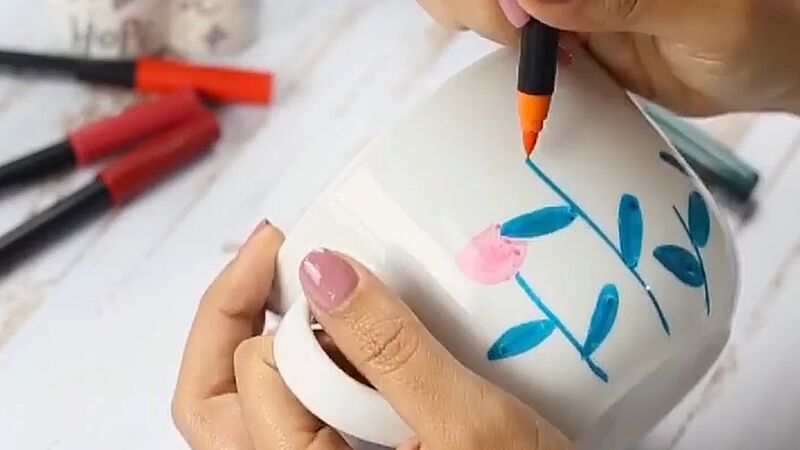
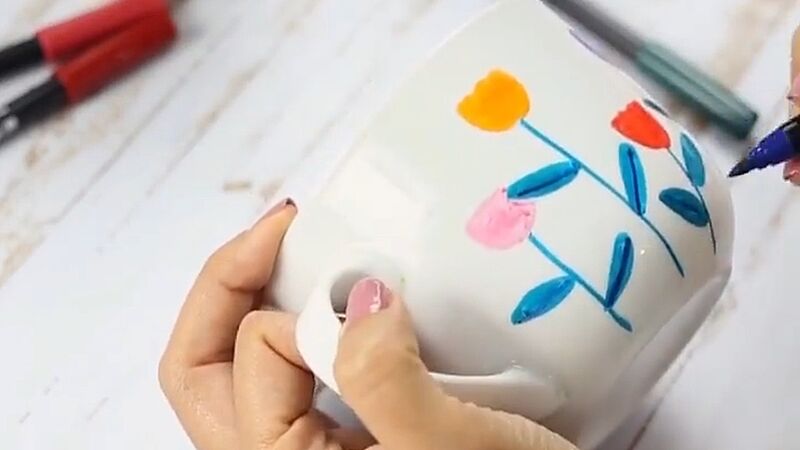
Now that you’ve prepared your surface, you can start painting: it’s best to paint the stems first (we chose light blue) before adding the flowers in a range of different colours. If you go wrong or your design isn’t to your liking, you can simply wipe away the ink with a damp cloth or a damp cotton bud.
Step 3
Add thin blue lines to the leaves to really bring your design to life. You can add light-green dots here and there between the flowers, wherever you fancy. Once you‘re happy with your design, leave the cups to dry for 15 minutes and preheat your oven to 160°C (heated from the top and bottom). Place the cup on a cold rack and bake your design for 25 minutes and allow to cool in the oven. Your decorative design will now be dishwasher-safe up to 50°C.
Products and materials

Other materials
- Porcelain cups
- Water and methylated spirits for initial cleaning
- A damp cloth or cotton buds for corrections
- A conventional oven
Related ideas

Utensil holders in concrete grey
Upcycling idea for your kitchen accessories

Freshen up your grouting
Add sparkle to bathroom and kitchen grouting

Handmade wine labels
Beautifully designed wine labels - idea for Father's Day
A new look for vintage crockery
Upcycle granny’s porcelain plates
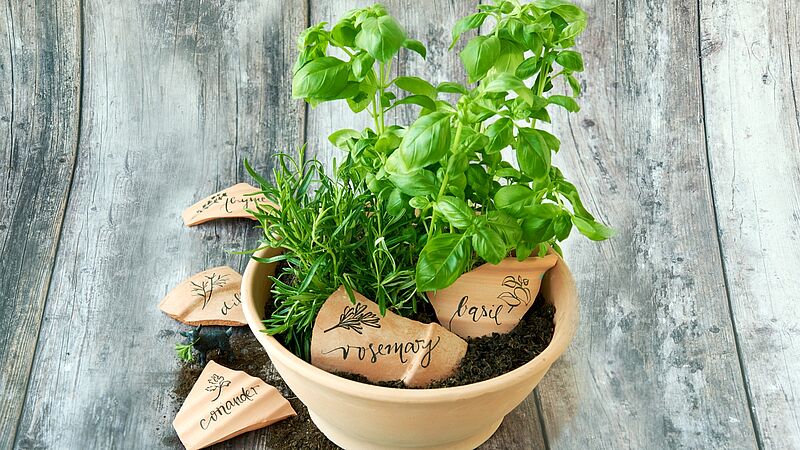
Decorative kitchen herbs
Stylish terracotta plant labels
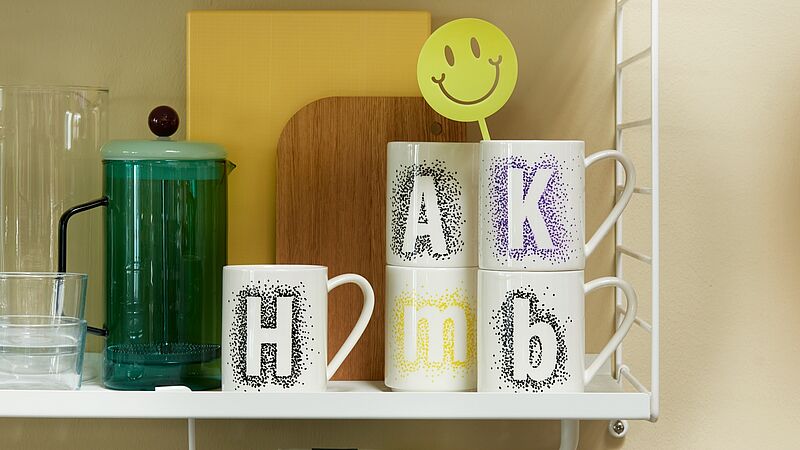
Favourite mugs with a DIY design
Set the tone with patterns of dots
Creative Newsletter
Subscribe to our newsletter, and we’ll send you inspirational and creative DIY ideas, along with details of our latest products and special offers.