
Step-by-step
Step 1
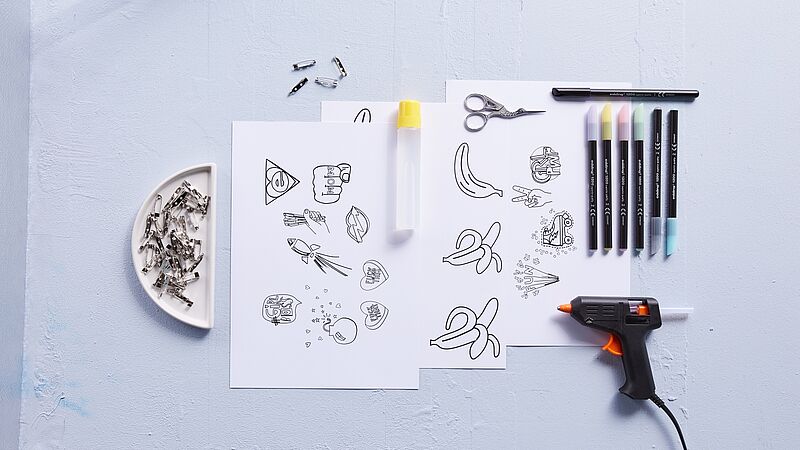
Make sure you have all your materials to hand before you start. You can see everything you need at a glance in our photo. For this idea, you’ll need edding 1200 colour pens in soft pastel colours, plus a dark colour such as black for the outlines and for creating shading and contrast.
Step 2
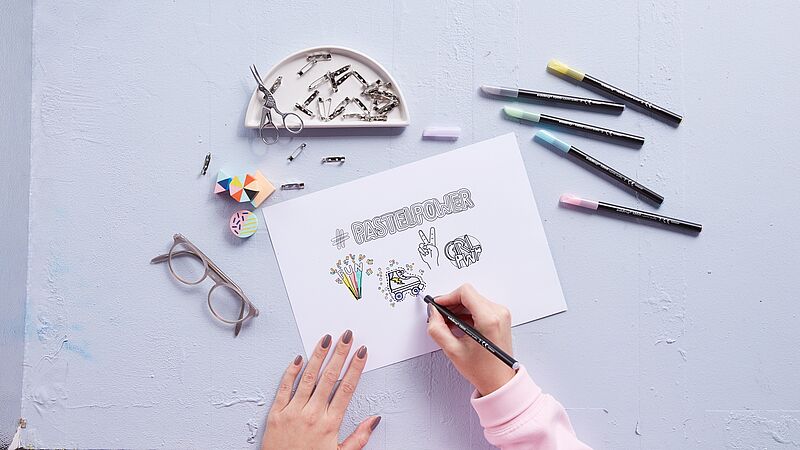
You’ll find the templates for the pins on this page. Just print out your desired motifs or draw your own motifs freehand. Next, colour them in any way you want. Thanks to its fine nib, the edding 1200 is also excellent for detailed drawing, embellishments and lettering.
Step 3
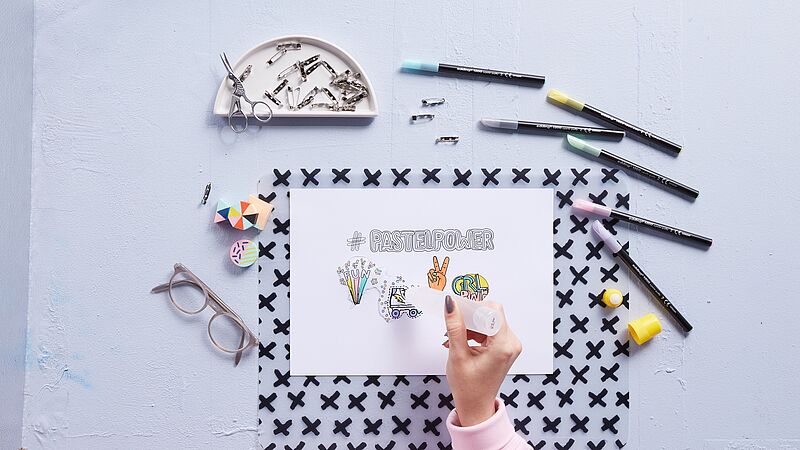
Before you start working with the glue, take care to cover your work surface with the protective sheet. Once you’ve coloured in your motifs, coat the pictures completely with liquid glue. This is to protect them during use and give them stability. When the layer of glue layer is fully dried (after approx. 12 hours), cut out the pictures the way you want the badges to look. The layer of dried glue will be pliable and easy to cut. Finally, glue the badge pins to the back of the buttons using the hot glue gun.
Products and materials

Other materials
- “Pastel power” templates
- Scissors
- Glue for the buttons
- Badge pins
- Hot glue gun
- Protective sheet for gluing on


Video
Related ideas

From old plates to stylish wall art
Upcycling idea for gran’s old porcelain

Handmade wine labels
Beautifully designed wine labels - idea for Father's Day
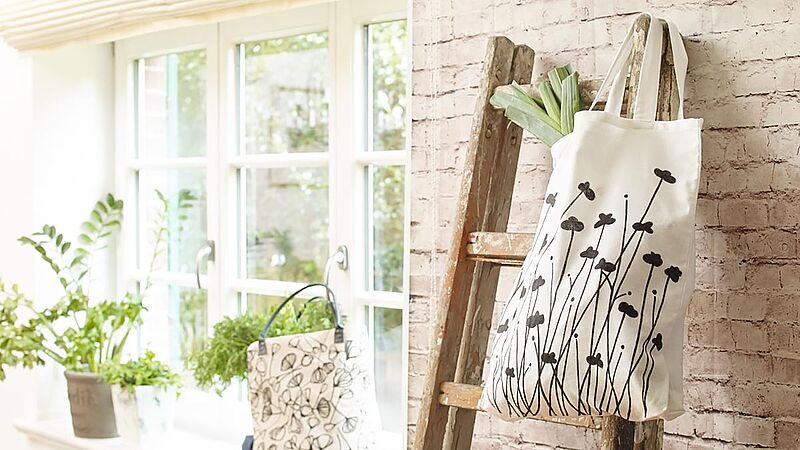
DIY shopping bags
Trendy bag designs – the easy way
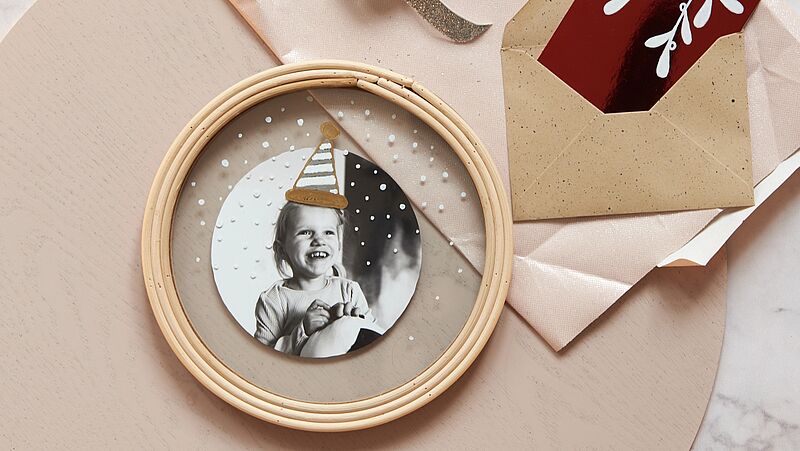
Photo styling
Design your own photo gifts with ease
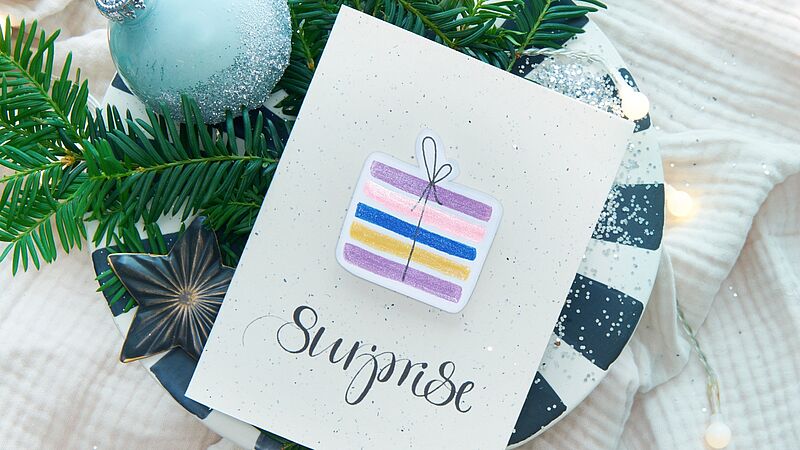
Surprise!
Glitter card with the wow factor
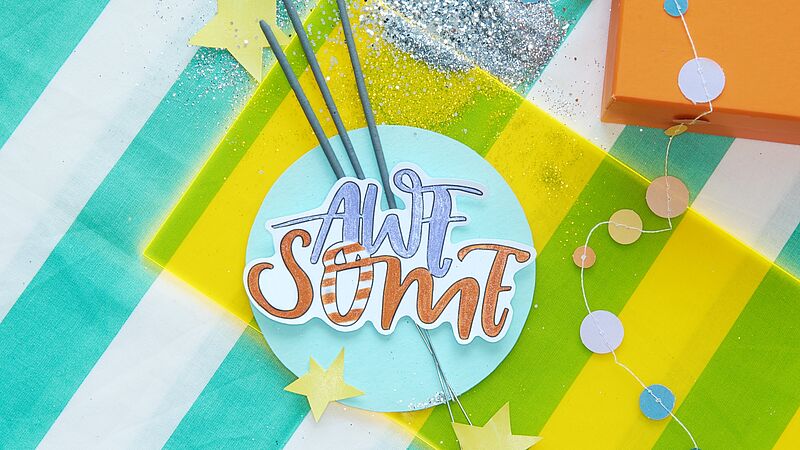
For magical moments
A glittery look for your party
Creative Newsletter
Subscribe to our newsletter, and we’ll send you inspirational and creative DIY ideas, along with details of our latest products and special offers.