
Step-by-step
Step 1
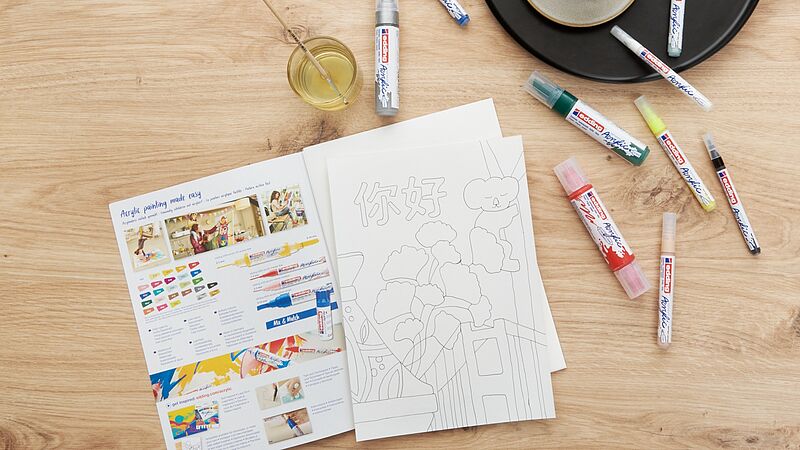
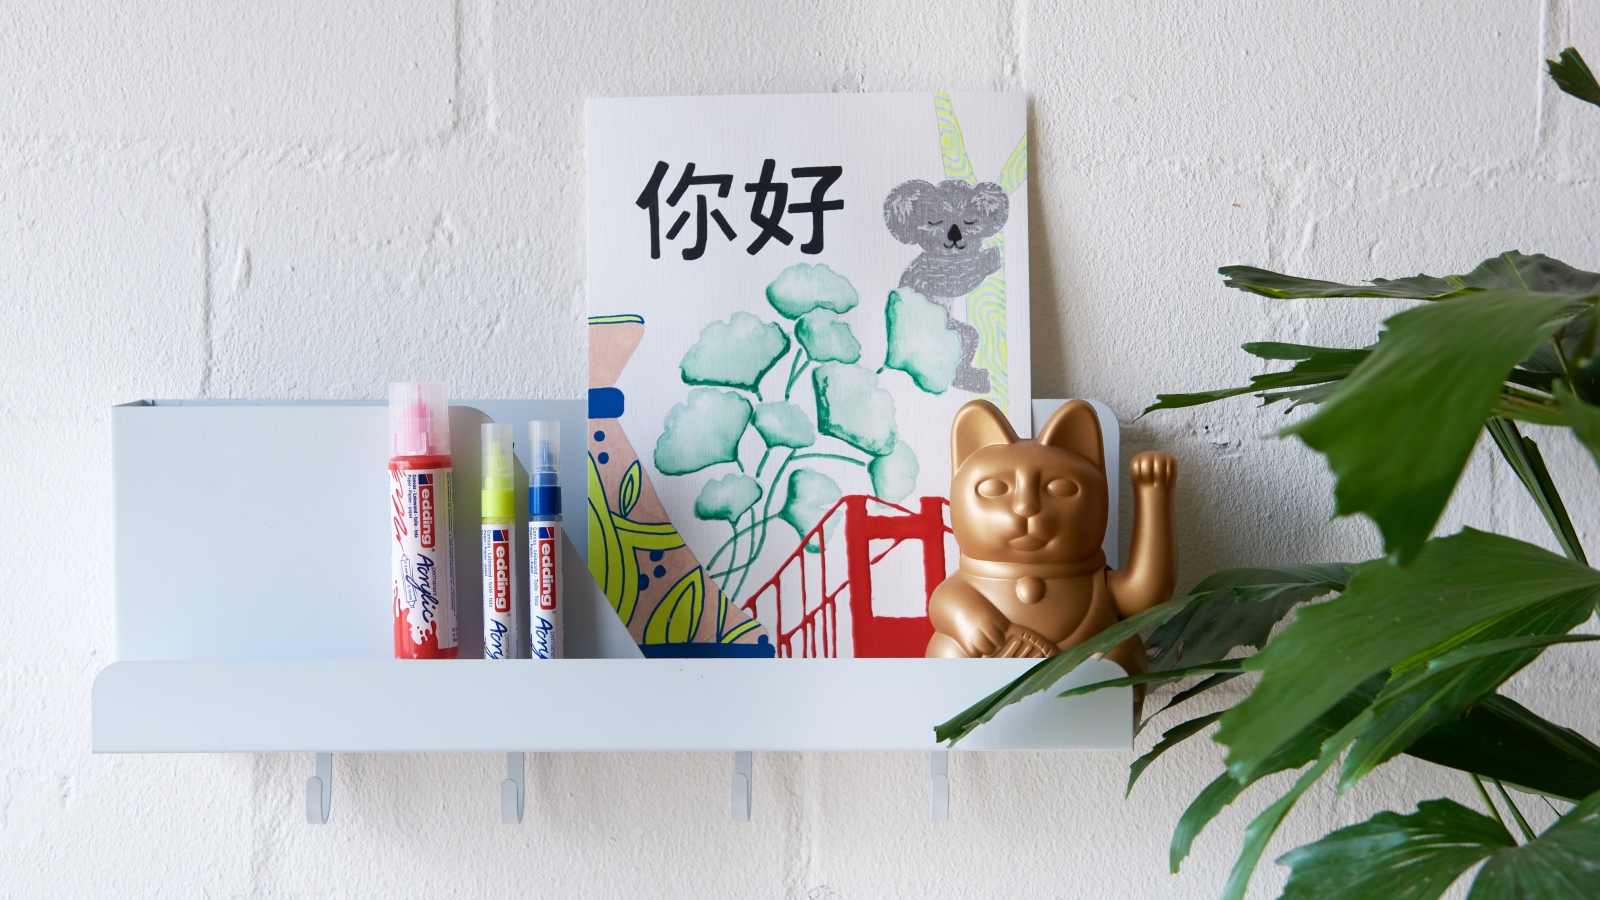
For this motif you'll need: broad acrylic markers in moss green and silver; medium acrylic markers in warm beige, neon yellow, elegant midnight and mellow mint; fine acrylic markers in black and traffic white, and the 3D double liner in traffic red. First of all, download the template and transfer it to the acrylic painting paper. With the template to guide you, it's quite easy to create the image.

Step 2
Before you start painting, you need to activate all the markers as follows: shake the marker with the cap on until you can hear the mixing balls rattle inside, then carefully pump up and down until ink appears in the tip. When using the broad acrylic marker with a chisel nib, it's important to hold it at a slight angle so you don't damage the tip. Remember to test the marker on a piece of scrap paper first.
Step 3
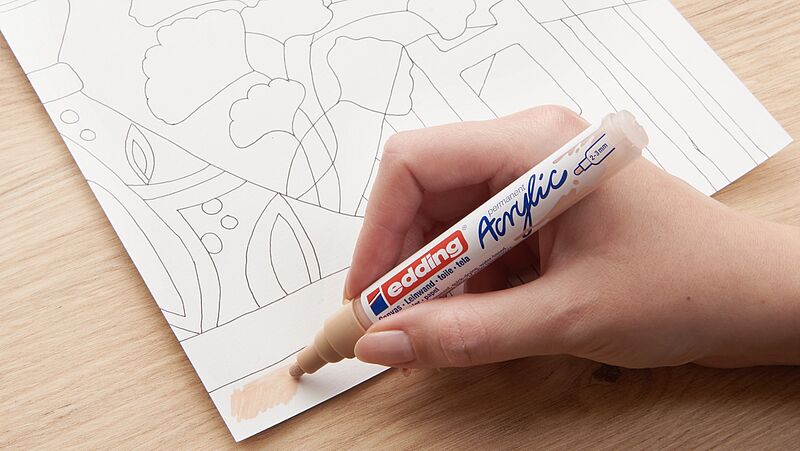
Using the medium acrylic markers in warm beige and neon yellow, colour in the sections of the Moroccan clay pot. It works best if you apply medium pressure to the point as this will enable you to get right into the corners with ease.
Step 4
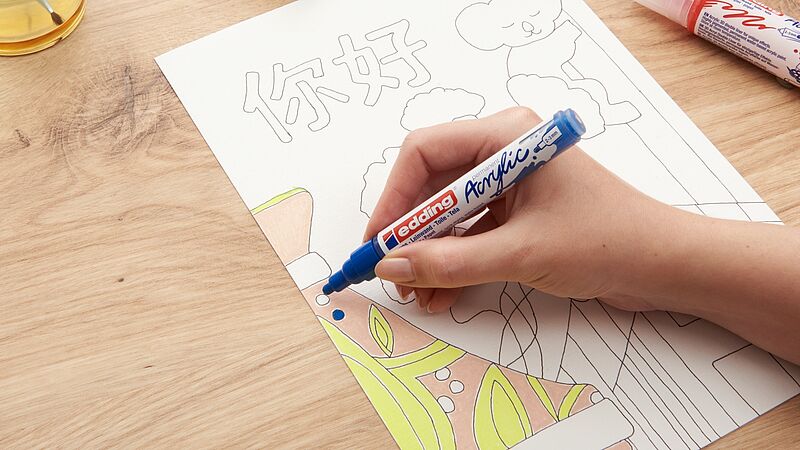
Next, use elegant midnight to draw the spots on the pot and go over the pre-drawn lines. You must ensure that the yellow and beige sections are dry, however, to prevent the colours accidentally running into each other.

Step 5
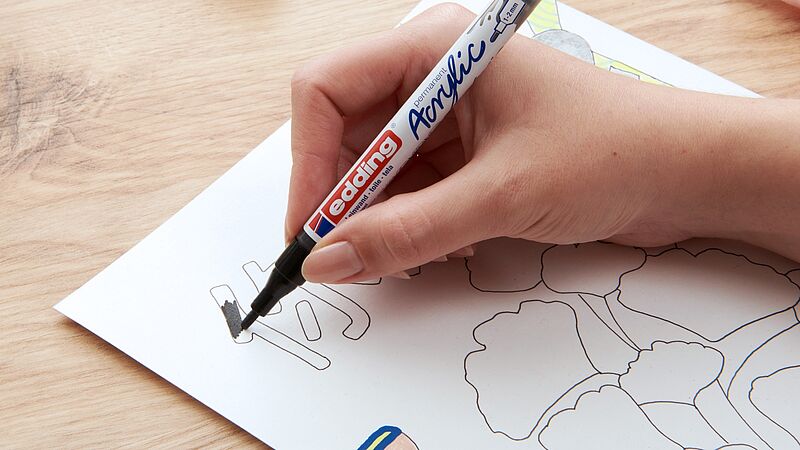
Now it's time to draw the koala bear. This is where the broad acrylic marker in silver comes in handy. Using the narrow edge of the chisel tip, go around the edge of the section before filling it in. Leave to dry. Using the fine acrylic marker in traffic white, add delicate strokes and touches on the silver-coloured area. This helps to make the koala come alive. Add the eyes, mouth and nose in black. Fill in the trunk of the eucalyptus tree using the medium wide marker in neon yellow, then let the paint dry. Now decorate the trunk with delicate patterns in mellow mint.
Step 6
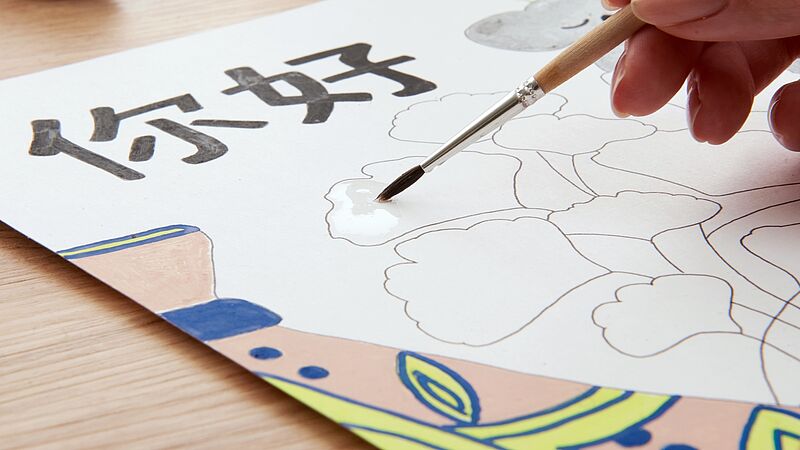
Paint the Chinese characters (which mean "hello", by the way) using the fine acrylic marker in black.
Step 7
The next step is to create the gingko leaves: Wet each leaf using a brush dipped in water, so that when you apply the acrylic paint in the next step it smudges nicely and becomes translucent.

Step 8
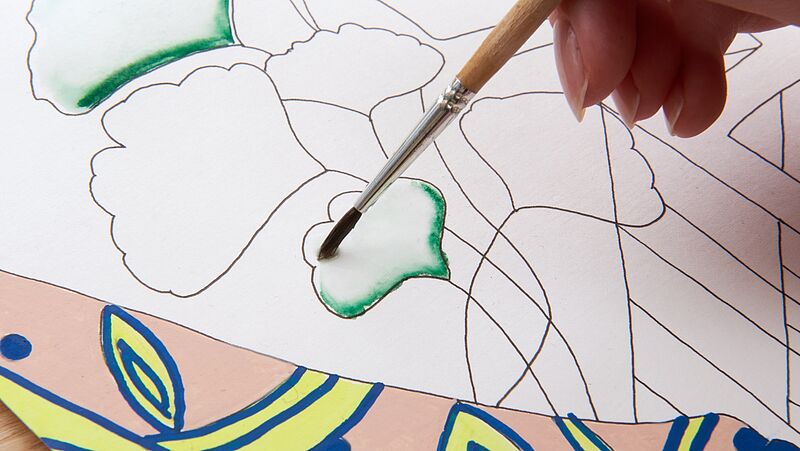
Using the broad acrylic marker in moss green, now apply the paint to the lower edge of the leaf. The edge of the chisel tip is best for this. If the leaf is sufficiently damp, the paint can literally be drawn across the paper.
Step 9
Use a wet brush to distribute the paint more thinly to gain more transparency. This method allows you to make the leaves darker or lighter to suit your taste.
Step 10
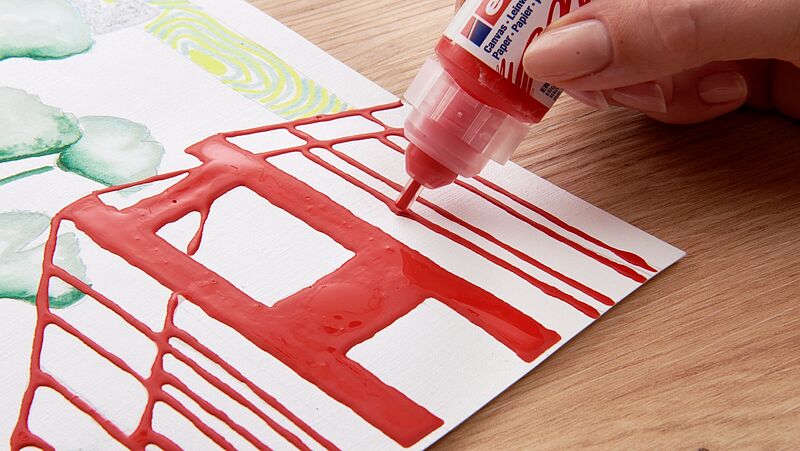
Now it's time for the 3D double liner. With dispensers in two different sizes, it can be used to apply both fine lines and really broad strokes. The acrylic paste in traffic red can be used to create interesting textural effects. For the suspension cables on the Golden Gate Bridge, use the narrow dispenser. For the bridge towers, use the broad tip. Now leave all the coloured sections until thoroughly dry.
Products and materials


Video
Additional images
Related ideas

Shelf decorated with love
Make children’s dreams come true

Create your own concrete look
Unique upcycled bedside table
Earth Day
A little better every day

Designs in natural tones
Record baby's first milestones with these creative keepsakes

Discover the joy of manga drawing
Create impressive manga characters with ease
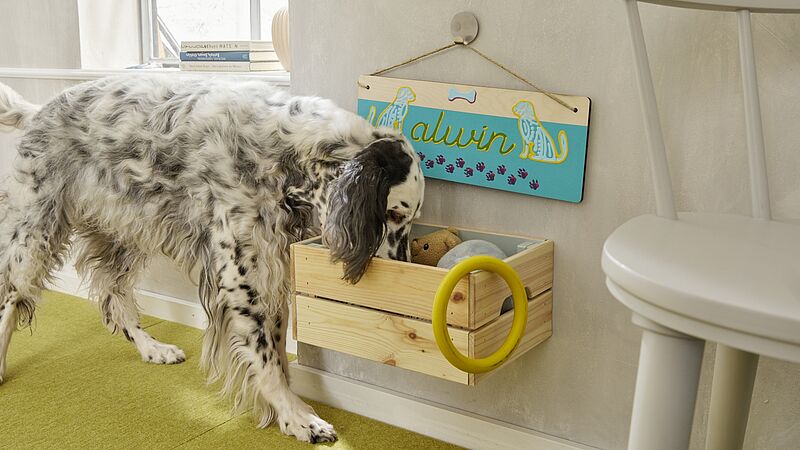
Name plaque for your best friend
DIY idea for dog lovers
Creative Newsletter
Subscribe to our newsletter, and we’ll send you inspirational and creative DIY ideas, along with details of our latest products and special offers.