Step-by-step

Step 1
Before you set about using your label remover marker, you first need to activate it. To do this, shake the marker with the cap still on. Next, carefully press the nib down a few times on a piece of scrap paper or some other test surface until the oil fills the tip. Coat the sticker thoroughly using the marker and wait a few minutes for the oil to get to work.

Step 2
You can now simply remove the sticker and wipe away any residue. The marker works in just the same way for labels on crockery or jam jars.

Step 3
Once you've removed all your stickers, simply give the surface another wipe over with a damp cloth – and you're done!
Products and materials
Other materials
- Scrap paper for activating the marker
Related ideas

Shelf decorated with love
Make children’s dreams come true
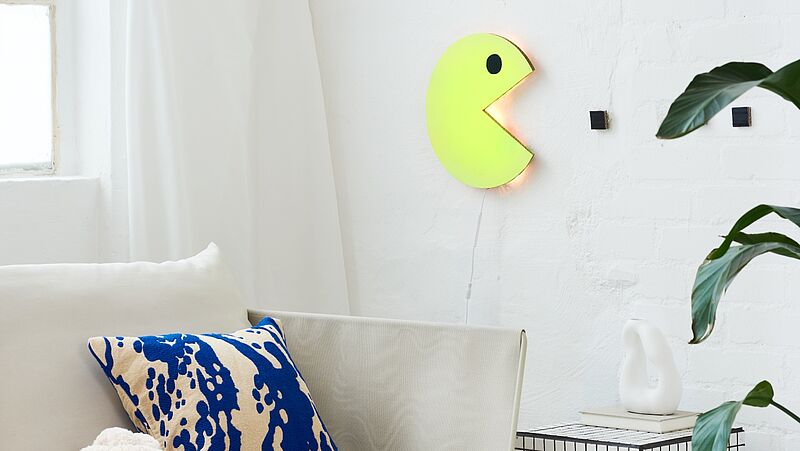
I made it myself!
How to create a super cool lamp from a sheet of cardboard
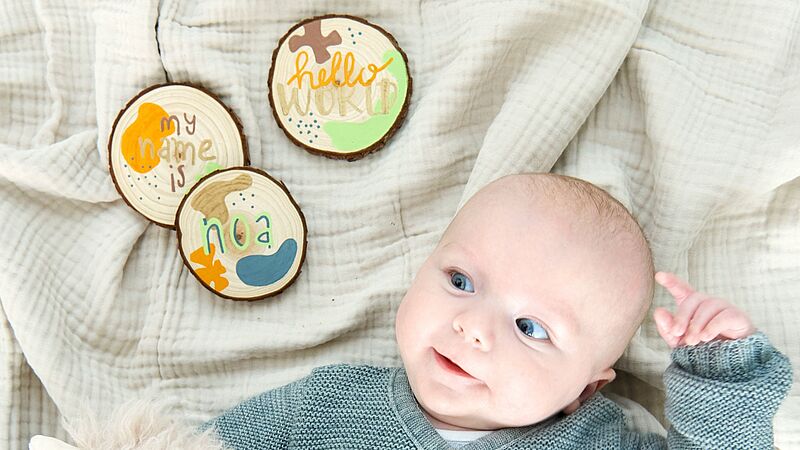
Designs in natural tones
Record baby's first milestones with these creative keepsakes
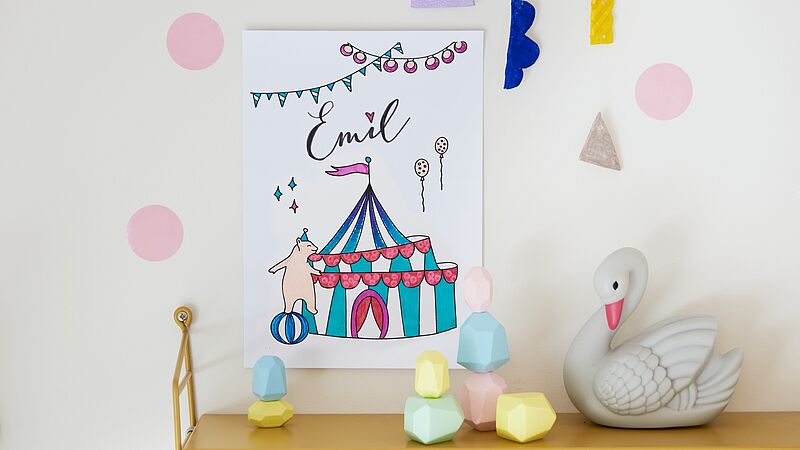
Name tag for children's room
Design idea for young circus artists
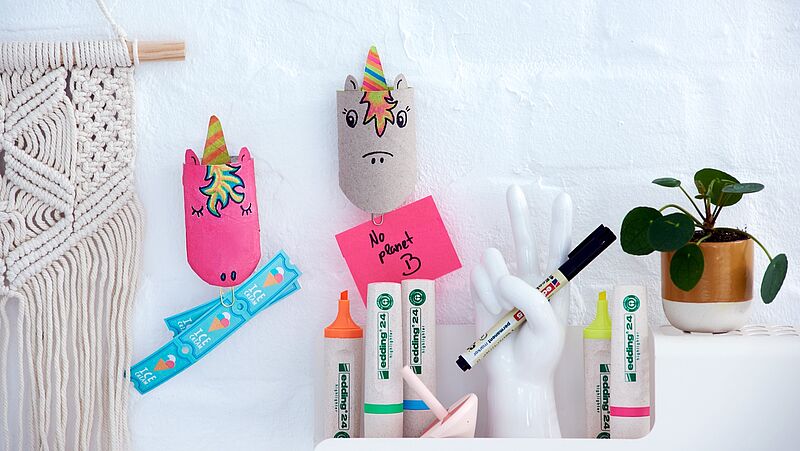
DIY memo holder
Make your own unicorn memo board
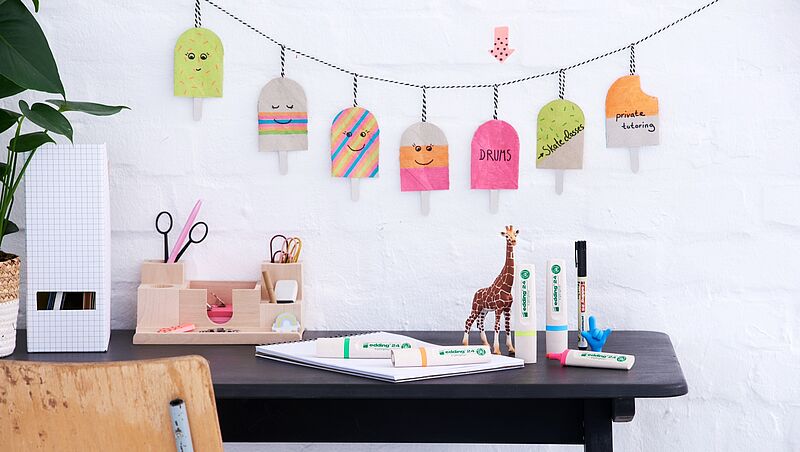
DIY ice cream garland
Make back-to-school more fun
Creative Newsletter
Subscribe to our newsletter, and we’ll send you inspirational and creative DIY ideas, along with details of our latest products and special offers.

