
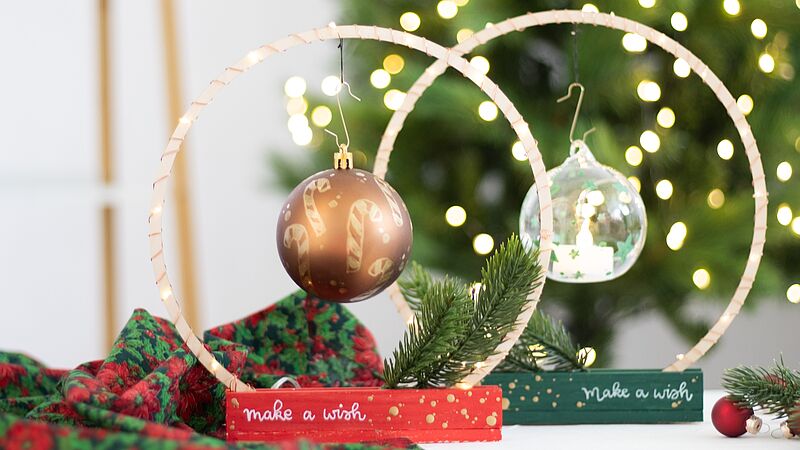
Step-by-step

Step 1
For the design, we’ve used fine and broad acrylic markers, as well as the acrylic 3D double liner in a range of colours. Before you start colouring, the acrylic markers must be activated as follows: shake the marker with the cap on until the mixing ball can be heard inside the pen. Next, carefully pump the marker up and down until ink appears in the tip. Test the marker out on a piece of scrap paper.

Step 2
If the surface of the wooden disc is very rough, first smooth it down a bit with the sandpaper before getting started. Use a pencil to sketch out your chosen pattern before grabbing the gold-coloured double liner and going over the motif. To do so, remove the cap from the thin nozzle and gently squeeze the tube.

Step 3
Let the gold-coloured paint dry thoroughly. Now it’s the turn of red: the double liner’s fine nozzle is perfect for adding delicate red dots to the branch. Leave to dry before making a hole in the wood and hanging the tag using a ribbon.

Step 4
If you fancy it, you can also colour in the base of the wooden disc using mild mint, before continuing your design with the double liner.

Step 5
edding acrylic markers are also great for adding unique designs to gift wrap. You can add designs to the paper either before or after wrapping the gift, in whatever way you like. We’ve used the acrylic marker in classy mauve in our example.

Step 6
There’s no shortage of ideas for patterns and motifs, so just let your imagination run wild! The colours of the acrylic markers are opaque, allowing you to create expressive effects on both dark and coloured paper.

Step 7
And if Christmas is fast approaching, the wooden tags also work brilliantly as Christmas tree decorations!
Products and materials


Other materials
- Small wooden discs
- Sandpaper (optional)
- Pencil
- Plain gift wrap
- Ribbon
- Wood drill
Related ideas
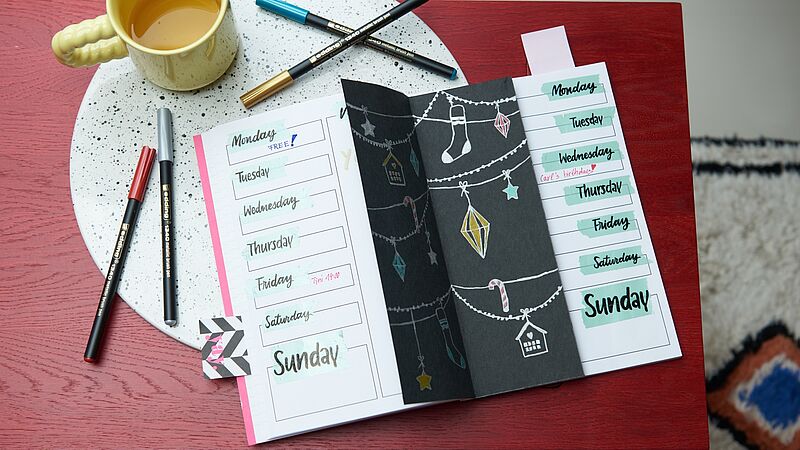
A festive look for your journal
Decorate your weekly planner with this stylish insert
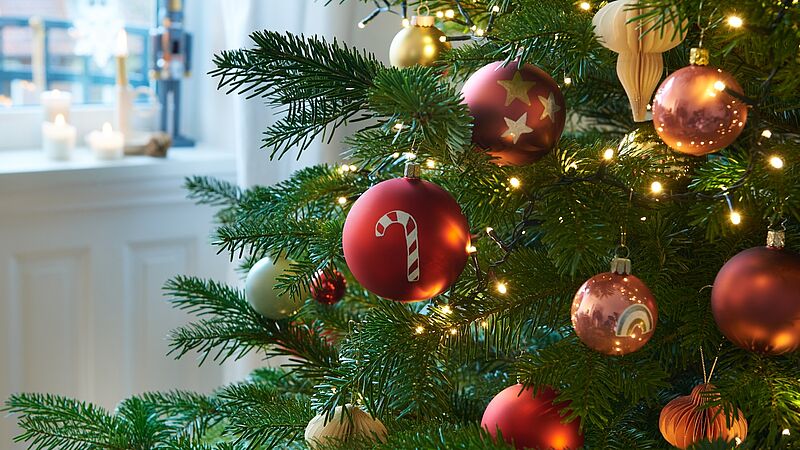
Festive glass baubles
Hand-decorated baubles for the Christmas tree
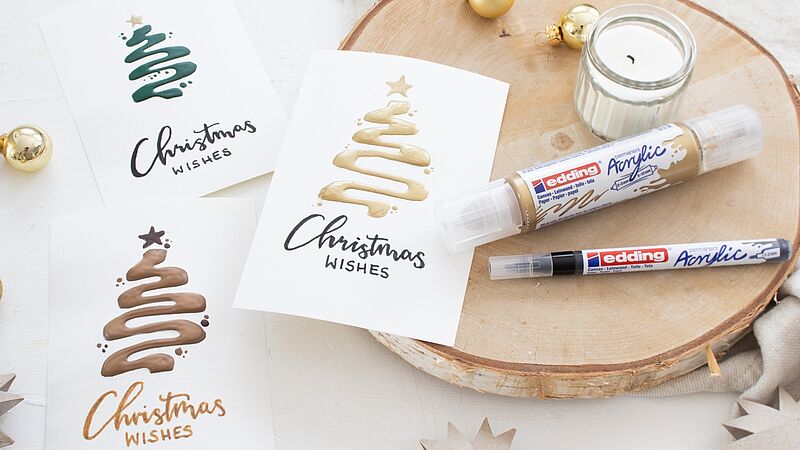
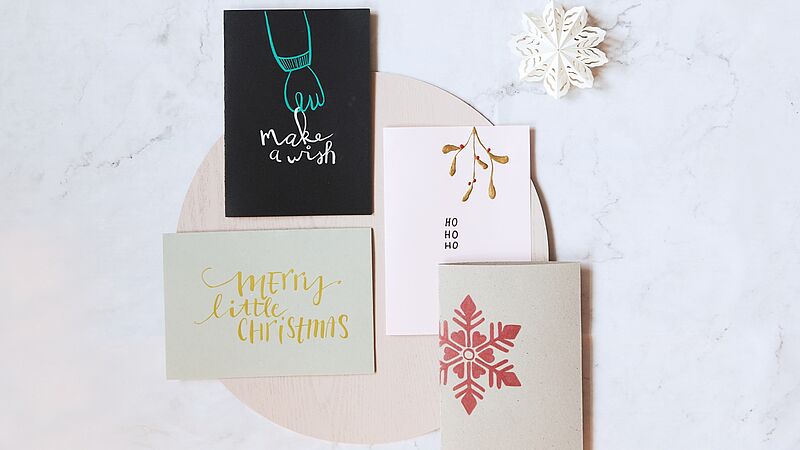
Easy-peasy season’s greetings
Creatively designed Christmas cards

Individual gift jar
Small gifts, beautifully packaged
Design your own circle of light
Create a festive atmosphere
Christmas post with added sparkle
Eye-catching cards for your nearest and dearest
Creative Newsletter
Subscribe to our newsletter, and we’ll send you inspirational and creative DIY ideas, along with details of our latest products and special offers.