
Step-by-step

Step 1
You can see everything you need at a glance in our photo. For a festive feel, we used edding 751 gloss paint markers in silver, gold and copper. First, print out the template. It has a wide selection of seasonal motifs; simply cut out the one you want and tape it to the inside of the glass so that it shows through clearly. This makes it really easy to trace the image onto the outside of the glass using the gloss paint markers.

Step 2
Before using a gloss paint marker, you need to activate it as follows: shake the marker vigorously with the cap on, then remove the cap and pump the marker on a piece of absorbent paper a few times until ink appears in the nib. Now you’re ready to get started. For the Christmas tree image, we used the silver marker. We recommend you start with the outer edges of the motif and let it dry for a short while before filling it in. After use, always store the marker horizontally.

Step 3
You can obviously fill in the shapes with any patterns you choose. You can also jazz up the design with stars or snowflakes.

Step 4
In this photo, you can see what a candle holder looks like with a decorative design in gold. Finally, remove the template – and there you have it: your Christmas decor is ready!
Products and materials

Other materials
- A selection of jars or glasses
- Template
- Washi tape or other adhesive tape
- Scissors
Templates
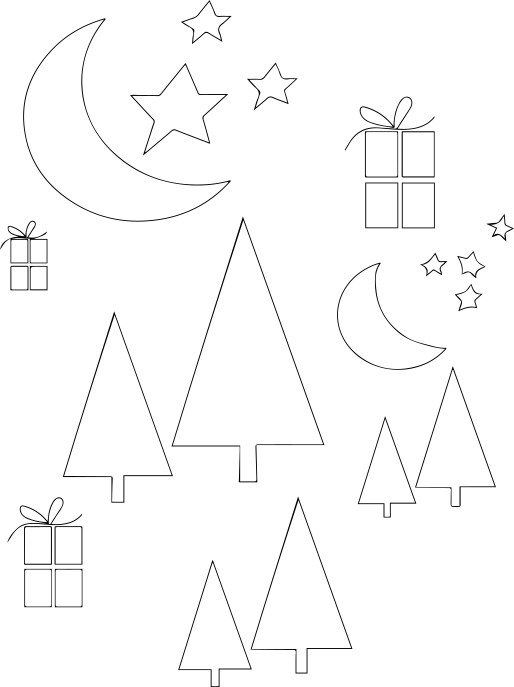
Christmas Symbols
Additional images

Related ideas
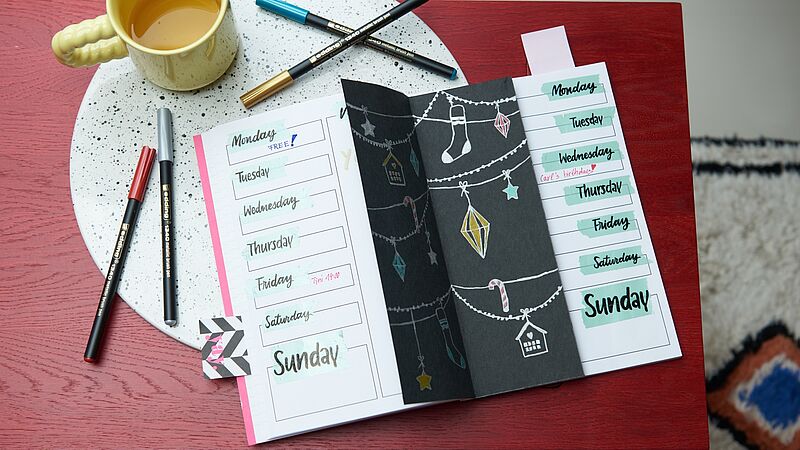
A festive look for your journal
Decorate your weekly planner with this stylish insert

Festive glass baubles
Hand-decorated baubles for the Christmas tree
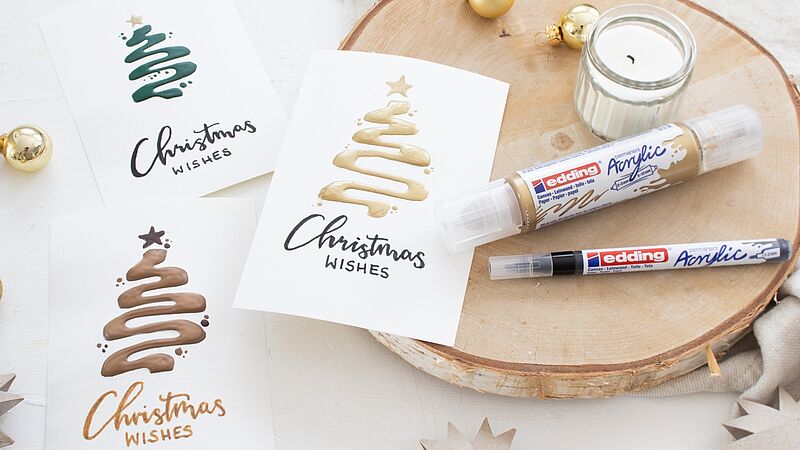
Easy-peasy season’s greetings
Creatively designed Christmas cards

Individual gift jar
Small gifts, beautifully packaged

Design your own circle of light
Create a festive atmosphere

Christmas post with added sparkle
Eye-catching cards for your nearest and dearest
Creative Newsletter
Subscribe to our newsletter, and we’ll send you inspirational and creative DIY ideas, along with details of our latest products and special offers.