Step-by-step
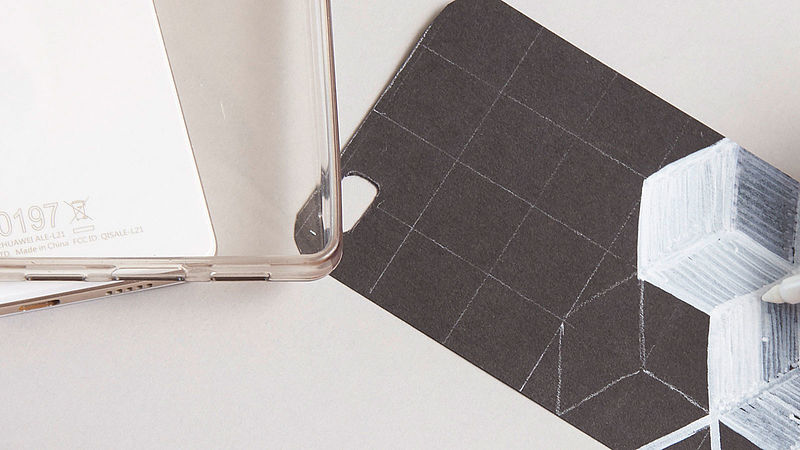
Step 1
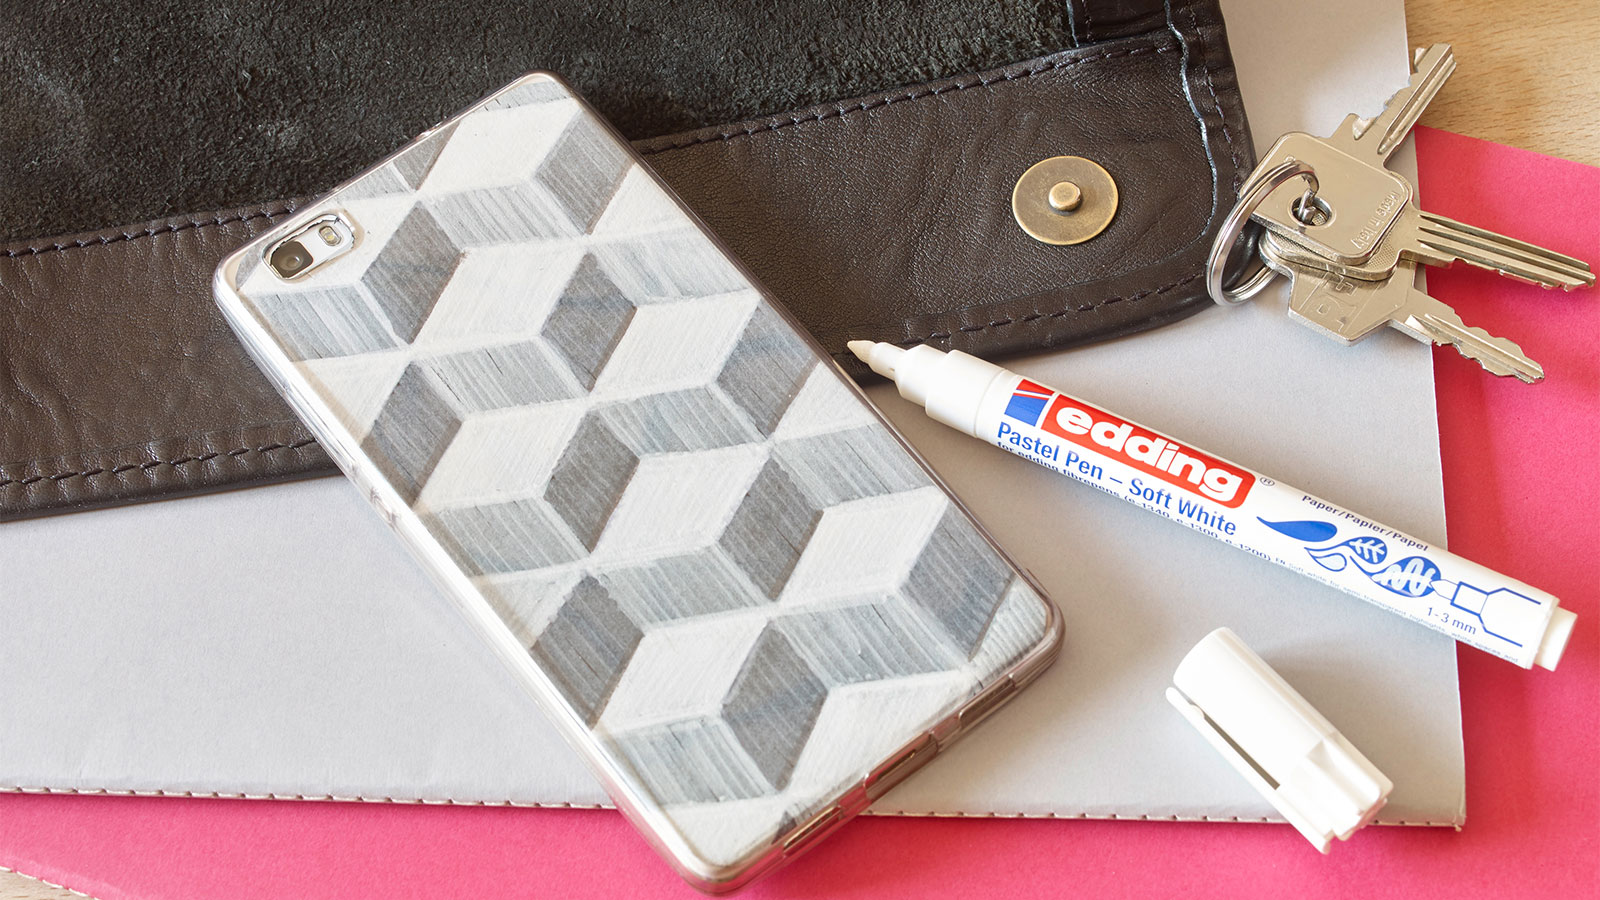
First, cut out a piece of black paper to the right size. To do this, place the phone case on the paper and trace the outline of the case, including any gaps for the camera, etc. Next, cut out the shape. Use the crayon and ruler to draw your pattern, starting with 4 squares across and 9 squares down. Next, draw a diamond shape in two adjacent squares, and a cube shape will appear.
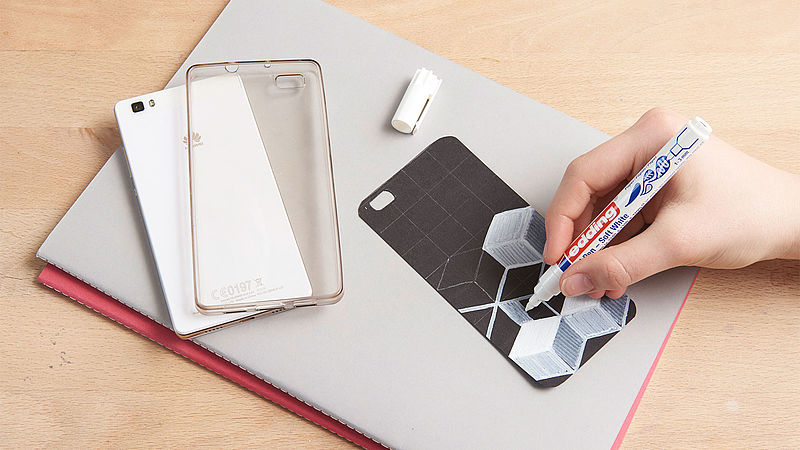
Step 2
Colour in the individual areas in different shades of white to create a three-dimensional effect. Make sure that the upper face of each cube has a stronger shade of white (the right faces are semi-transparent and the left faces are medium-white). After applying the first layer you will initially have a semi-transparent white area.

Step 3
To achieve a deeper shade of white, wait until the first layer has dried and then go over the soft white area one or more time using the pastel pen. You’ll gradually see a three-dimensional cube motif appear with many different nuances of white.
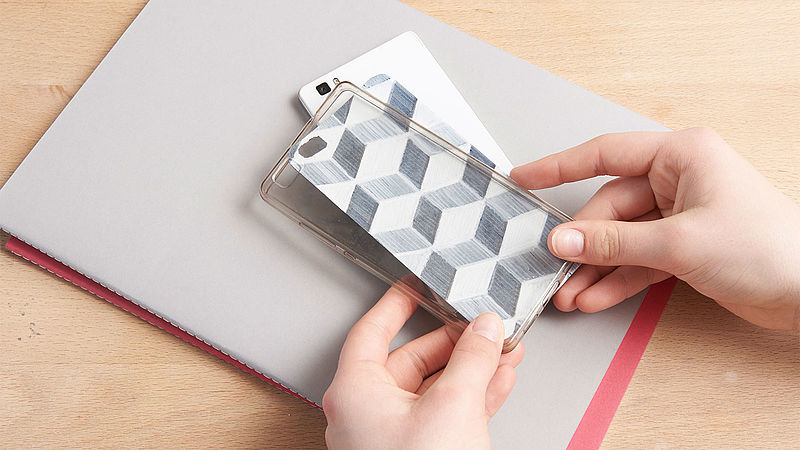
Step 4
Remember that the ink dries quickly. Once you’ve finished your motif, place the piece of paper inside the phone case – and there you have it - your designer accessory!
Products and materials
Other materials
- Black paper
- Scissors
- Ruler
- Light-coloured crayon
- Transparent mobile phone case
Additional images
Related ideas

From old plates to stylish wall art
Upcycling idea for gran’s old porcelain

Handmade wine labels
Beautifully designed wine labels - idea for Father's Day

DIY shopping bags
Trendy bag designs – the easy way
Photo styling
Design your own photo gifts with ease
Surprise!
Glitter card with the wow factor

For magical moments
A glittery look for your party
Creative Newsletter
Subscribe to our newsletter, and we’ll send you inspirational and creative DIY ideas, along with details of our latest products and special offers.

