
Step-by-step
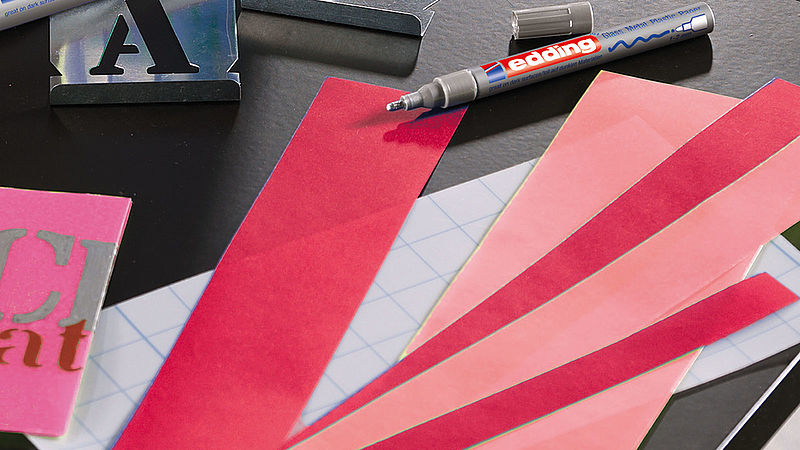
Step 1
Start by activating a new edding gloss paint marker as follows: Shake the marker firmly with the cap still on. Place the nib on some scrap paper and carefully pump it up and down a few times until ink fills the nib. Try a few test strokes with the marker on the scrap paper. Always replace the cap securely after use.
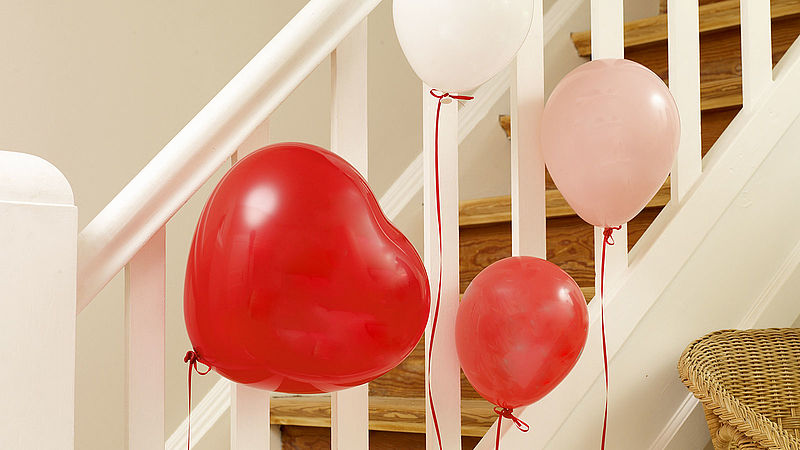
Step 2
Blow up the balloons and tie them with a knot. For a floating effect, fill the balloons with helium.
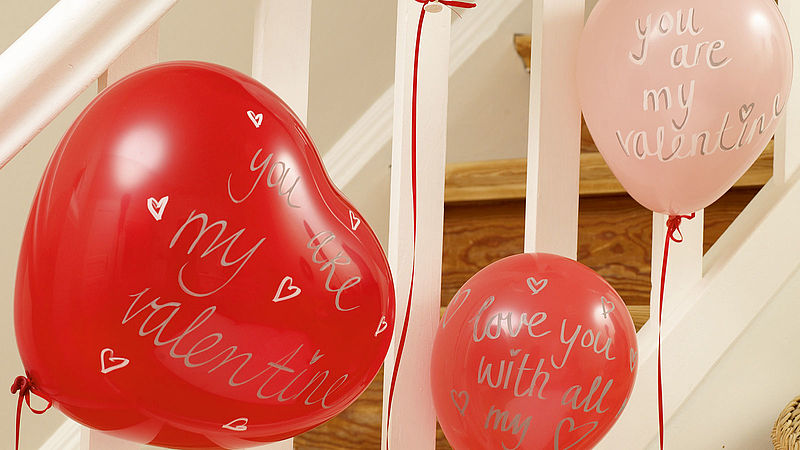
Step 3
Now use the gloss paint marker to add your design. The plastic nib of the marker glides effortlessly over the surface, so you don't have to worry about the balloon popping. The gloss paint marker lets you produce beautiful artistic effects, especially on dark surfaces. You can also achieve fantastic written effects by using edding gloss paint markers with calligraphy nibs: the 753 (stroke width: 1-2.5mm) and the 755 (stroke width: 1-4mm).
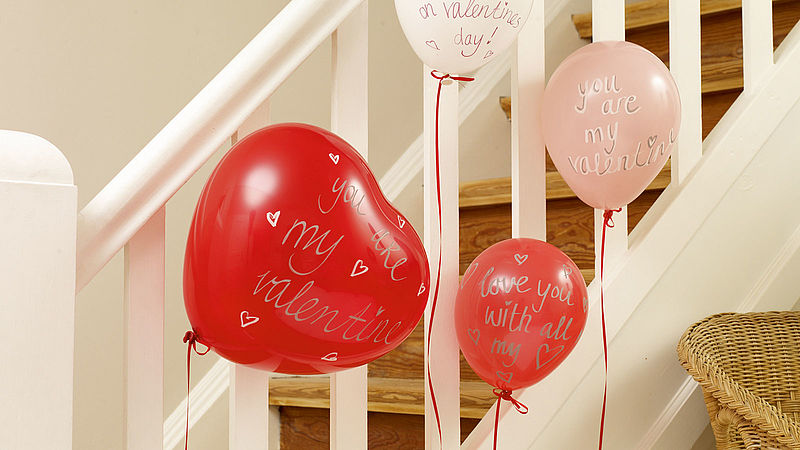
Step 4
Tie the ribbons to the balloons and hang them up.
Products and materials


Other materials
- Balloons in your chosen colour, preferably heart-shaped
- Colour-coordinated ribbons for hanging the balloons up
Related ideas

Wedding mugs
3 mugs, 3 letters – YES
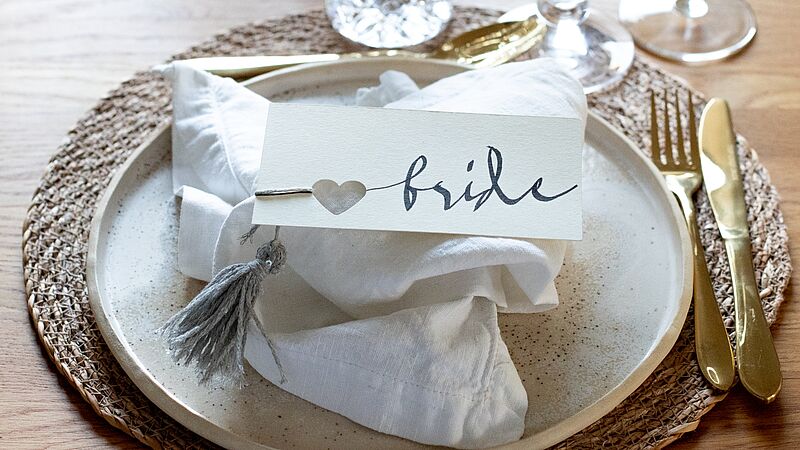
Place cards for the wedding table
Simple yet effective table decoration
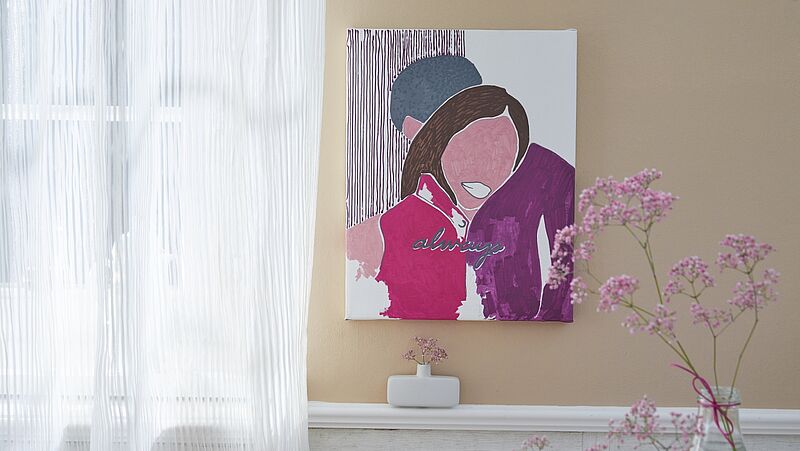
Romantic couple on canvas
A portrait of your loved ones

Chalkboard welcome sign for your wedding
The perfect welcome for your guests

Wedding drop box
Wedding congratulations in a picture frame
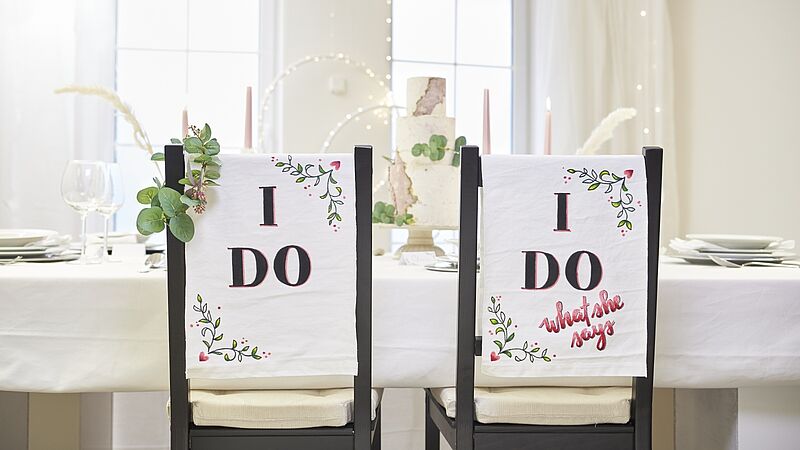
DIY wedding chair signs
Beautiful chair décor for the happy couple
Creative Newsletter
Subscribe to our newsletter, and we’ll send you inspirational and creative DIY ideas, along with details of our latest products and special offers.