
Step-by-step

Step 1
First of all, print out the template and photocopy it to the right size. For our design, we used edding 4500 textile markers and edding 4600 textile pens in a variety of colours. You can see everything at a glance in our photo.

Step 2
Place the template underneath the fabric so the design shows through clearly. To transfer the motif, simply trace over it using the black textile pen. We also recommend placing a piece of cardboard under the template, to stop the ink going through to the back or onto the table.
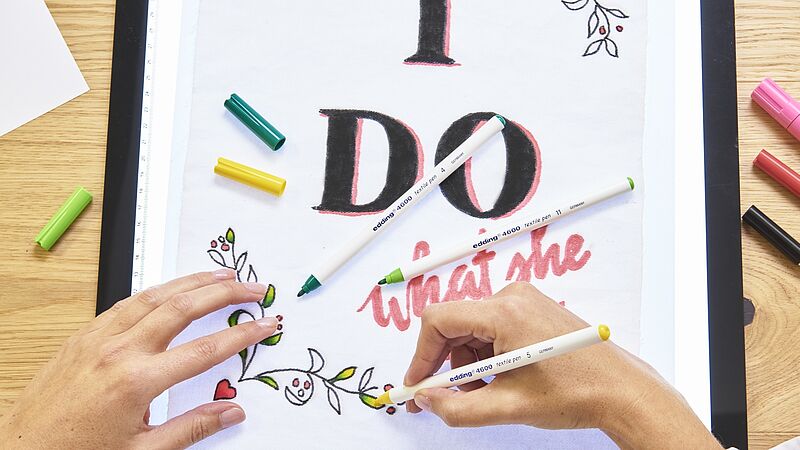
Step 3
Next, colour in all the details and wording in whatever way you like. For finer motifs, we recommend the edding 4600 textile pen, but if you prefer a wider nib, then reach for the edding 4500 textile marker. Before you get started, make sure all the outlines are dry, otherwise the colours will run into each other. Alternatively, you can create a nice effect by letting the colours blend together, as we did here with the greeny-yellow leaves.
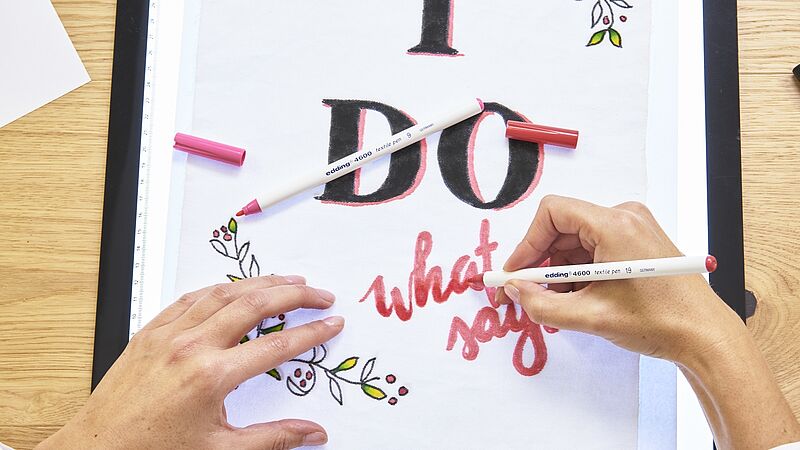
Step 4
For the words “what she says”, we used two different shades of red and let them run into each other to create a lovely watercolour effect.
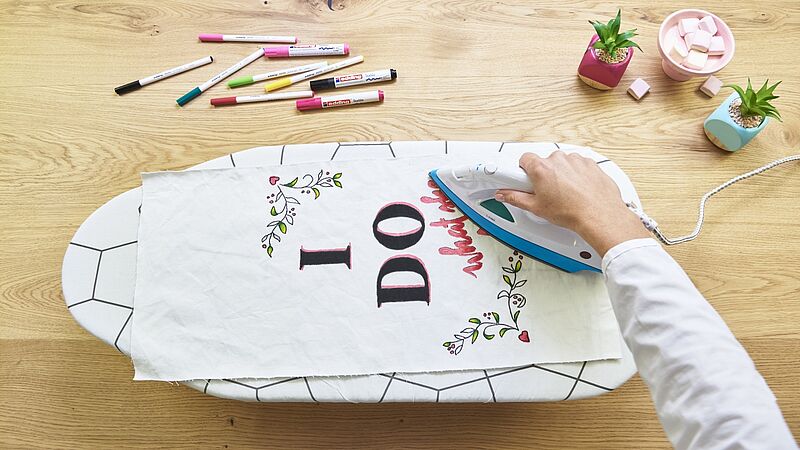
Step 5
Lastly, to heat-fix the design, iron the fabric on the no-steam setting. Your bride-and-groom chair signs are now wash-resistant up to 60°C.
Products and materials


Other materials
- White cotton fabric
- Piece of cardboard as a protective backing
- “I do what she says” template
- An iron
Templates

"I do what she says"
Related ideas

Wedding mugs
3 mugs, 3 letters – YES
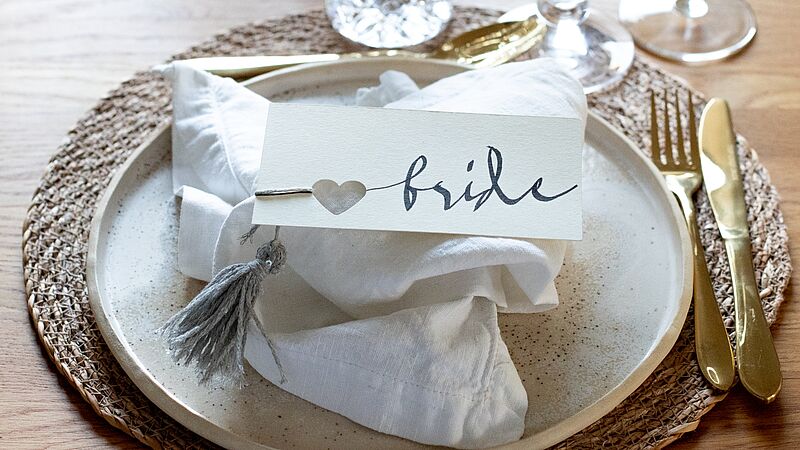
Place cards for the wedding table
Simple yet effective table decoration
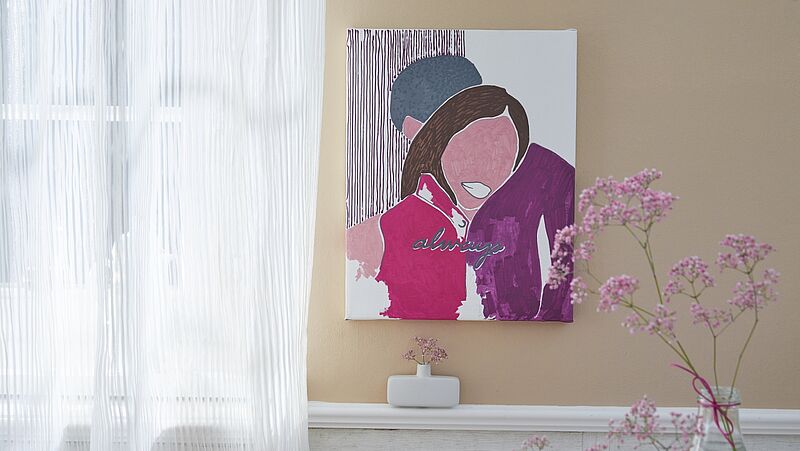
Romantic couple on canvas
A portrait of your loved ones

Chalkboard welcome sign for your wedding
The perfect welcome for your guests

Wedding drop box
Wedding congratulations in a picture frame

Wedding globe gift
The perfect money gift box for a wedding
Creative Newsletter
Subscribe to our newsletter, and we’ll send you inspirational and creative DIY ideas, along with details of our latest products and special offers.