Step 1: Preparation
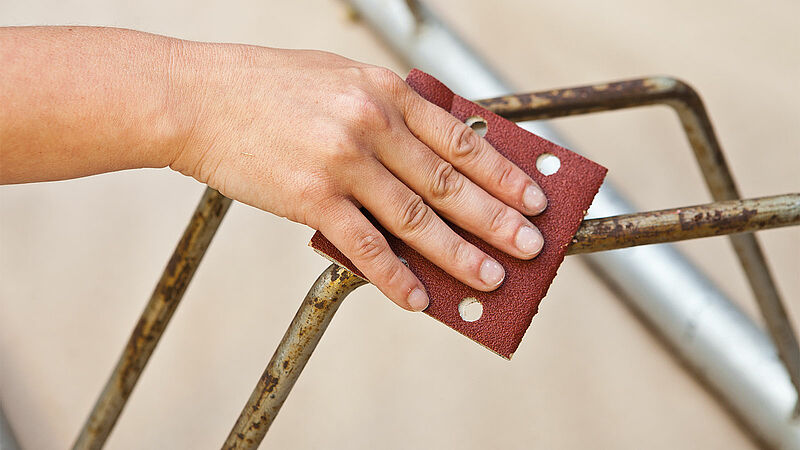
To be able to enjoy your finished article for a long time to come, it must be dry, clean and free from traces of grease or rust. Remove any large surface irregularities with a scraper or by sanding. For better adhesion and to rectify smaller irregularities on the surface, use edding Primers for Plastic and Polystyrene or edding Universal Primer. Always observe the drying times for the primer which are shown on the can.
Step 2: Working environment
The spray function works best when the can is not too cold, i.e. at room temperature (15-25° C). High ambient temperatures also have a negative affect on the paint because it dries as a mist before it reaches the object to be painted. If possible, spray outdoors or in a well-ventilated room (cellar, workshop or garage). When spraying indoors, ensure the surrounding surfaces are adequately shielded to catch the fine spray mist. Mask any areas which are not to be painted. Good lighting is important so that you can check that you have coated the entire surface area of the base material.
Step 3: Remove the safety ring
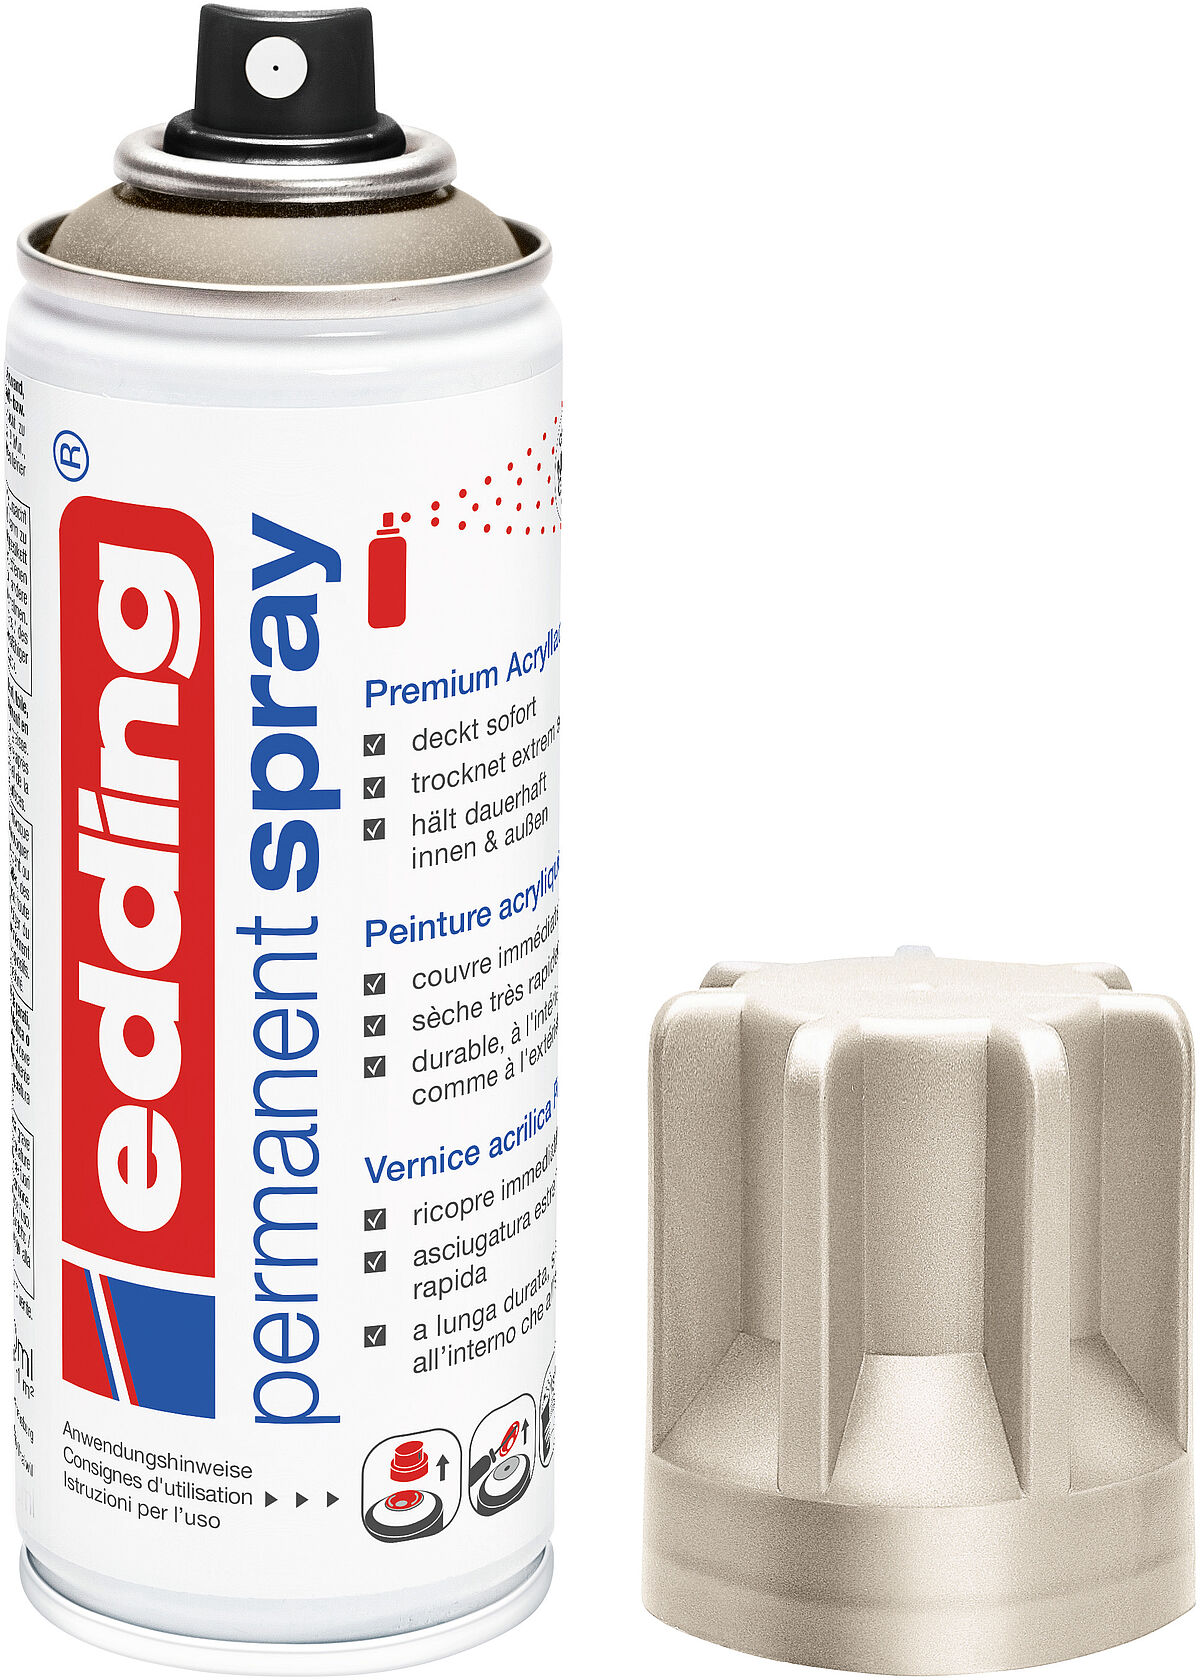
All edding Permanent spray cans are fitted with a safety ring. This prevents paint being sprayed unintentionally. To remove the safety ring, first remove the cap and then the sprayhead. The outer edge of the safety ring can then quite easily be lifted off with a screwdriver or similar item. Take care not to damage the can when doing this
Step 4: Shake
Shake the can vigorously for about 3 minutes so you can clearly hear the rattle of the mixing balls. This is essential to ensure the colour pigments are thoroughly mixed and agitated so as to get the right colour shade. Shake up the paint again, even after short pauses in painting.
Step 5: Spraying techniques
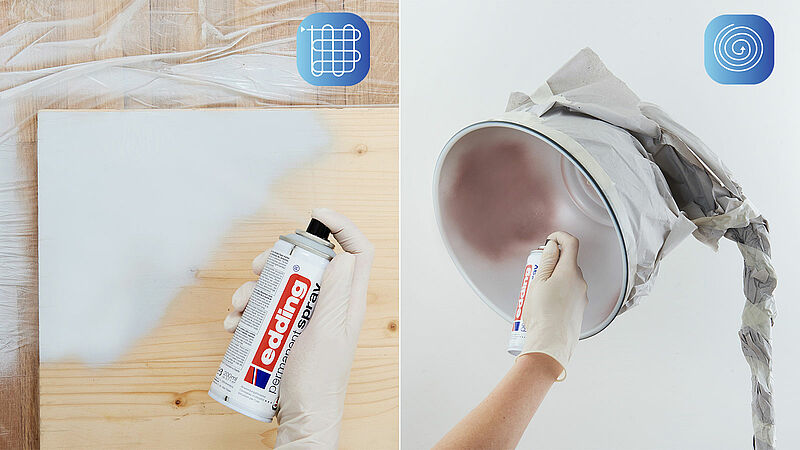
Different articles require different spraying techniques. Start spraying beyond the edge of the object. Depress the sprayhead firmly as you start moving. Slowly move the spray can (it should be held as vertically as possible), using even strokes back and forth, making the return movement away from the object (for vertical and horizontal strokes). This gives the best dosage and means you will avoid excess paint being deposited on the surface which causes drips and runs. Smaller surfaces are best sprayed in one go, in a spiral motion working outwards from the centre.
Step 6: Protecting the paint
Additional protection against the elements, scratches or other signs of use can be provided by a coat of clear lacquer. edding Clear Lacquer will give even mat shades a glossy finish. If you follow the detailed directions and special instructions on the labels on the cans, then you can’t go wrong. Have fun!
A primer maximises adhesion to the base material, enhances the sheen and guarantees that the subsequent top coat can be applied more sparingly. Using a primer means that unevenness in the base material is smoothed out and eliminated. When painting polystyrene items, always use a polystyrene primer first. We recommend using a primer for most other base materials, too, as the advantages mentioned above will still apply. It is always worth preparing the base material properly – preparation is the key to a perfect paint finish.
edding Permanent spray cans are fitted with a standard sprayhead which gives a medium-width spray jet (approx. 5-6 cm at a spraying distance of 25 cm). Thanks to our balanced pressure system you can achieve any width of spray jet you desire by using interchangeable sprayheads – from large areas down to fine lines.
A clear lacquer can be used in a variety of ways. It fixes and protects the colour surfaces and prevents yellowing and fading. Likewise, it protects all metals (silver, copper, iron, steel, brass, chrome, nickel, aluminium and zinc) from oxidisation.
Tip
Don’t aim for a smooth surface on the first spray. The first spray should be regarded as “pre-misting” over which you build up a smooth, even finish with a second and possibly third spray, using the “wet on wet” technique, reapplying while the previous coat is still wet, i.e. at intervals of 1-2 minutes. Further coats should be applied no sooner than 24 hours later, otherwise there is a risk of the paint lifting.
Bring your ideas to life with a splash of colour!

A home game – making new things from old
Bring old metal objects to life with colour

Creative money box
DIY piggy banks for wishes both great and small
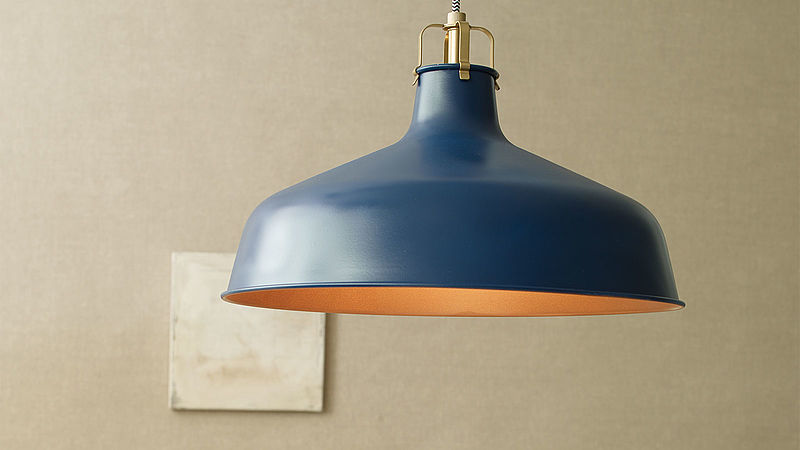
Upcycled light idea
How to transform a simple white lampshade into the highlight of your home
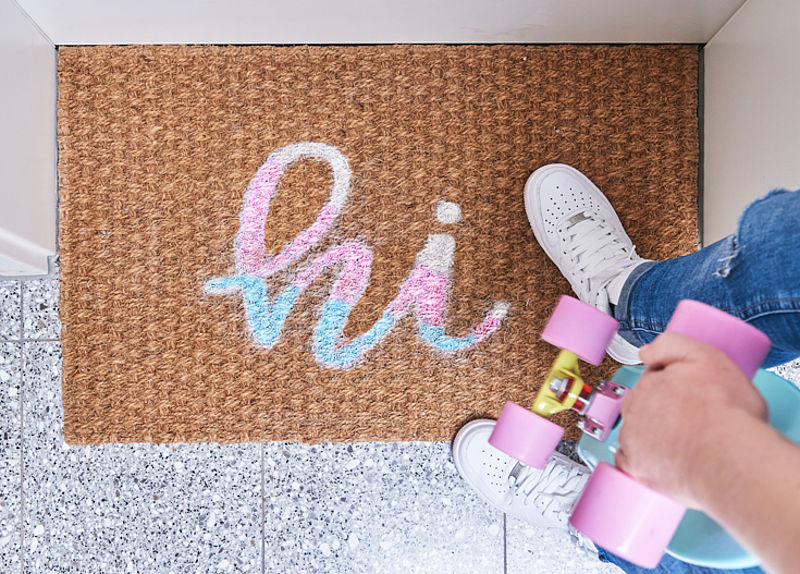
DIY door mat
Transform a door mat into an eye-catching feature
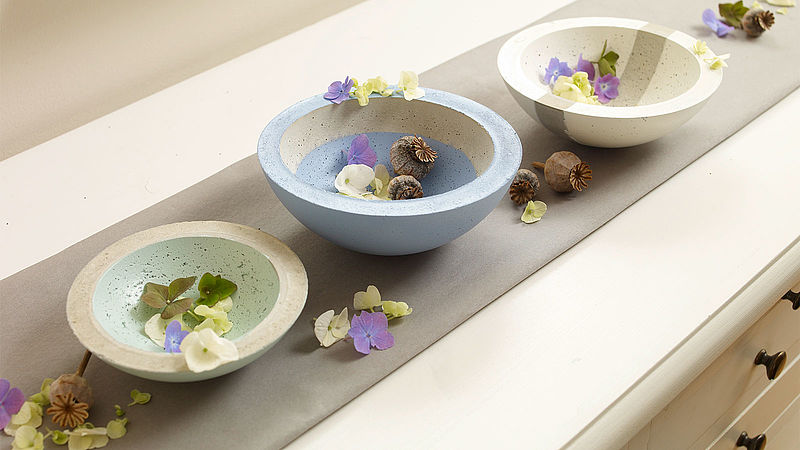
Decorative DIY concrete bowls
Celebrating the fresh pastel colours of spring
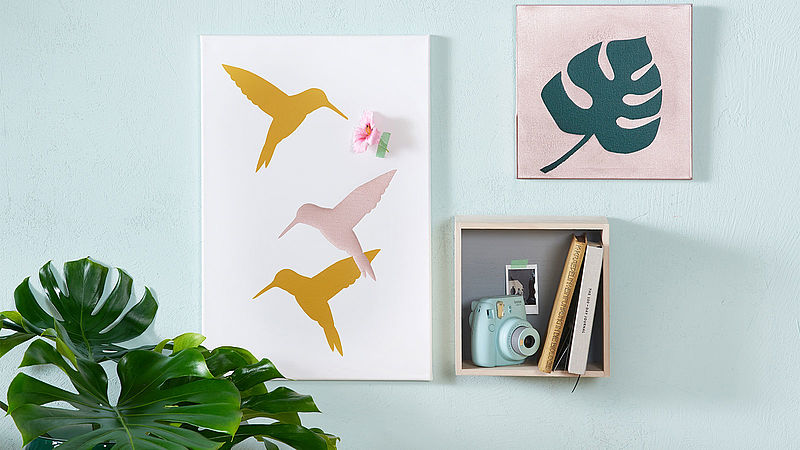
DIY canvas wall art with hummingbird motif
Natural designs that bring the outdoors in
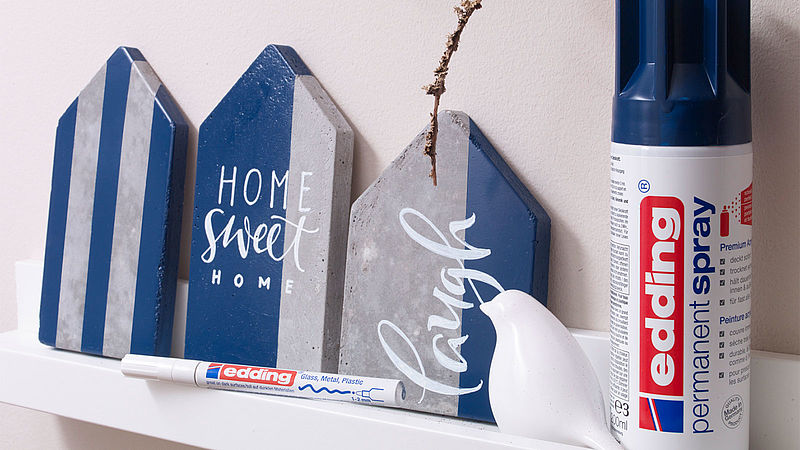
Hand lettering on concrete
Concrete home decor is becoming increasingly popular
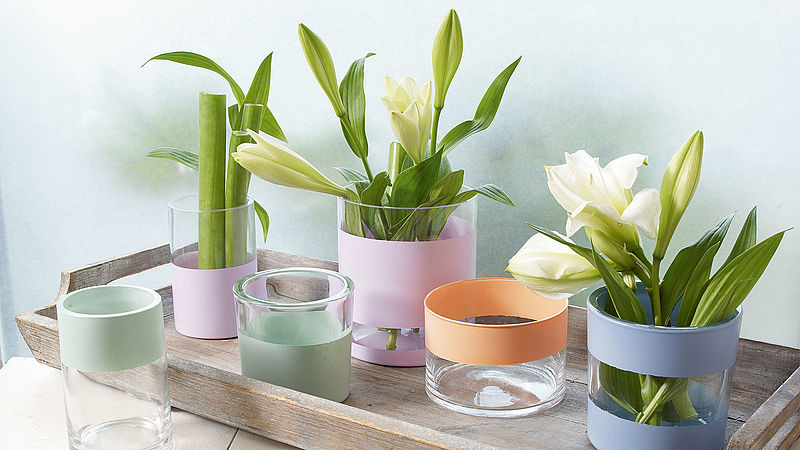
Glass vases in pastel colours
It’s time to bring in softer shades
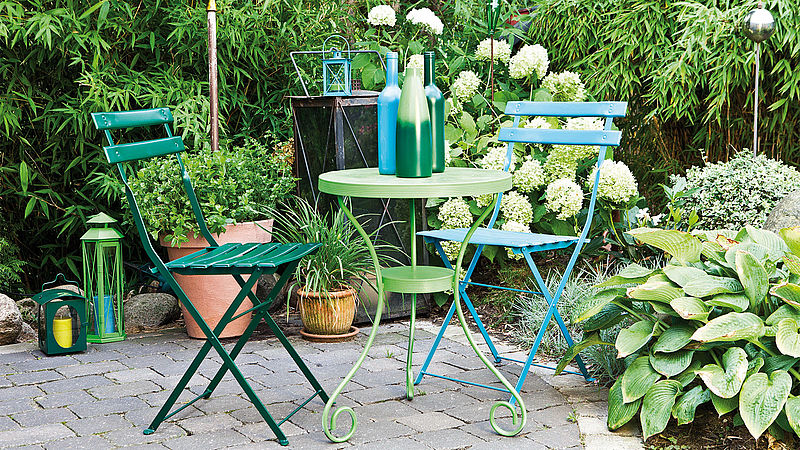
Garden oasis – bright creations in metal
Harmony for your feel-good garden

