
Step-by-step
Step 1
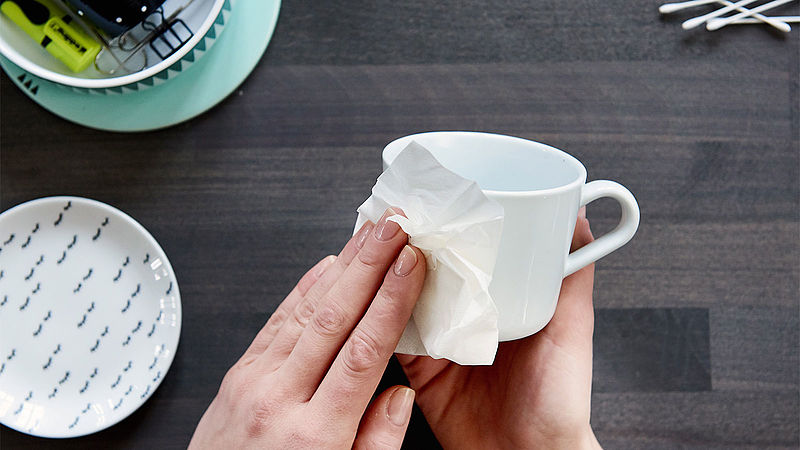
For the best colour results, first clean your mugs with water (ideally in the dishwasher) and wipe them down with methylated spirits.

Step 2
Think up a beautiful design and draw it onto the mugs. We recommend that you only decorate the outside of the mugs, leaving the inner surfaces and rim free. The highly flexible nib of the porcelain brush pen will allow you to create fine strokes and dots (with the tip), as well as broader strokes (by holding the pen flat). If you make a mistake, you can fix it with ease using a damp cloth or cotton bud.

Step 3
Once your design is finished, leave the ink to dry for 15 minutes. Then bake your painted mugs for 25 minutes in an oven preheated to 160°C. Make sure you place the porcelain on a cold oven shelf and put this in the oven once it has reached the right temperature. Then leave it in the oven to cool afterwards. After baking, your DIY painted mugs will be dishwasher-safe!
Products and materials

Other materials
- White porcelain mugs or oven-proof ceramics
- Water and methylated spirits for cleaning
- Cotton buds and a damp cloth for corrections
- A conventional oven
Additional images
Related ideas

Creative flower card
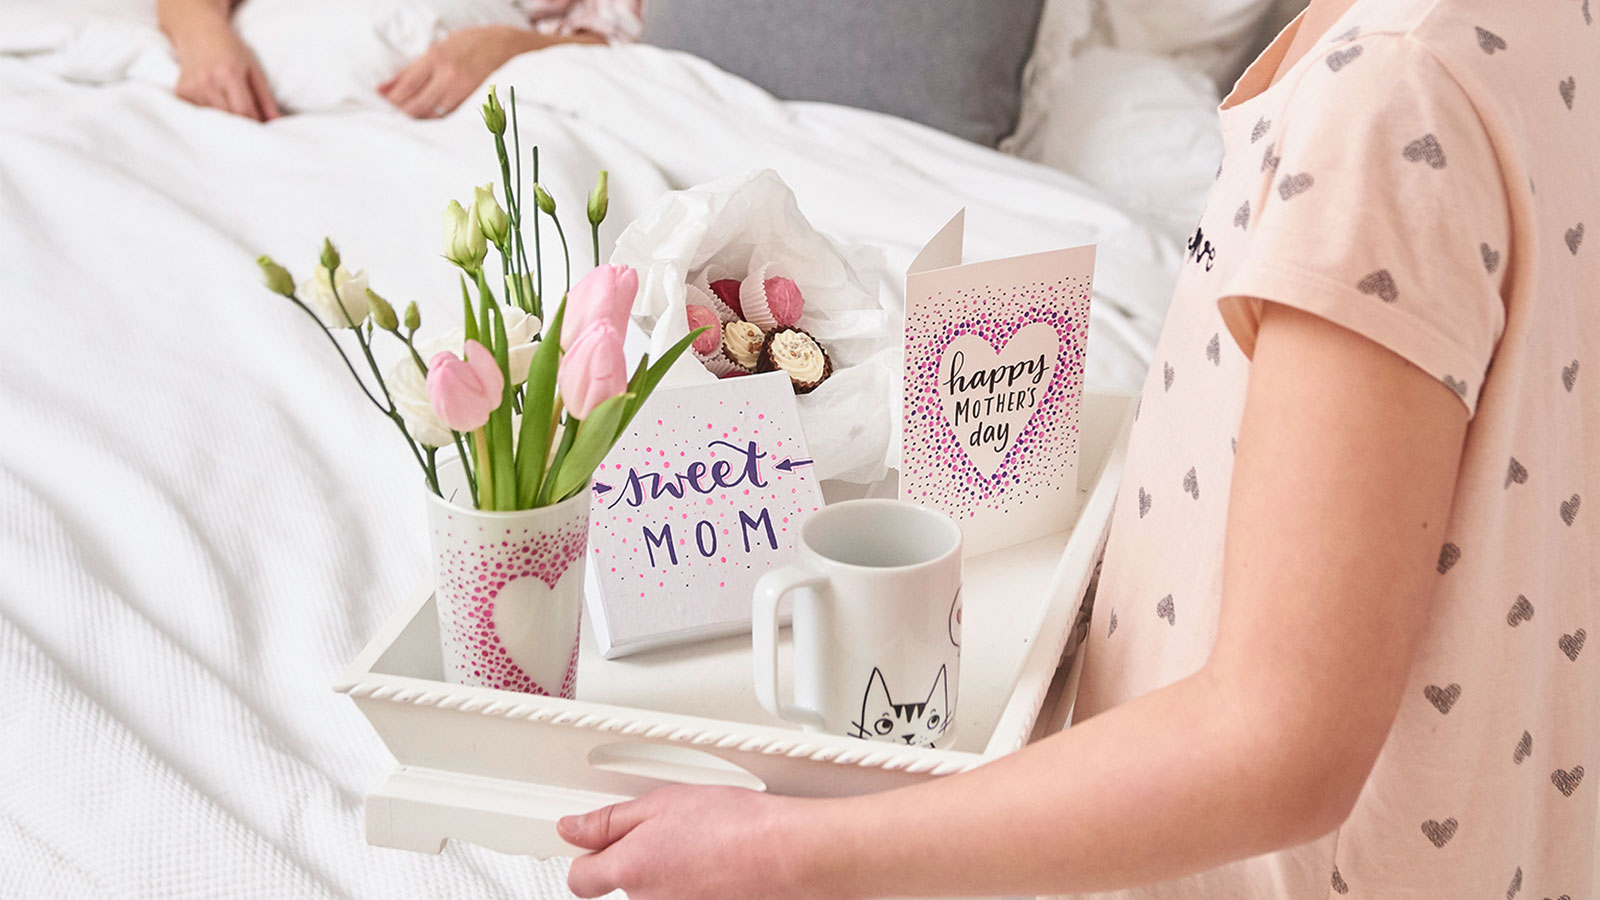
Floral greetings for the world’s best mum
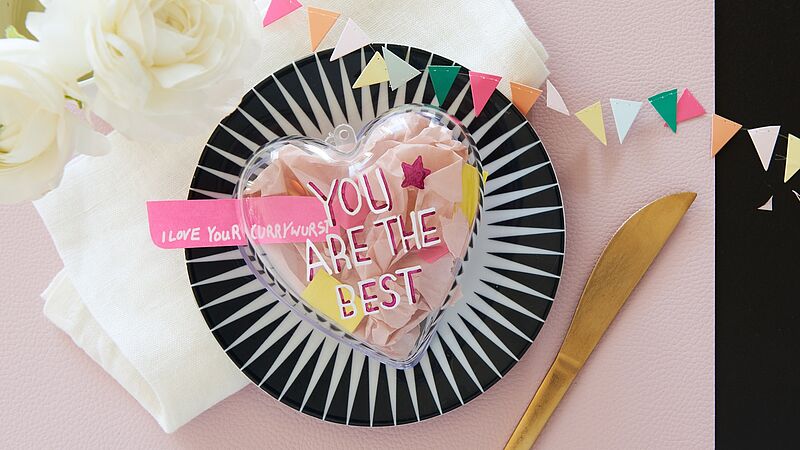
Heart-shaped box for Mother’s Day
“Mum, you are the best”
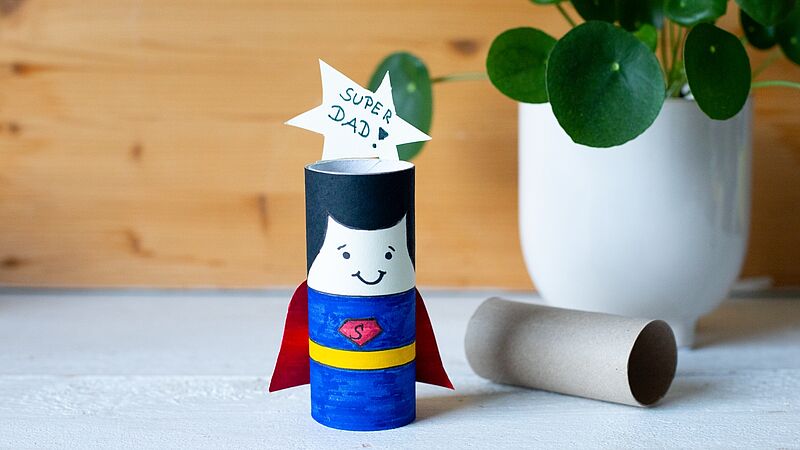
Craft idea for the best dad
Cool Father’s Day present for “Superdad”

Handmade wine labels
Beautifully designed wine labels - idea for Father's Day
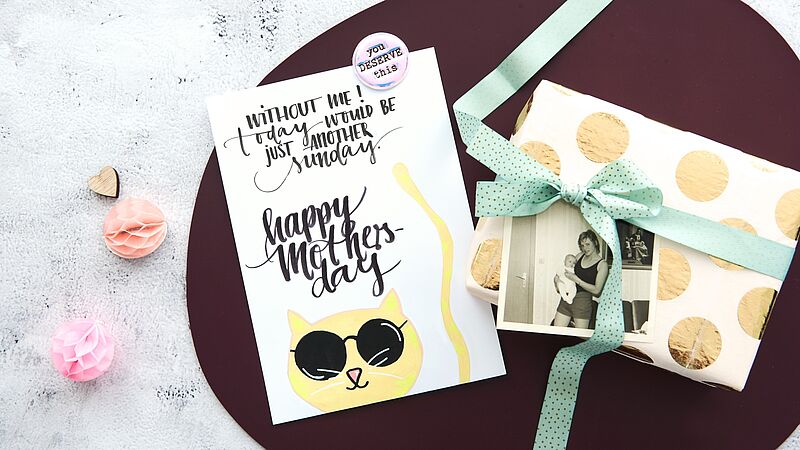
Card idea for the best mum
Lettering with acrylic markers
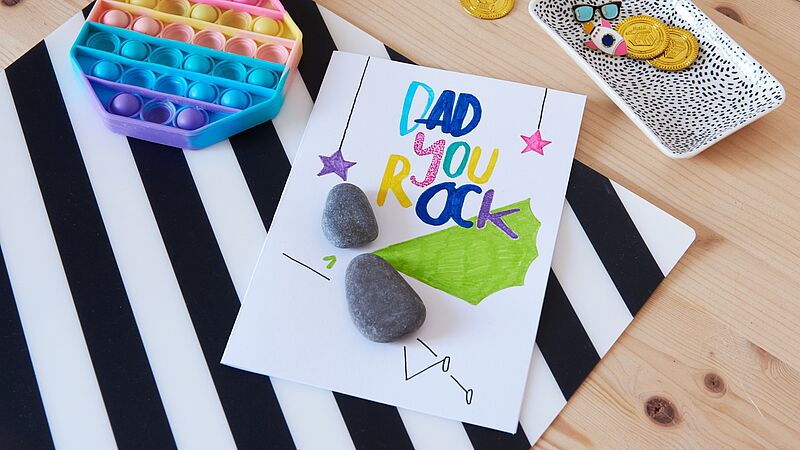
Father’s Day card idea
“Dad you rock”
Creative Newsletter
Subscribe to our newsletter, and we’ll send you inspirational and creative DIY ideas, along with details of our latest products and special offers.