
Step-by-step

Step 1
First, decide on your design (a flower template is included in these instructions or download it here). No need to worry about shiny surfaces – thanks to their special inks, edding gloss paint markers are particularly suitable for shiny and dark surfaces.
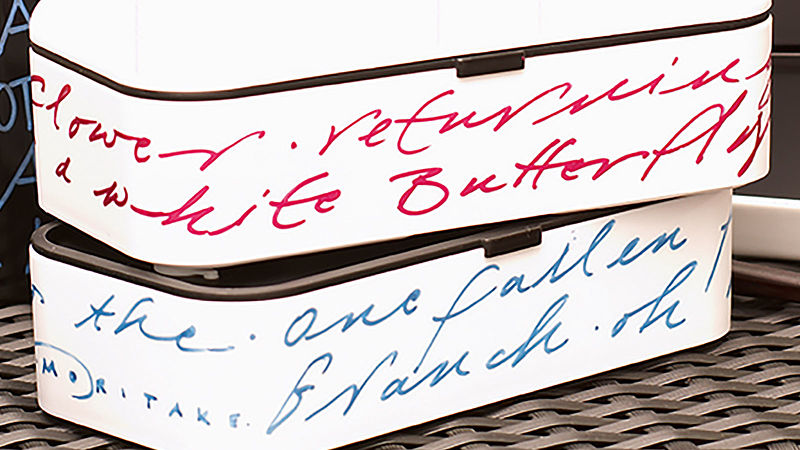
Step 2
We recommend you start by tracing your pattern lightly with a crayon, then simply go over the pattern with the gloss paint marker. And that's it – your new lunch box is finished!

Step 3
How to activate your edding gloss paint marker:
- Shake the marker vigorously with the cap on.
- Place the marker nib on a piece of scrap paper.
- Carefully press down on the nib and pump it up and down several times until ink appears.
- Ensure the ink starts to flow by drawing a couple of lines on the paper.
- Always replace the cap after use.
Products and materials


Other materials
- Plain coloured thermos flask, a standard lunch box or similar made of plastic or stainless steel
- If you wish, a coloured crayon to trace your pattern on the thermos or lunch box
Related ideas

Utensil holders in concrete grey
Upcycling idea for your kitchen accessories

Freshen up your grouting
Add sparkle to bathroom and kitchen grouting

Handmade wine labels
Beautifully designed wine labels - idea for Father's Day
A new look for vintage crockery
Upcycle granny’s porcelain plates
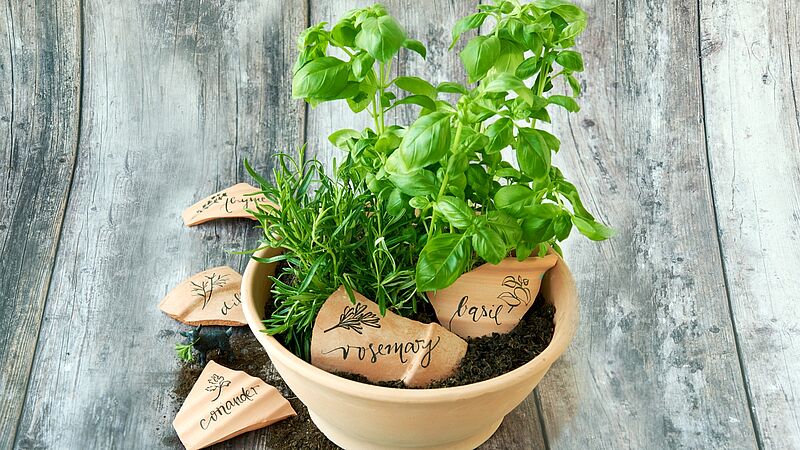
Decorative kitchen herbs
Stylish terracotta plant labels
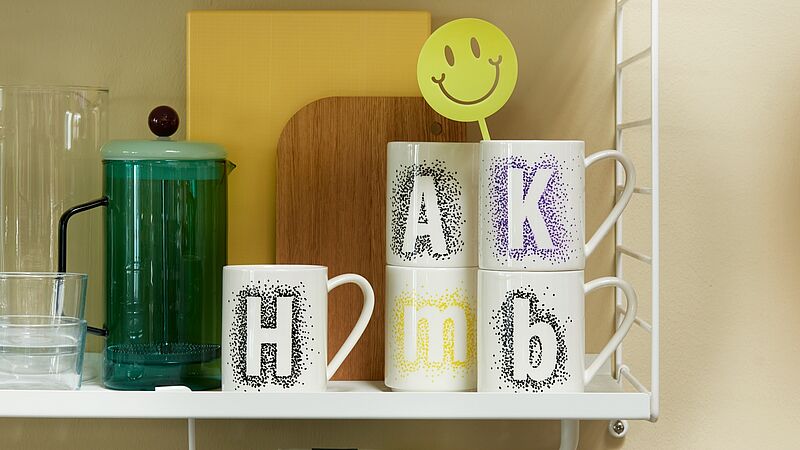
Favourite mugs with a DIY design
Set the tone with patterns of dots
Creative Newsletter
Subscribe to our newsletter, and we’ll send you inspirational and creative DIY ideas, along with details of our latest products and special offers.