Step-by-step

Step 1
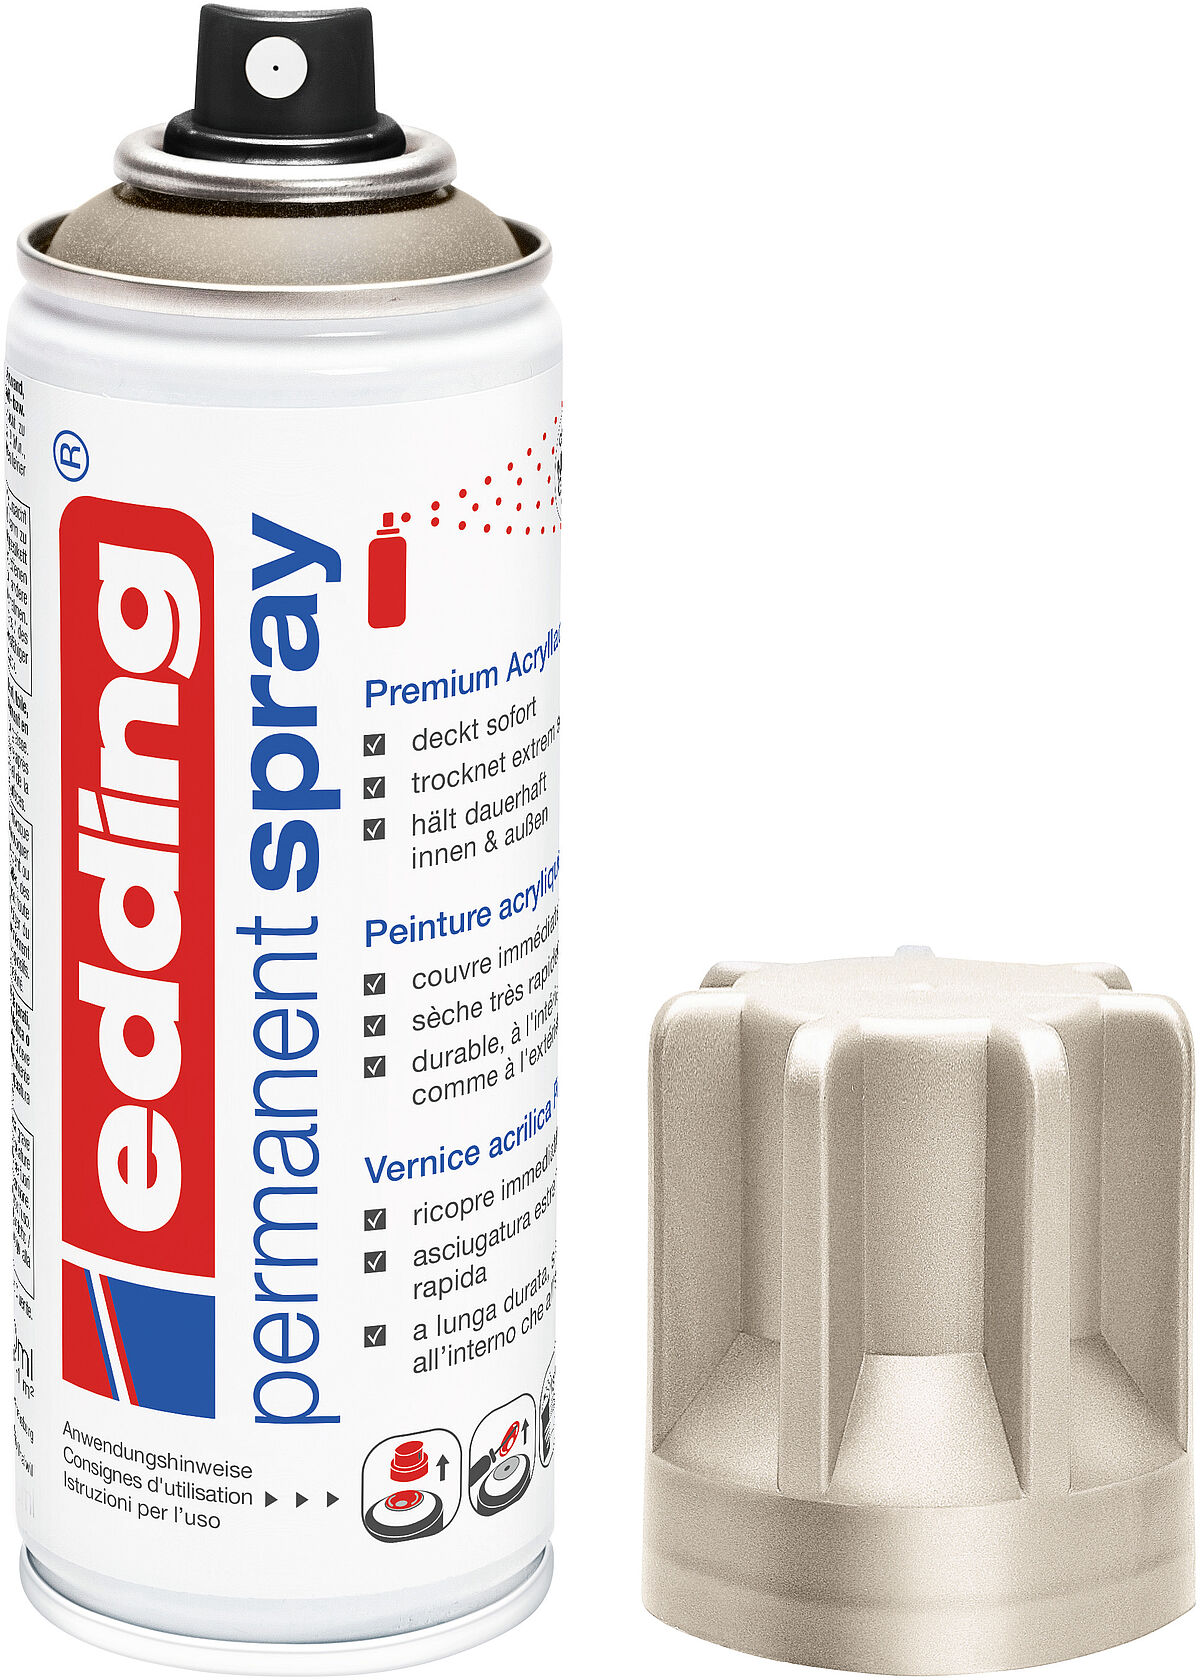
You can see everything you need in the photo below. The spray paint used is edding 5200 permanent spray. We chose neon yellow (965) in our example, but you can use any colour you like. You will also need the black edding 3000 permanent marker and the edding 8850 carpenter pen.

Step 2
Using the edding 3000 and a plate or other circular object as a template, draw a circle in the required size on the cardboard. Next, draw a large triangle shape that extends as far as the centre of the circle and cut around the circle using the cutter knife.

Step 3
Cut out the triangle shape using the cutter and cut it into several smaller pieces.

Step 4
Spread these pieces over the back of the cardboard circle and glue them down.

Step 5
Attach the LED strip light to the cardboard using the sticky tape, making sure that most of the light is hidden behind the cardboard. The smaller cardboard pieces should help keep the strip light in place.

Step 6
Now it's time to give the lamp its distinctive yellow look. Before you start, cover your workspace well using protective film or paper. You'll find lots of handy tips on how to achieve the perfect spray finish on our Permanent spray basics page. For best results, we recommend holding the spray can around 25 cm from the lamp and applying the paint in a crosswise motion. Once you’ve done that, leave the paint to dry thoroughly.

Step 7
Once the paint is completely dry, add the character's famous eye using the black permanent marker.

Step 8
The edding carpenter pen is the perfect tool for marking your drill hole on the wall. Thanks to the pen's extra-long tip, it's easy to mark the right spot - even in those hard-to-reach places.

Step 9
Finally, drill a hole and hang your eye-catching new lamp using a rawlplug and screw.
Products and materials
Other materials
- Plate or other circular template
- Thick corrugated cardboard
- Cutter knife
- Flexible LED strip light
- Sticky tape
- Mask
- Gloves
- Protective sheet for spray painting
- Adhesive
- Drill
- Rawlplugs and screws
Related ideas

Shelf decorated with love
Make children’s dreams come true
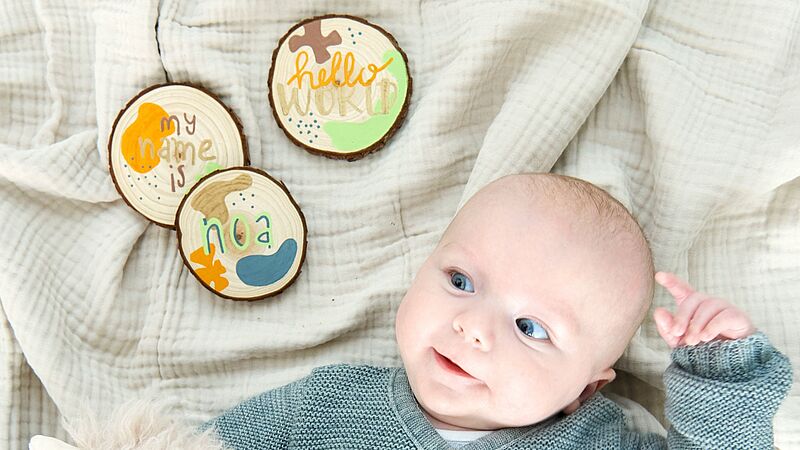
Designs in natural tones
Record baby's first milestones with these creative keepsakes
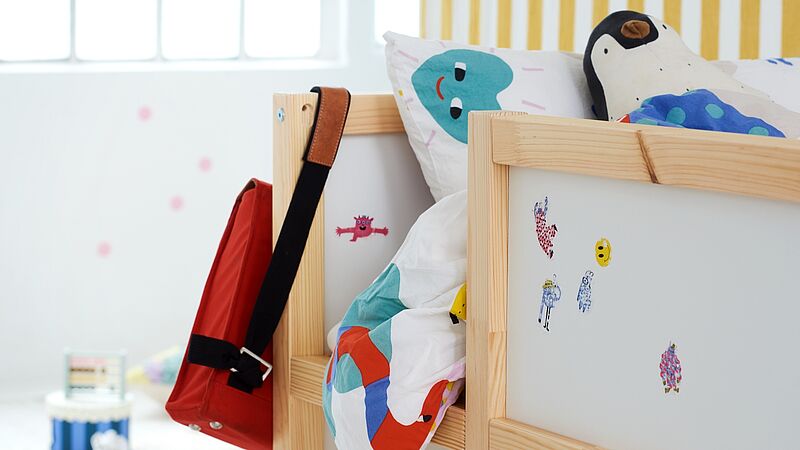
Life hack for removing stickers
Remove stickers from doors and furniture without a trace
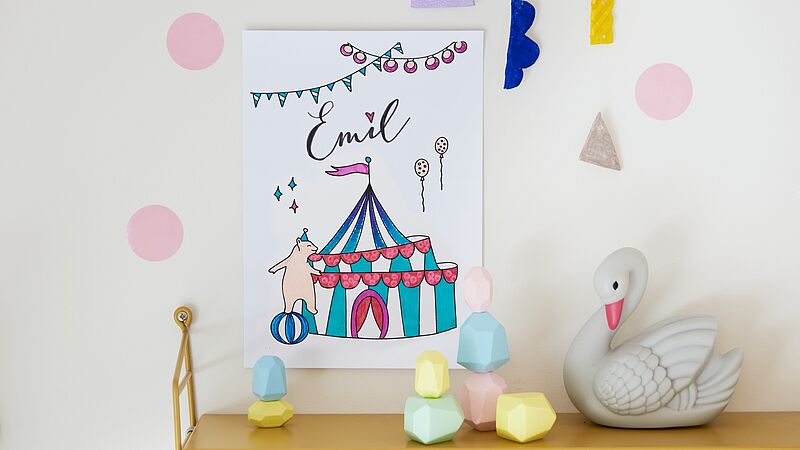
Name tag for children's room
Design idea for young circus artists
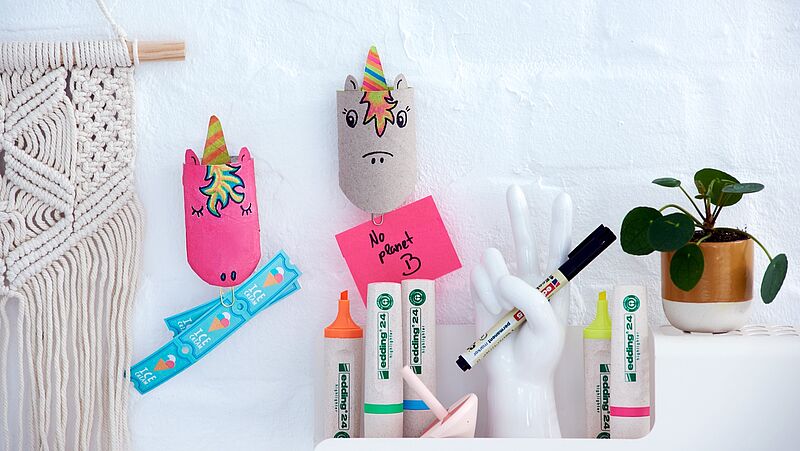
DIY memo holder
Make your own unicorn memo board
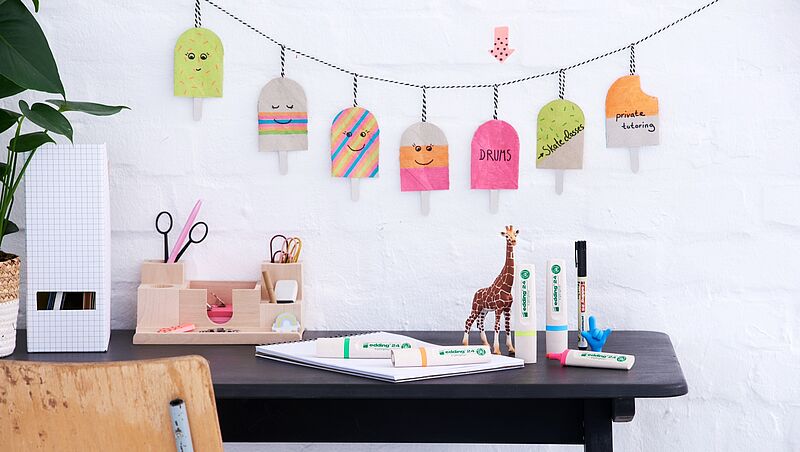
DIY ice cream garland
Make back-to-school more fun
Creative Newsletter
Subscribe to our newsletter, and we’ll send you inspirational and creative DIY ideas, along with details of our latest products and special offers.

