
Step-by-step
Step 1
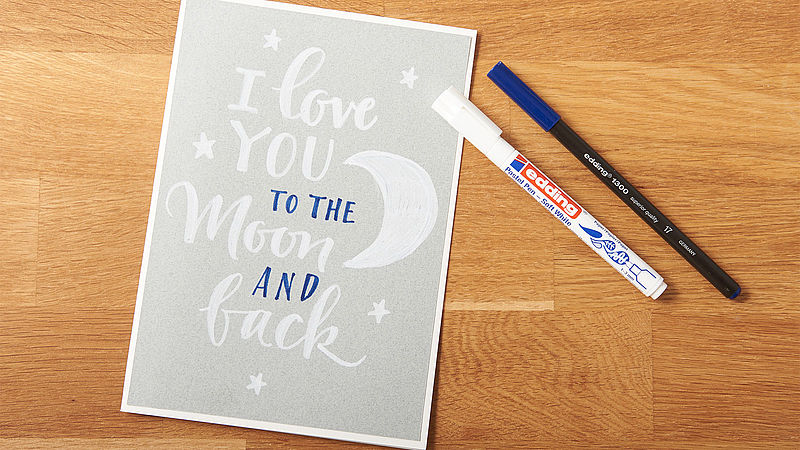
We recommend that you start by making a template of the wording you want to use on the front of the card. We chose this “I love you to the moon and back” card, which would make a lovely DIY Valentine’s card. There are no set rules when it comes to brush lettering - anything goes. You can use a variety of fonts: script or block lettering, narrow or broad letters – it’s best to try out a range of styles. Using the black pen, write out the wording and place it underneath the grey paper so the lettering shows through.
Step 2
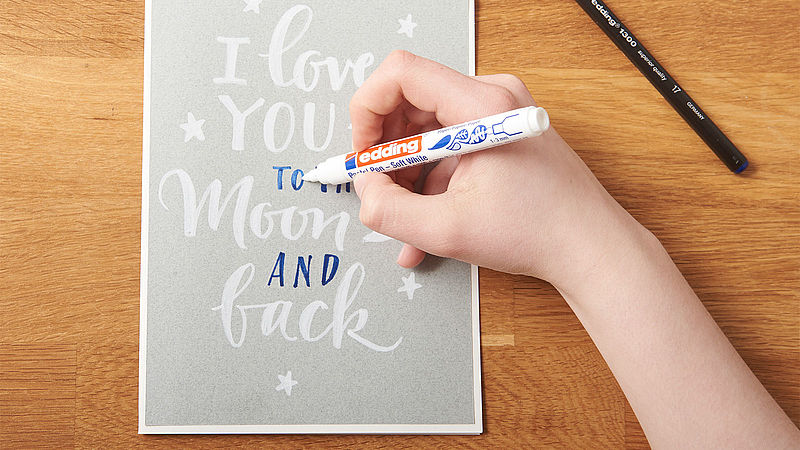
The pastel pen – soft white is ready to use straight away and writes in semi-transparent white. Use it to go over the wording and decorate by adding small stars and a moon. When the letters are dry, draw over them again to make the white look more intense and opaque. Write the words “to the” and “and” using the blue colour pen. To achieve a paler blue, simply go over the letters with the pastel pen to lighten them. Fold the white A4 sheet in half and glue your finished card design onto the front.
Products and materials


Other materials
- Grey paper, A5 size
- Several sheets of white A4 paper
- Glue stick
Related ideas
Easy-peasy season’s greetings
Creatively designed Christmas cards
Christmas post with added sparkle
Eye-catching cards for your nearest and dearest
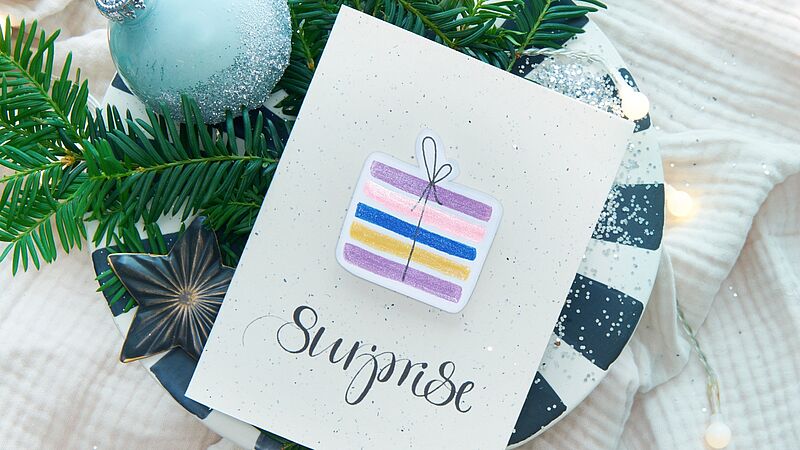
Surprise!
Glitter card with the wow factor
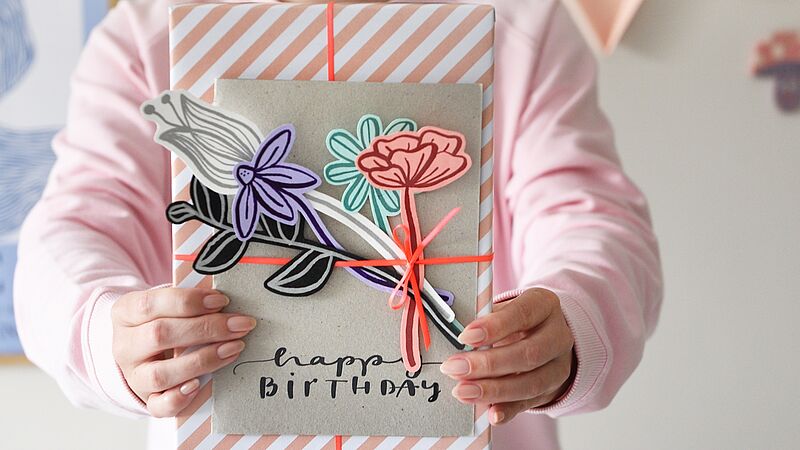
Birthday card
… with a floral decoration guaranteed not to wilt!
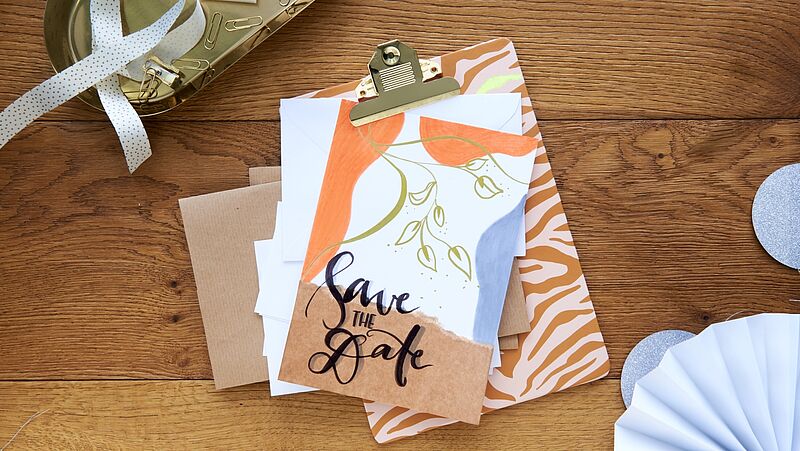
Save-the-date card
Highly effective decoration

Happy Birthday!!
Shiny metallic shades for eye-catching birthday cards
Creative Newsletter
Subscribe to our newsletter, and we’ll send you inspirational and creative DIY ideas, along with details of our latest products and special offers.