
Step-by-step
Step 1
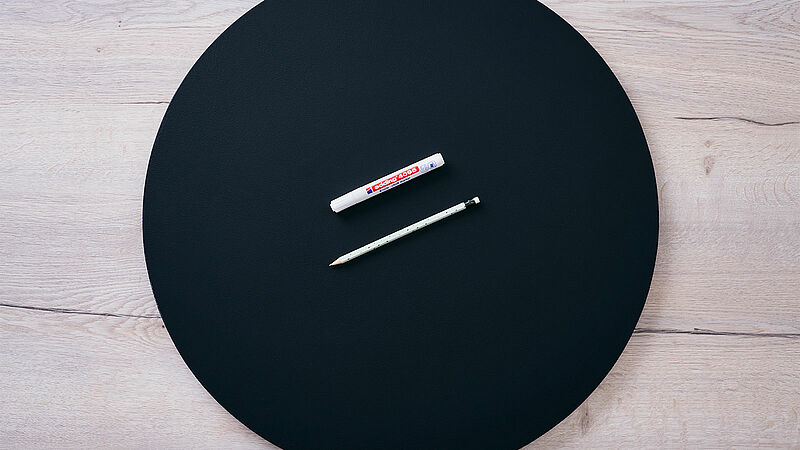
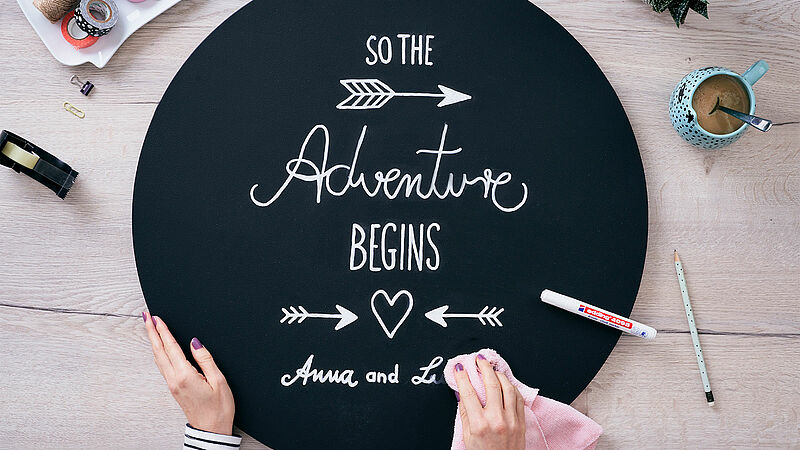
You can see everything you need at a glance in our photo. We chose a white edding 4095 chalk marker for our board.
Step 2
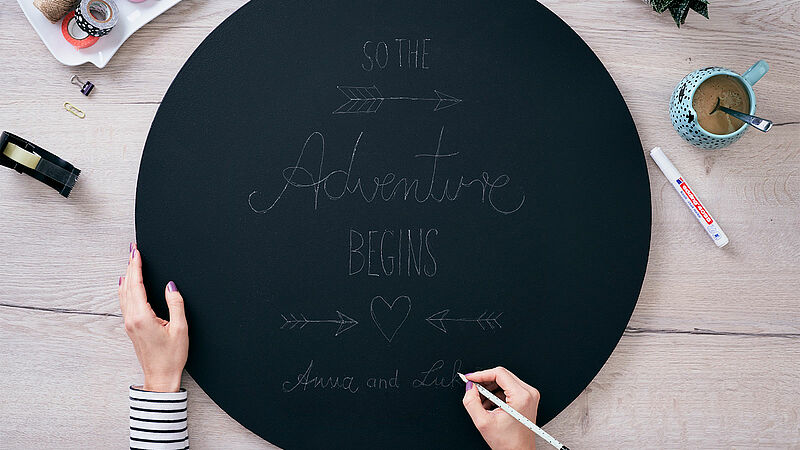
Think up with a motif or a quote for your welcome sign and sketch it out lightly in pencil first. The pencil lines won’t be visible afterwards.
Step 3
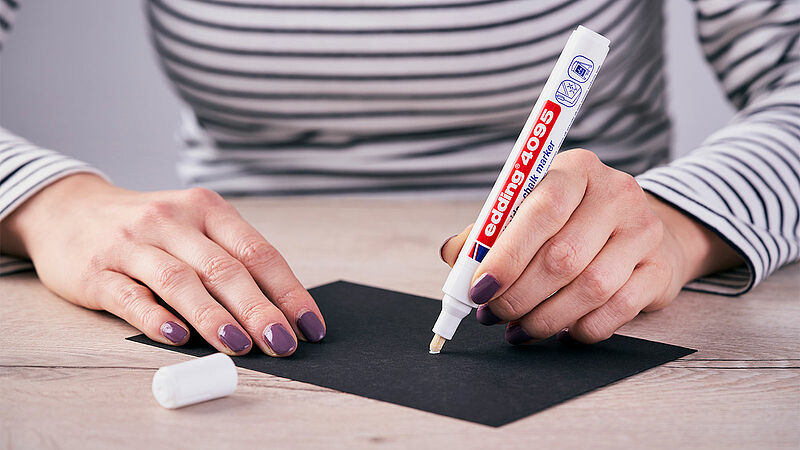
Before you start your design, activate the edding chalk marker as follows: Shake the marker vigorously with the cap on, then remove the cap, place the nib on absorbent paper and pump the marker up and down gently a few times until ink appears in the nib. Now you’re ready to get started. (And after use, always replace the cap securely and store the marker horizontally.)
Step 4
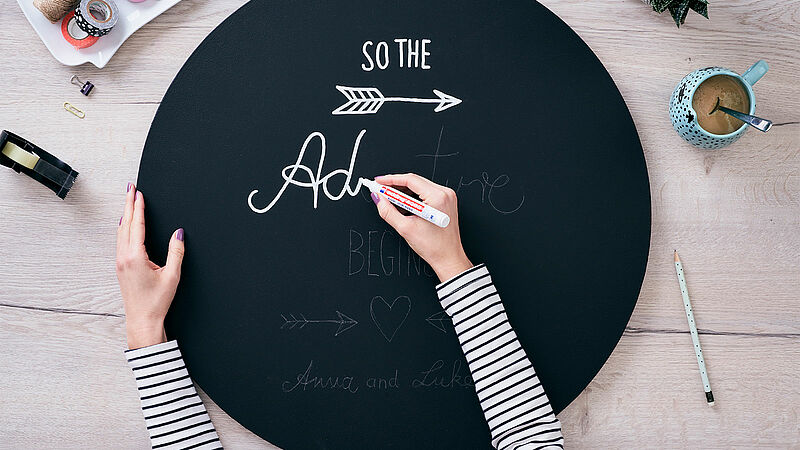
Use the activated chalk marker to trace over all the lines. To give your design real expression, emphasise individual strokes, or give it extra character by adding small motifs.
Step 5
If your motif doesn’t work out first time, or you make a mistake, you can simply wipe it off with a damp cloth and make corrections.
Step 6
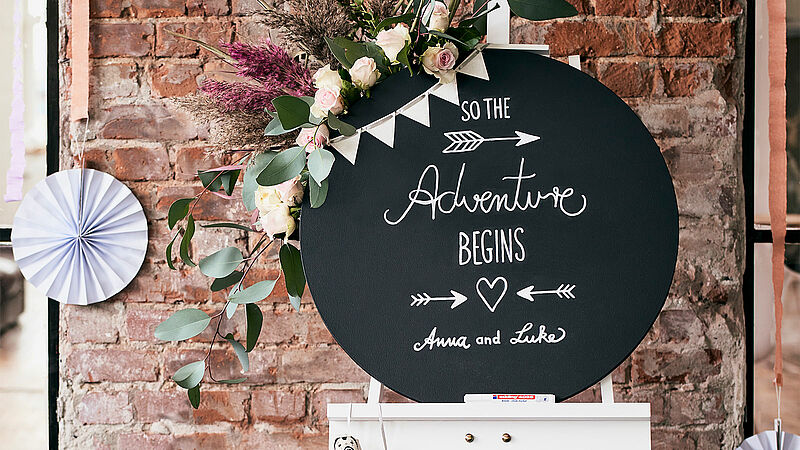
When the design is ready, set up your wedding chalkboard sign on an easel in a suitable location.
Products and materials

Other materials
- Chalkboard
- A piece of scrap paper for activating the marker
- Pencil
- A damp cloth for wiping off mistakes (optional)
Related ideas

Wedding mugs
3 mugs, 3 letters – YES
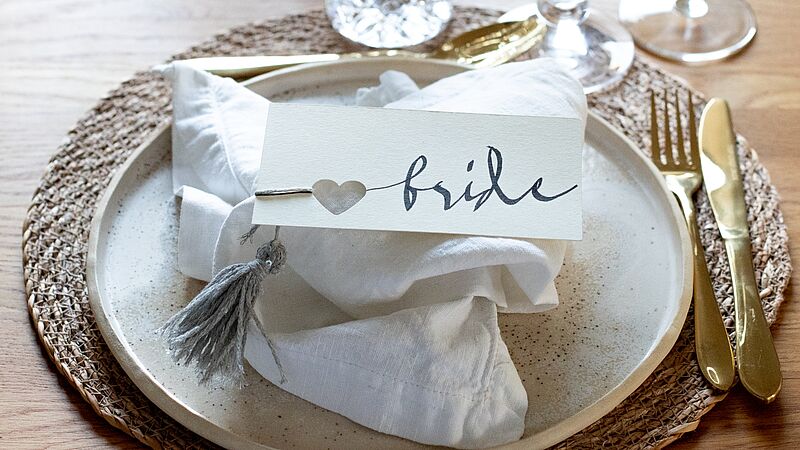
Place cards for the wedding table
Simple yet effective table decoration
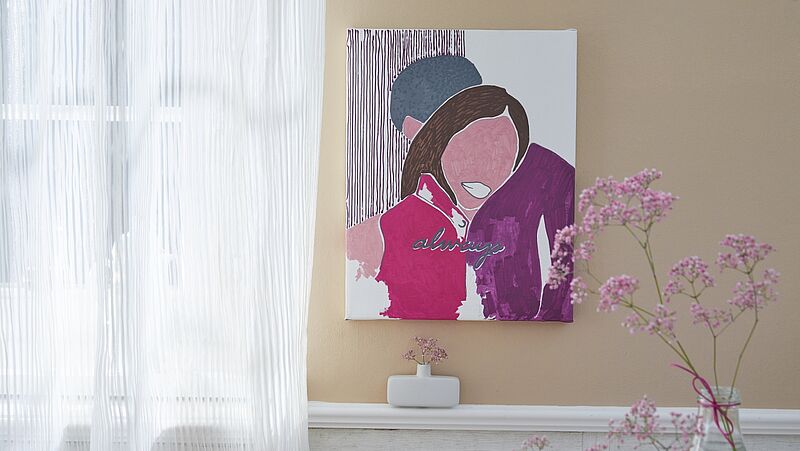
Romantic couple on canvas
A portrait of your loved ones

Wedding drop box
Wedding congratulations in a picture frame
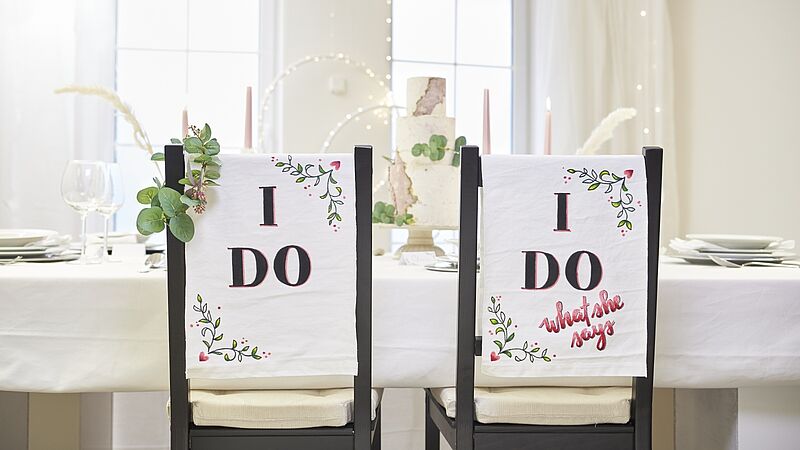
DIY wedding chair signs
Beautiful chair décor for the happy couple

Wedding globe gift
The perfect money gift box for a wedding
Creative Newsletter
Subscribe to our newsletter, and we’ll send you inspirational and creative DIY ideas, along with details of our latest products and special offers.