
Step-by-step
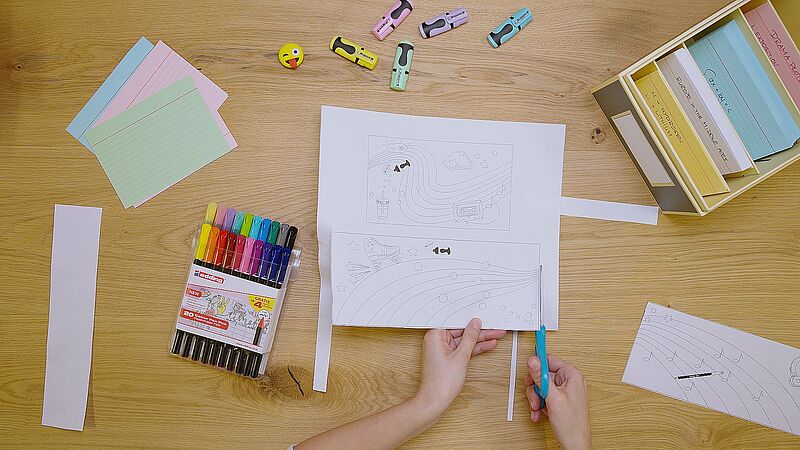
Step 1
To design your card index box, you’ll need the edding 1200 colour pens and edding mini highlighters in pastel and neon colours. We’ve got all the templates you’ll require – you simply need to do download them, print them off and cut them out.
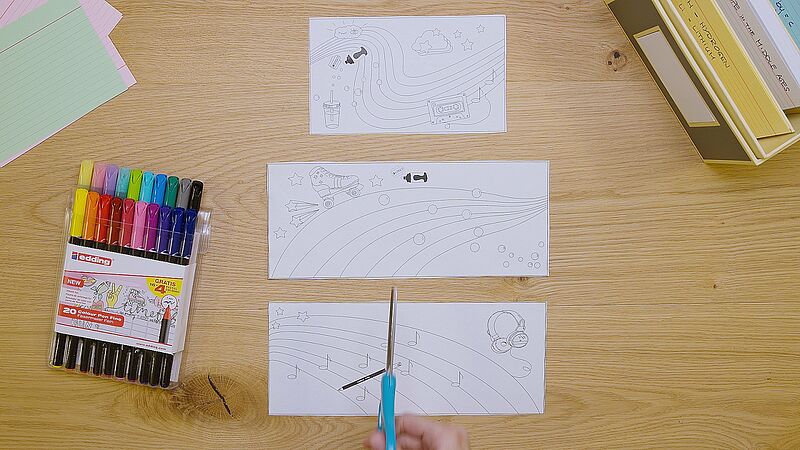
Step 2
This photo shows you the three sections for the outer faces of the box.
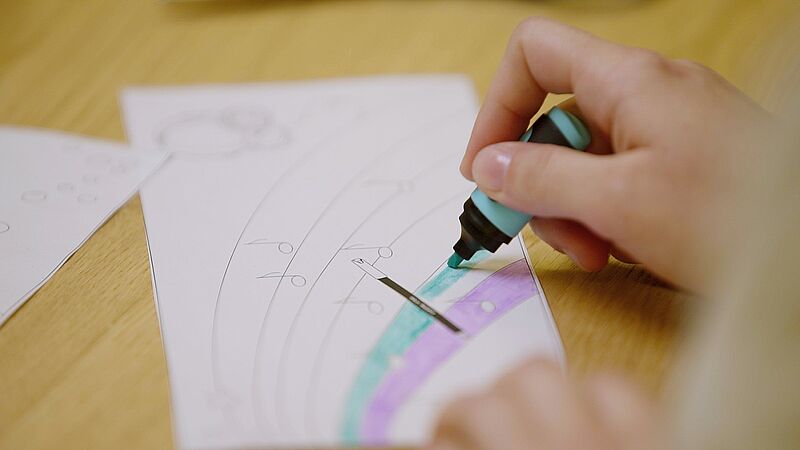
Step 3
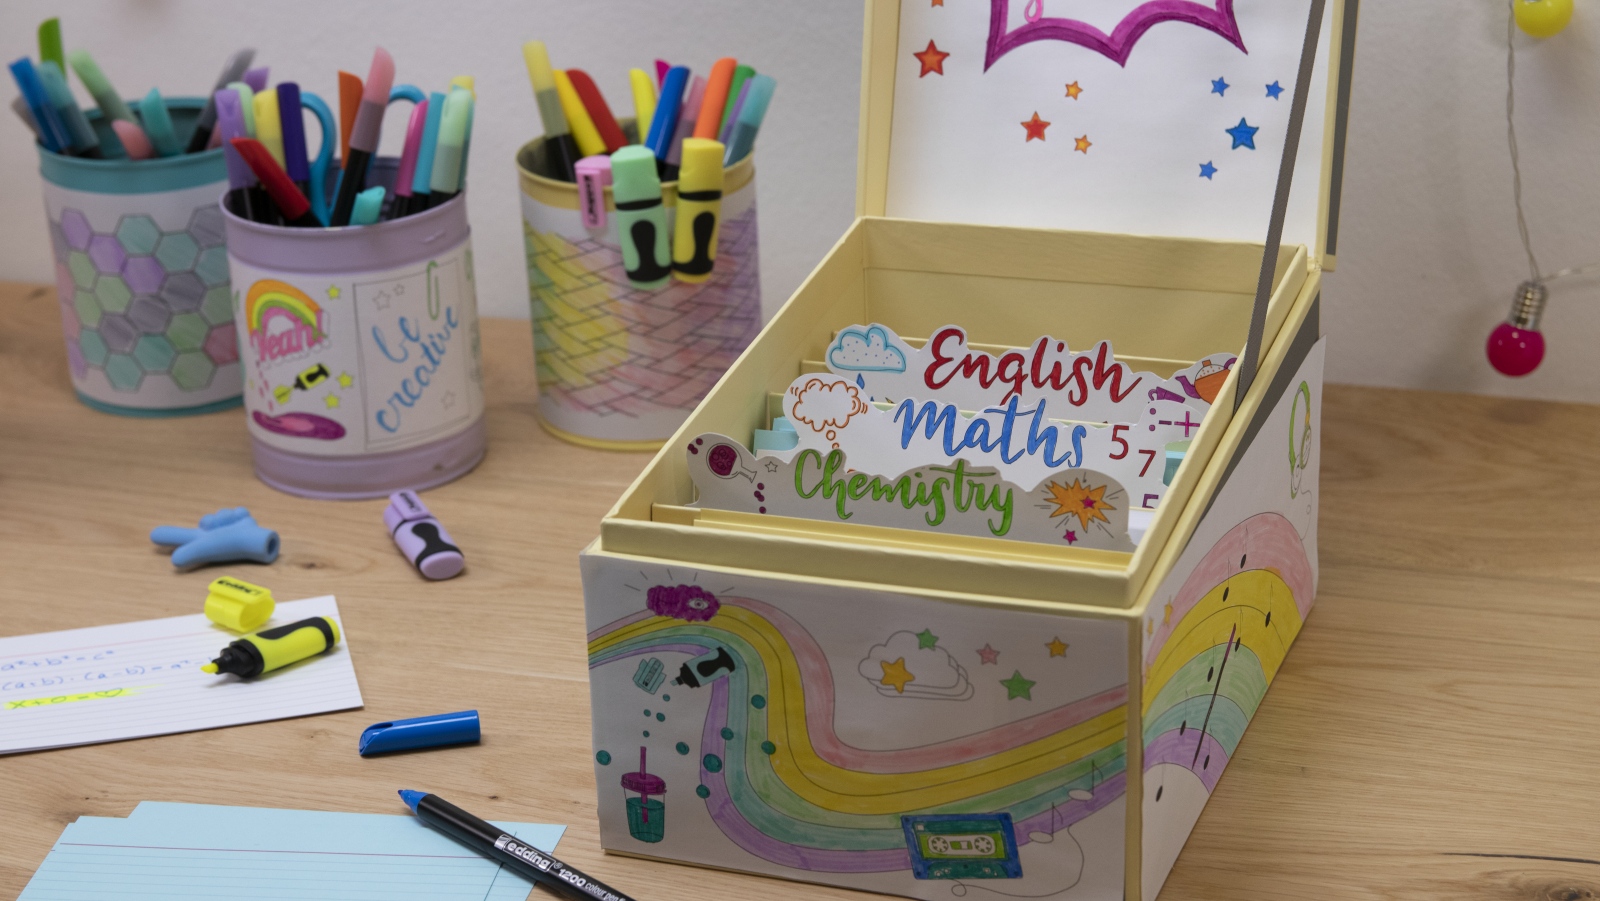
Now reach for a mini highlighter and draw a rainbow in your own style.
Step 4
Next, use the edding 1200 colour pens to colour in all the other detailed motifs. These pens come with a fine tip which makes them really good for precise colouring. The large set of 20 offers an amazing selection of colours, so it won’t be hard to find your favourites!
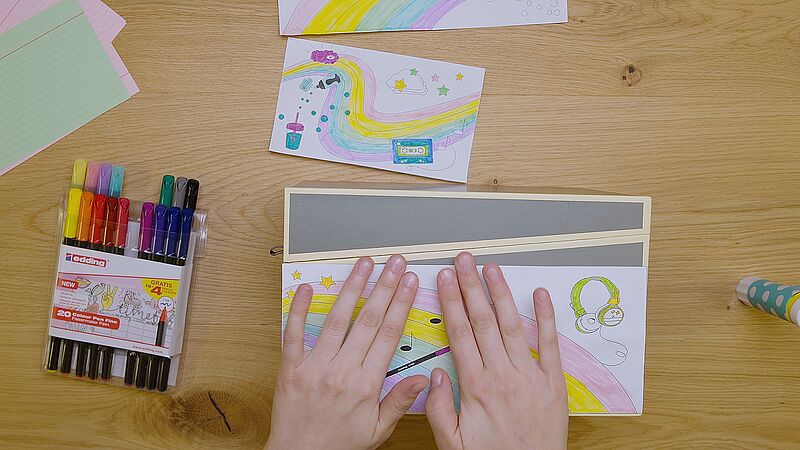
Step 5
Once you’ve coloured everything in, you’re ready to glue the paper strips onto the box.
Step 6
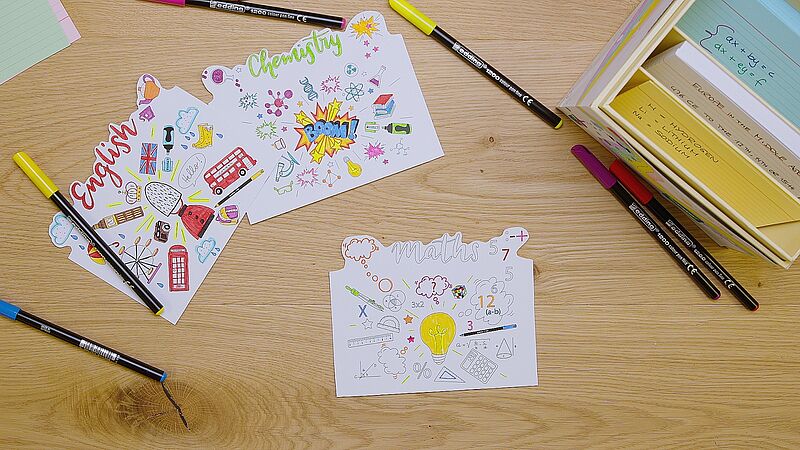
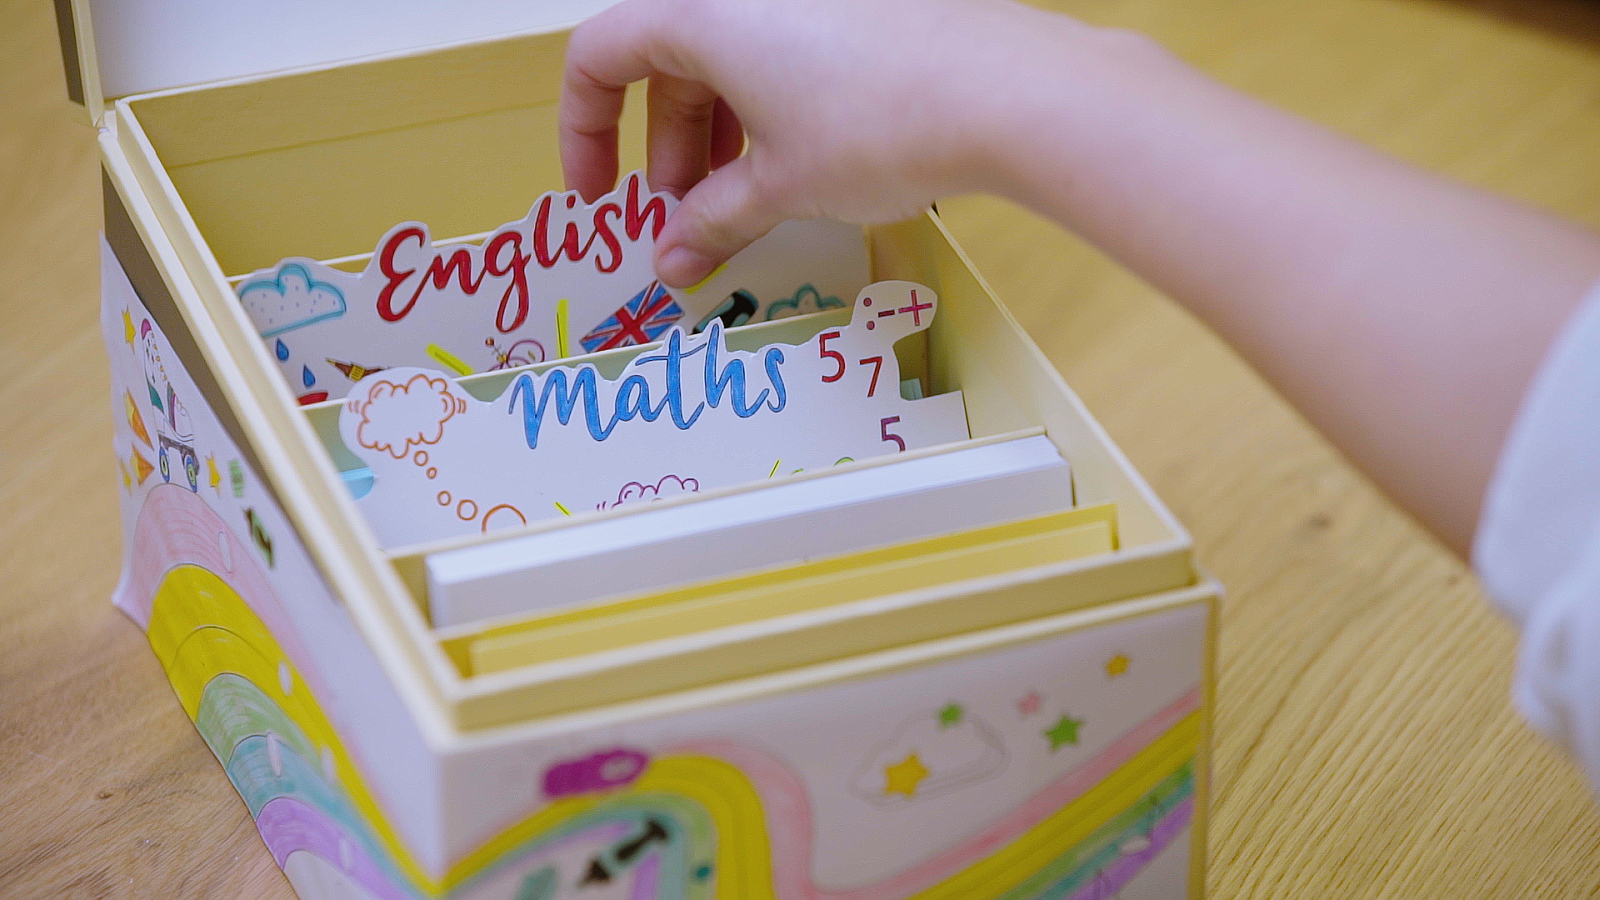
For dividing the index cards into different subjects, we also provide you with English, Maths and Chemistry templates as an example. Simply print them out (you can find the download link in the section "Other materials") and use the fibre pens to colour them in however you wish, before gluing them onto thick card.
Products and materials


Other materials
- “Index card box design” template
- Card index box
- Glue stick
Video
Additional images
Related ideas
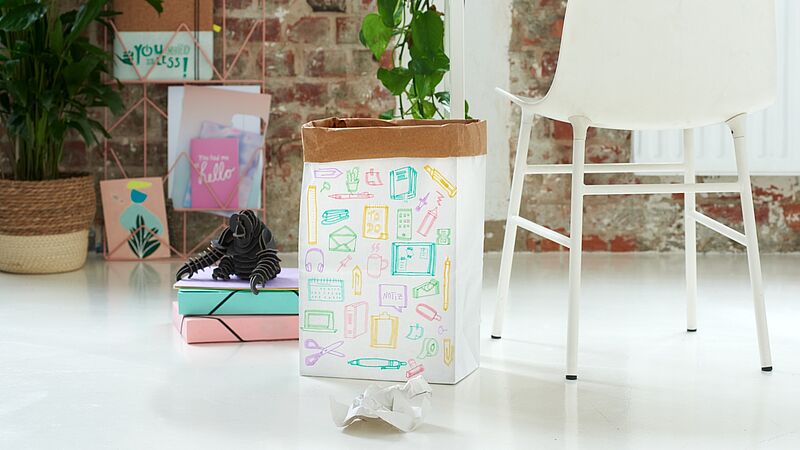
Everything neat and tidy
Keep track of what’s where in your craft room
Creative containers
Mini organiser boxes that are really neat!

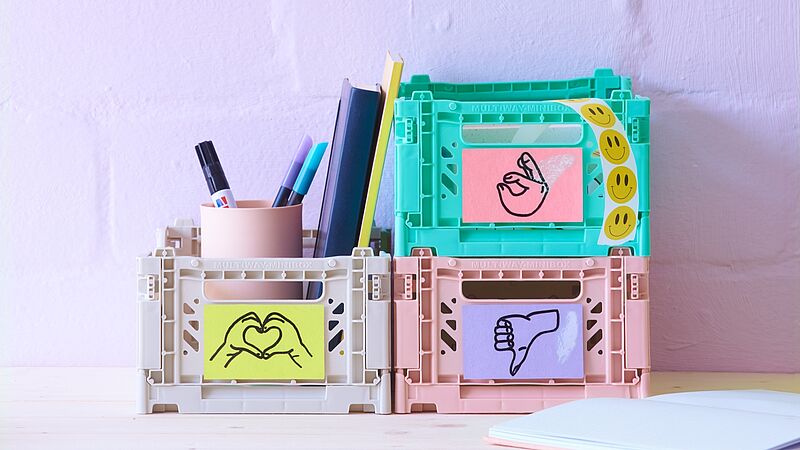
Desk organiser
A pastel look to keep you smiling
Uplifting pastels
Creative ideas with pastels bearing the Blue Angel ecolabel
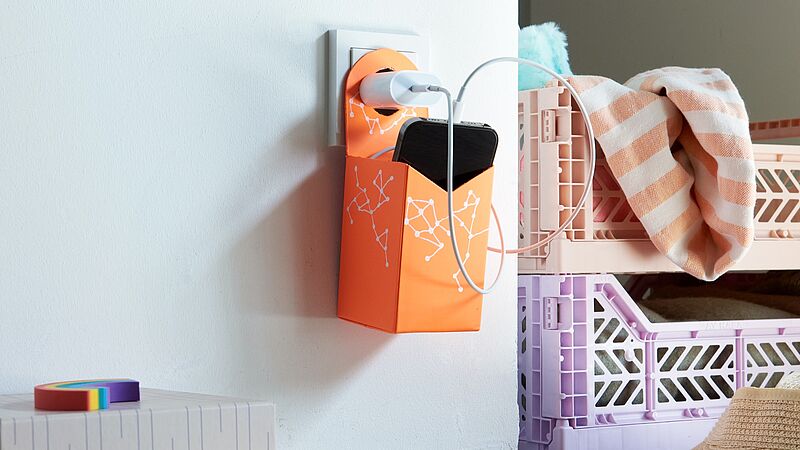
Practical and sustainable!
Upcycling idea for a DIY charging station
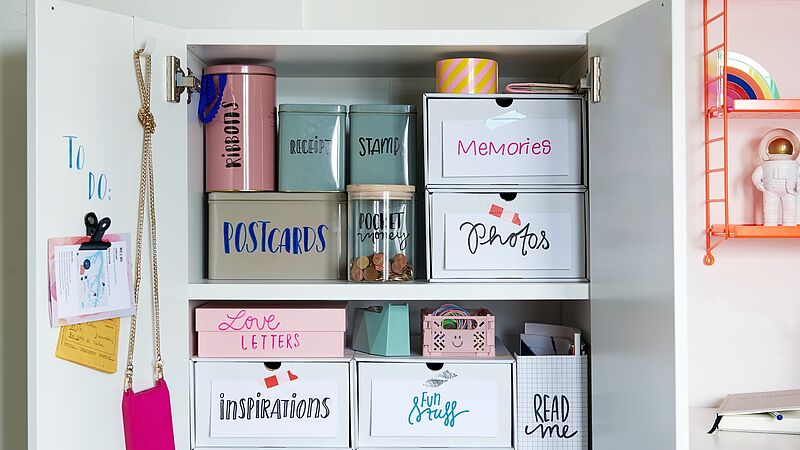
Everything in its place
An easy way to keep things neat and tidy
Creative Newsletter
Subscribe to our newsletter, and we’ll send you inspirational and creative DIY ideas, along with details of our latest products and special offers.