Step-by-step

Step 1
You can see everything you need in this photo. To colour in the ghosts and the other motifs you’ll need the edding 14 Funtastics fibre pen with a broad nib and the edding 15 pen with a narrow nib. Choose your favourite colours. Start by printing out the templates.

Step 2
Colour in the mini ghosts in whatever way you fancy. You could leave them white and just colour in the eyes and hands. The fine felt pen is perfect for this.

Step 3
The broad-tipped felt pen is great for colouring in larger areas.

Step 4
The other template is a sign bearing the words “Happy Halloween”. You can also fill this in using different colours in whatever way you choose.

Step 5
After you’ve done that, cut all the pieces out.

Step 6
Only cut around the outer edges of the “Happy Halloween” sign so that the letters are still attached to each other. You can see all the different sections of the garland in this picture.

Step 7
Place all parts of the garland on the ribbon and stick them on firmly. It’s best to position the wording in the middle, with the other parts to the right and left of it. If you fancy decorating a door with the garland, you can also attach a few ghosts separately.
Products and materials
Other materials
- Template
- Children’s scissors
- Glue stick
- Gift ribbon (approx. 1 m long and 2 cm wide)
Video
Related ideas
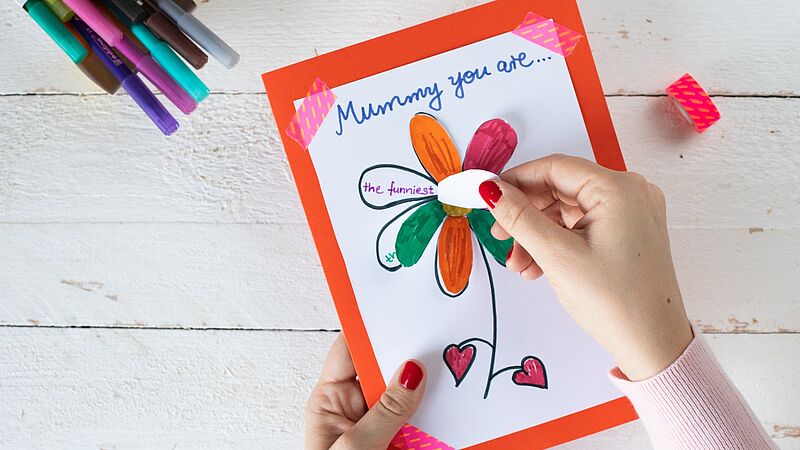
Creative flower card
Floral greetings for the world’s best mum
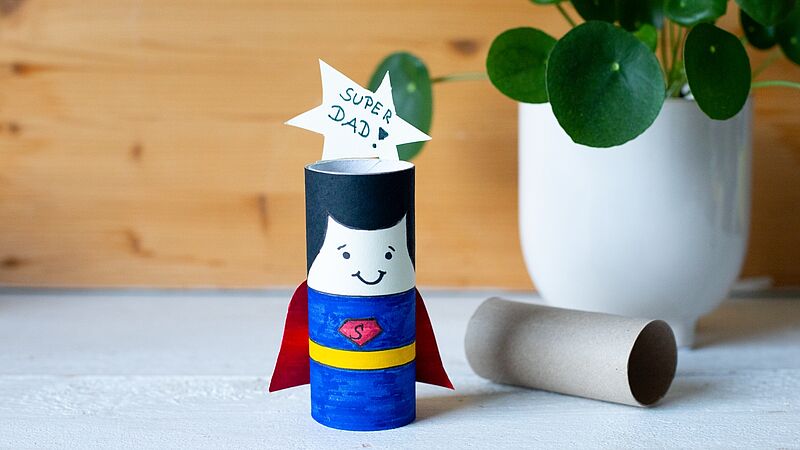
Craft idea for the best dad
Cool Father’s Day present for “Superdad”
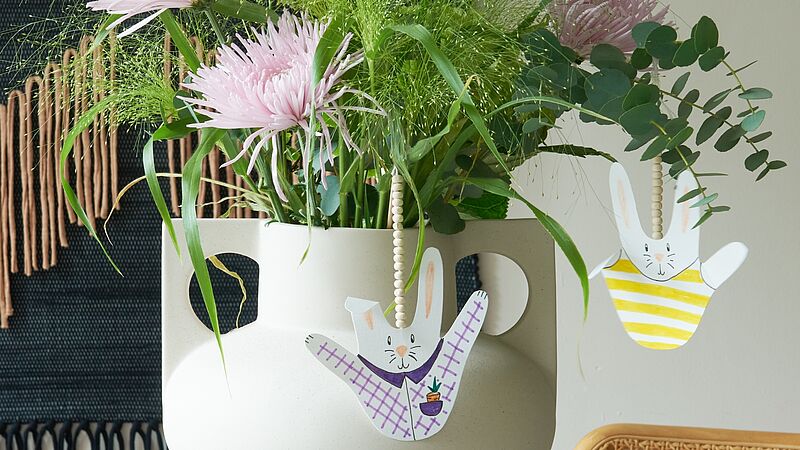
Bunnies abound!
Cute Easter idea for kids
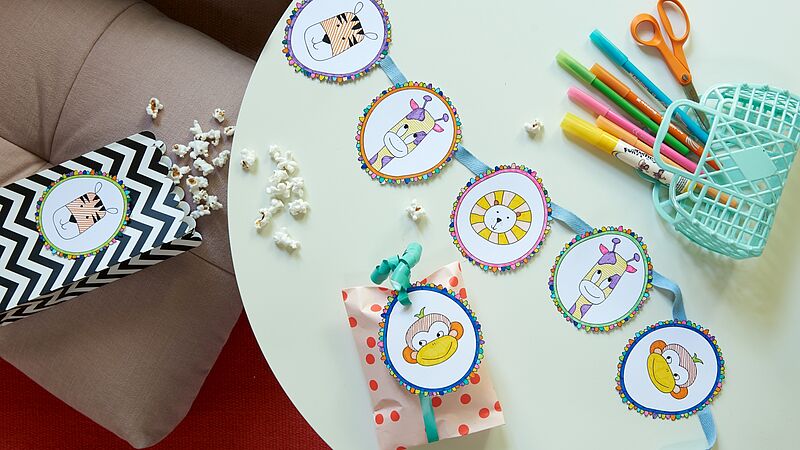
Funny animal paintings
It’s so simple – step-by-step animal drawings
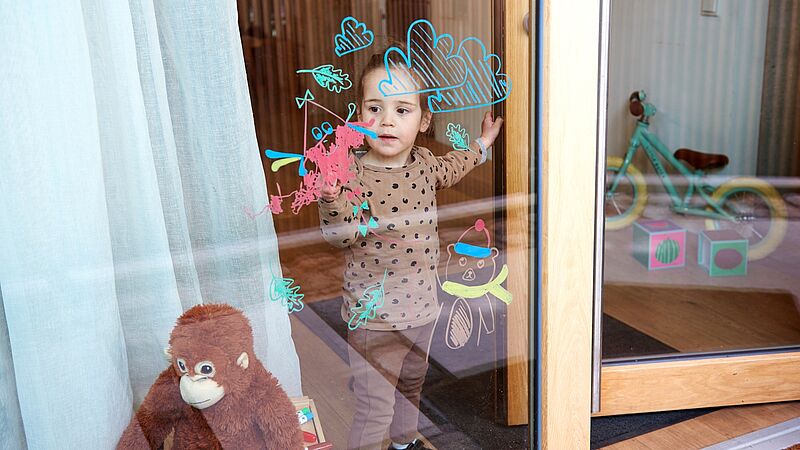
Window decorations with an autumnal theme
An activity children will love!
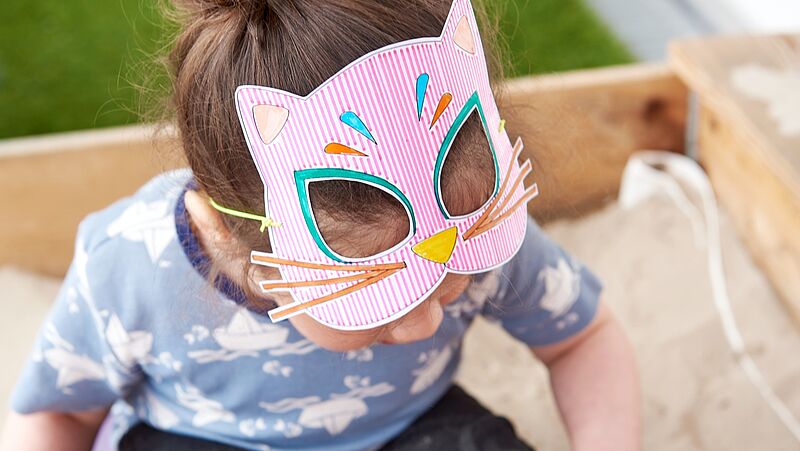
Funny animal face masks
A wonderful pastime for kids
Creative Newsletter
Subscribe to our newsletter, and we’ll send you inspirational and creative DIY ideas, along with details of our latest products and special offers.


