
Step-by-step

Step 1
Once you've selected the repair wax kit that best matches the colour of your shelves, scrape off a small piece of wax using the plastic spatula provided.

Step 2
The wax is soft enough to be rolled into a little ball.

Step 3
Place a small ball of wax into each of the holes in your shelves.

Step 4
Press down firmly so that the wax is pressed right into the hole.

Step 5
Remove any excess wax using the plastic spatula.

Step 6
This photo shows the shelf unit once it’s been treated with the furniture repair wax.
Products and materials

Additional images

Related ideas

Utensil holders in concrete grey
Upcycling idea for your kitchen accessories

From old plates to stylish wall art
Upcycling idea for gran’s old porcelain

Upcycling idea for an old chest of drawers
A stylish new look for planters
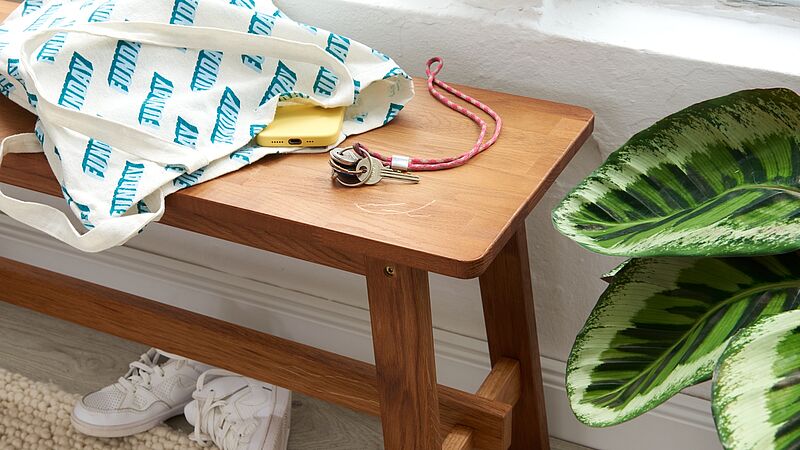
Annoying little scratches
Fix scratches in your wooden furniture

Freshen up your grouting
Add sparkle to bathroom and kitchen grouting

Placemat upcycling idea
A stylish addition for your dinner table
Creative Newsletter
Subscribe to our newsletter, and we’ll send you inspirational and creative DIY ideas, along with details of our latest products and special offers.