
Step-by-step
Step 1
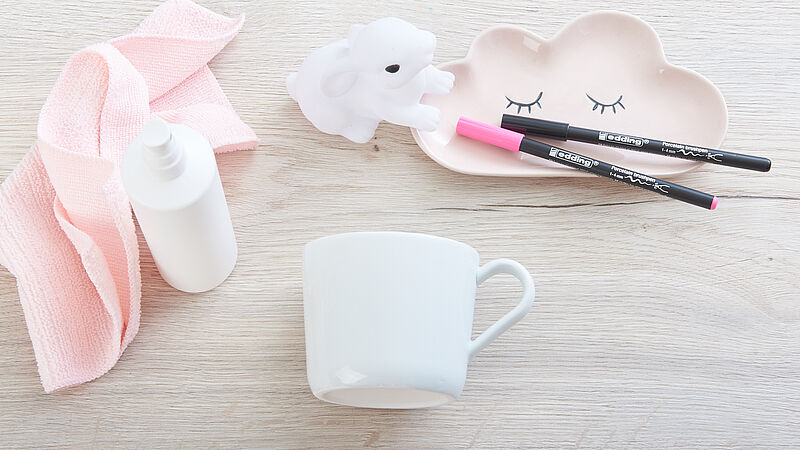
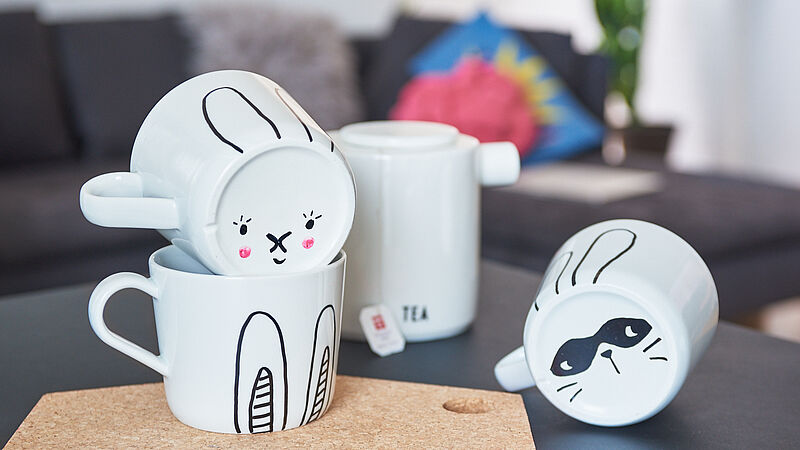
Make sure you have all your materials to hand before you start. You can see everything you need at a glance in our photo. The pens you’ll need are black (colour code 001) and pink (009).
Step 2
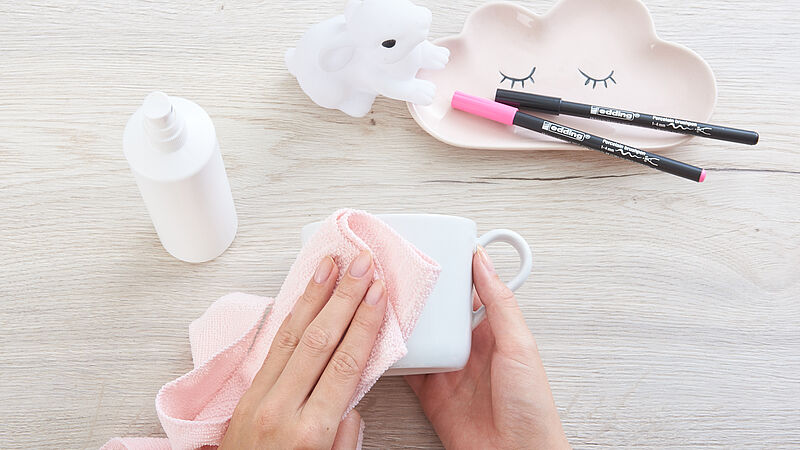
For best results, start by washing the cups with water (a dishwasher is ideal for this) and wipe over with methylated spirits.
Step 3
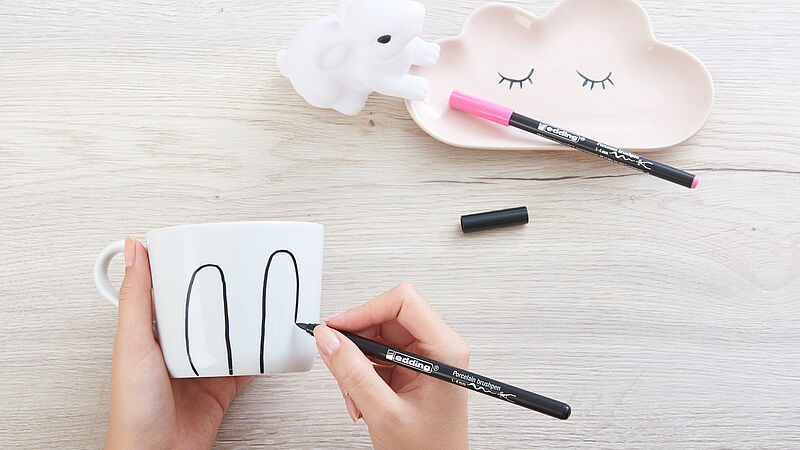
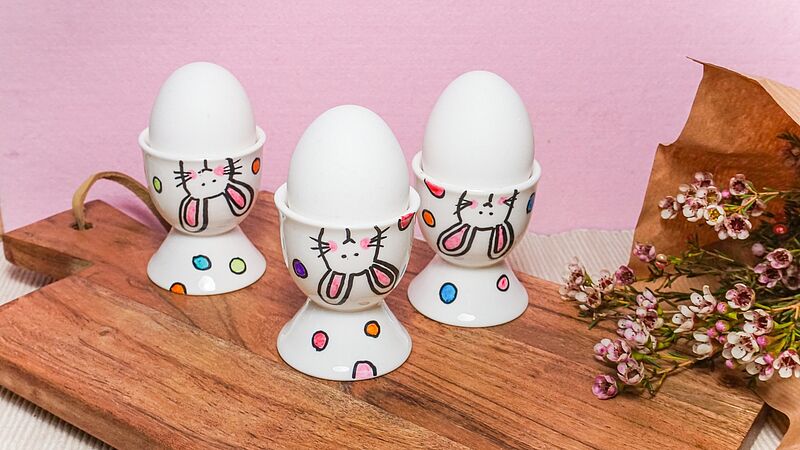
The tip of the brush pen is highly versatile, allowing you to create very fine lines by applying the tip only, or broader brush strokes by holding the pen flatter. If you make a mistake, simply wipe it off with a damp cloth or cotton bud. Paint the rabbit ears on the side of the mug first, using the black pen.
Step 4
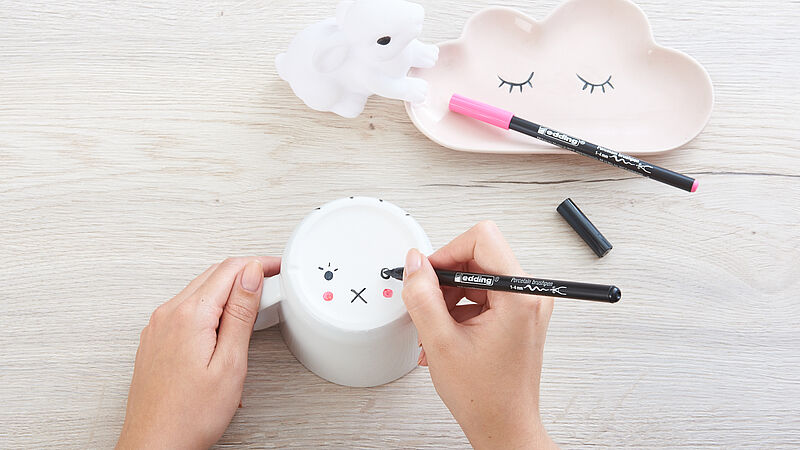
Leave to dry for approx. 15 minutes, then paint the rabbit face on the bottom of the mug. Now take the pink porcelain brush pen and add pink dots for the cheeks.
Step 5
When you’ve finished painting, leave the motif to dry for a further 15 minutes. Bake your mugs for 25 minutes in a preheated oven at 160°C, placing the items on a cold oven shelf before sliding it into the oven. Leave in the oven to cool afterwards. After baking, your designs will be dishwasher-safe. And - hey presto – your rabbit mugs are finished!
Products and materials

Other materials
- Cups or mugs made of light-coloured porcelain or glazed ceramic
- Water and methylated spirits for initial cleaning
- Cotton buds and a damp cloth for making corrections
- A conventional oven
Related ideas
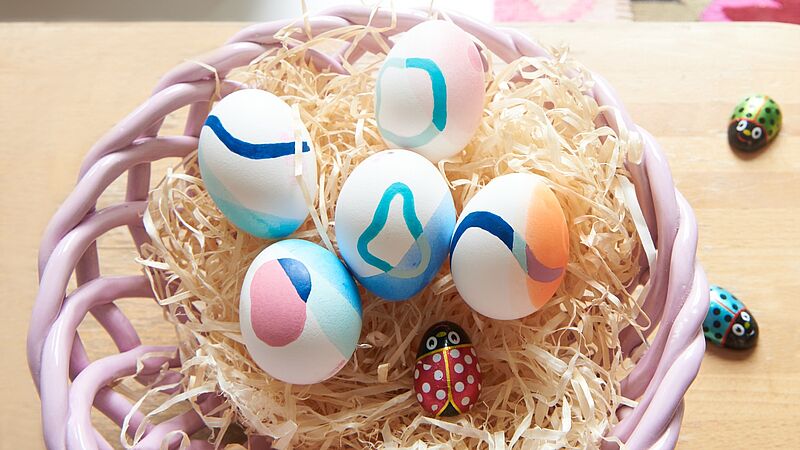
Easter eggs to outshine all the rest!
Easter in bright colours
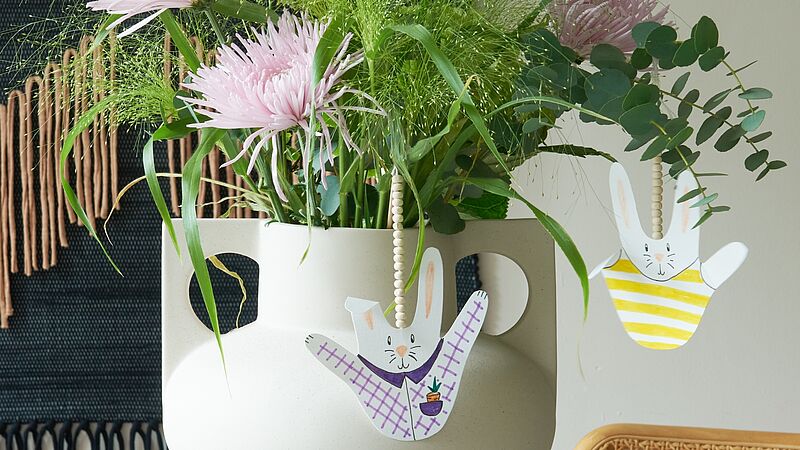
Bunnies abound!
Cute Easter idea for kids
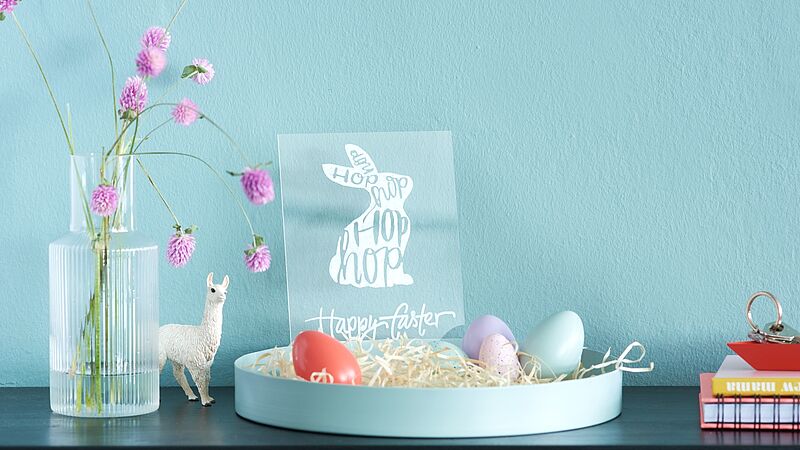
Design an Easter sign
Decorative eye-catcher for Easter
Fun egg cups
Easy-peasy: colourful egg-cup design
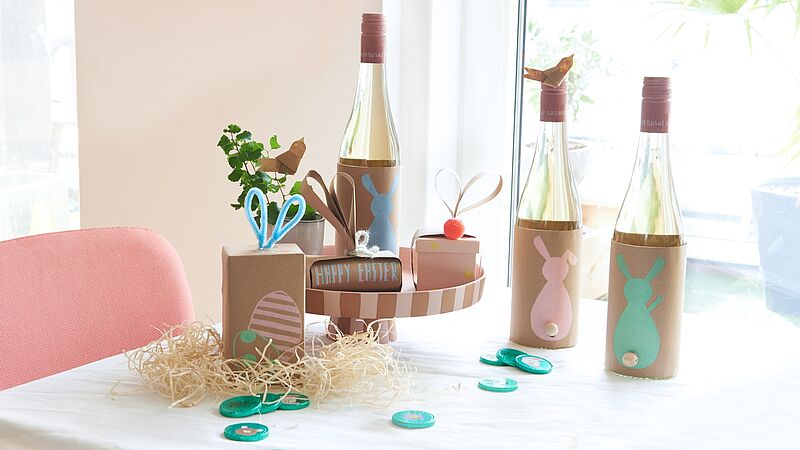
Adorable Easter gifts
Little Easter gifts – quick and easy to make
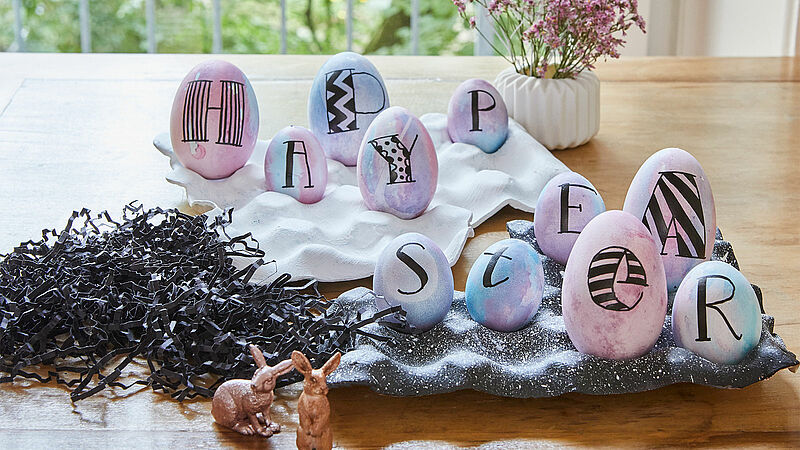
Writing on Easter eggs
“Happy Easter” letter puzzle
Creative Newsletter
Subscribe to our newsletter, and we’ll send you inspirational and creative DIY ideas, along with details of our latest products and special offers.