
Step-by-step
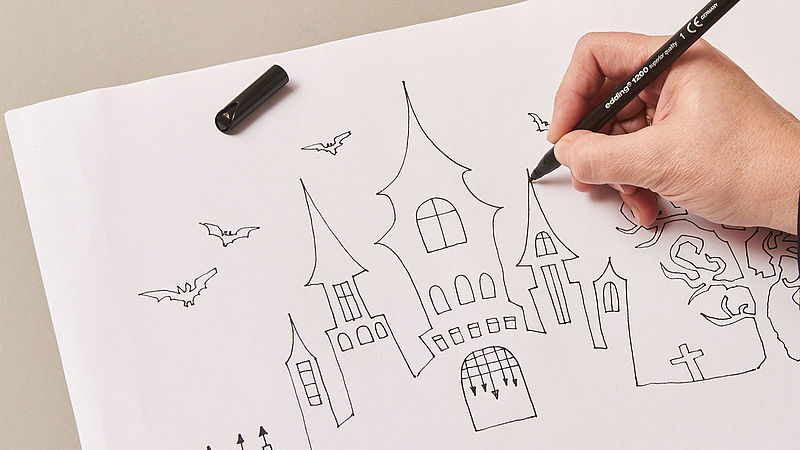
Step 1
Using the edding 1200 fibre pen. First sketch out the motif on paper. Alternatively, you can print out our haunted castle image and adjust it to size on a photocopier. This motif is available for download.
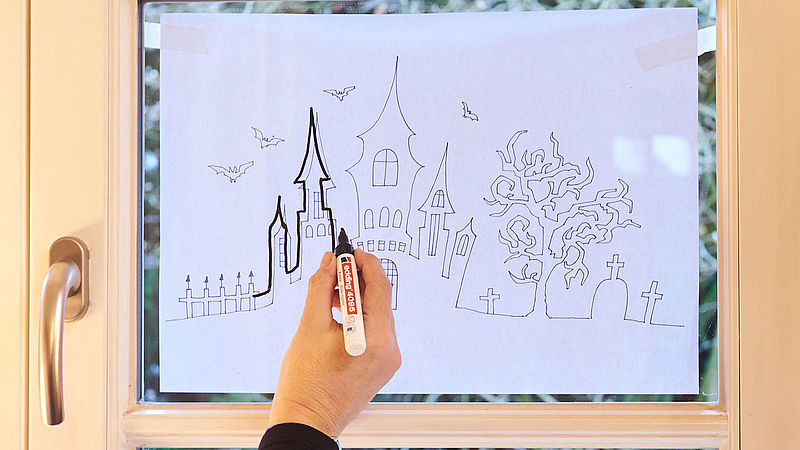
Step 2
Fix the template to the back of the window with sticky tape, so the motif shows through. Now take the chalk marker and draw over the outline of the design and colour it in.
Before you start, here’s how to activate your edding chalk marker: Shake the marker firmly with the cap still on. Place the nib on some scrap paper and carefully pump it up and down a few times until ink fills the nib. Start by writing a few test strokes on the scrap paper. And don’t forget to always replace the cap securely after use.
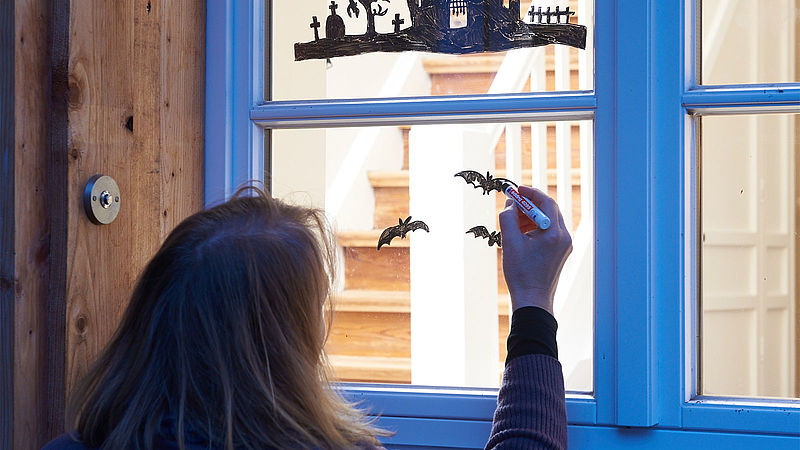
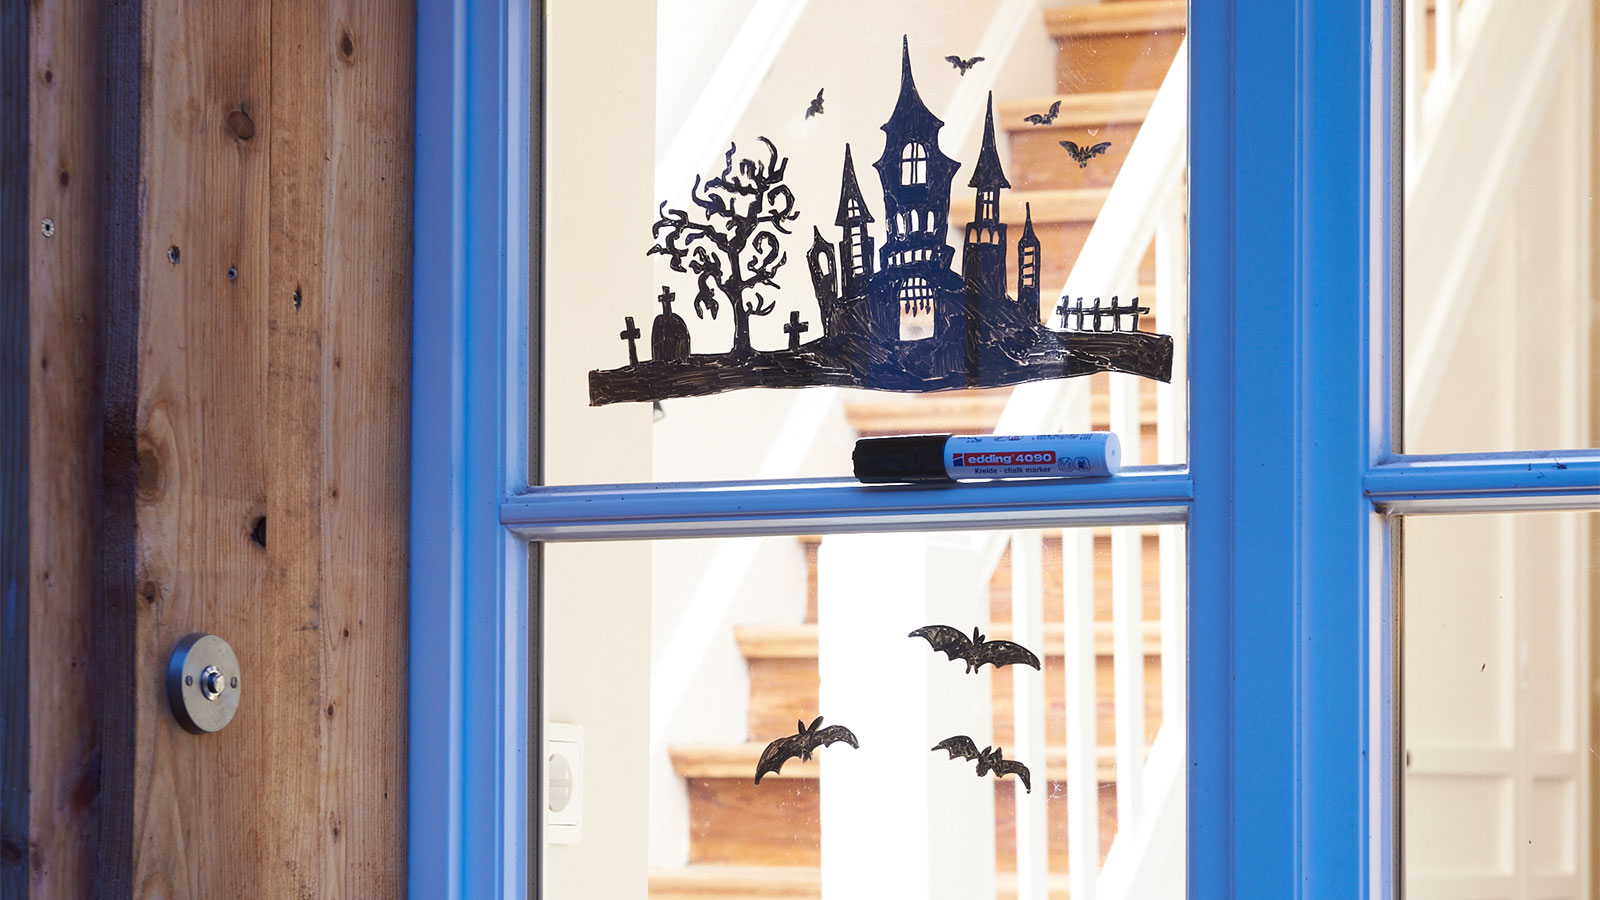
Step 3
The thicker edding 4090 chalk marker (stroke width 4-15 mm) is particularly good for colouring in larger areas. Finish off the haunted house by adding little bats and other Halloween-related figures. Drawings can be removed from the windows with total ease and corrections made quickly and simply using a damp cloth.
Products and materials


Other materials
- Sheet of paper big enough for the design, to use as a template
- Sticky tape
Templates

Halloween castle
Additional images
Related ideas

Atmospheric decorations for Advent
Designs using natural materials

Cute autumn decoration
Simple craft idea using empty cardboard tubes

Colouring picture in pastel shades
"Protect the animals” motif

A love of leaves
Colourful leaves for your journal

Candle holders with an autumnal feel
Ambient candlelight for those darker autumn days

Everything in its place
An easy way to keep things neat and tidy
Creative Newsletter
Subscribe to our newsletter, and we’ll send you inspirational and creative DIY ideas, along with details of our latest products and special offers.