
Step-by-step

Step 1
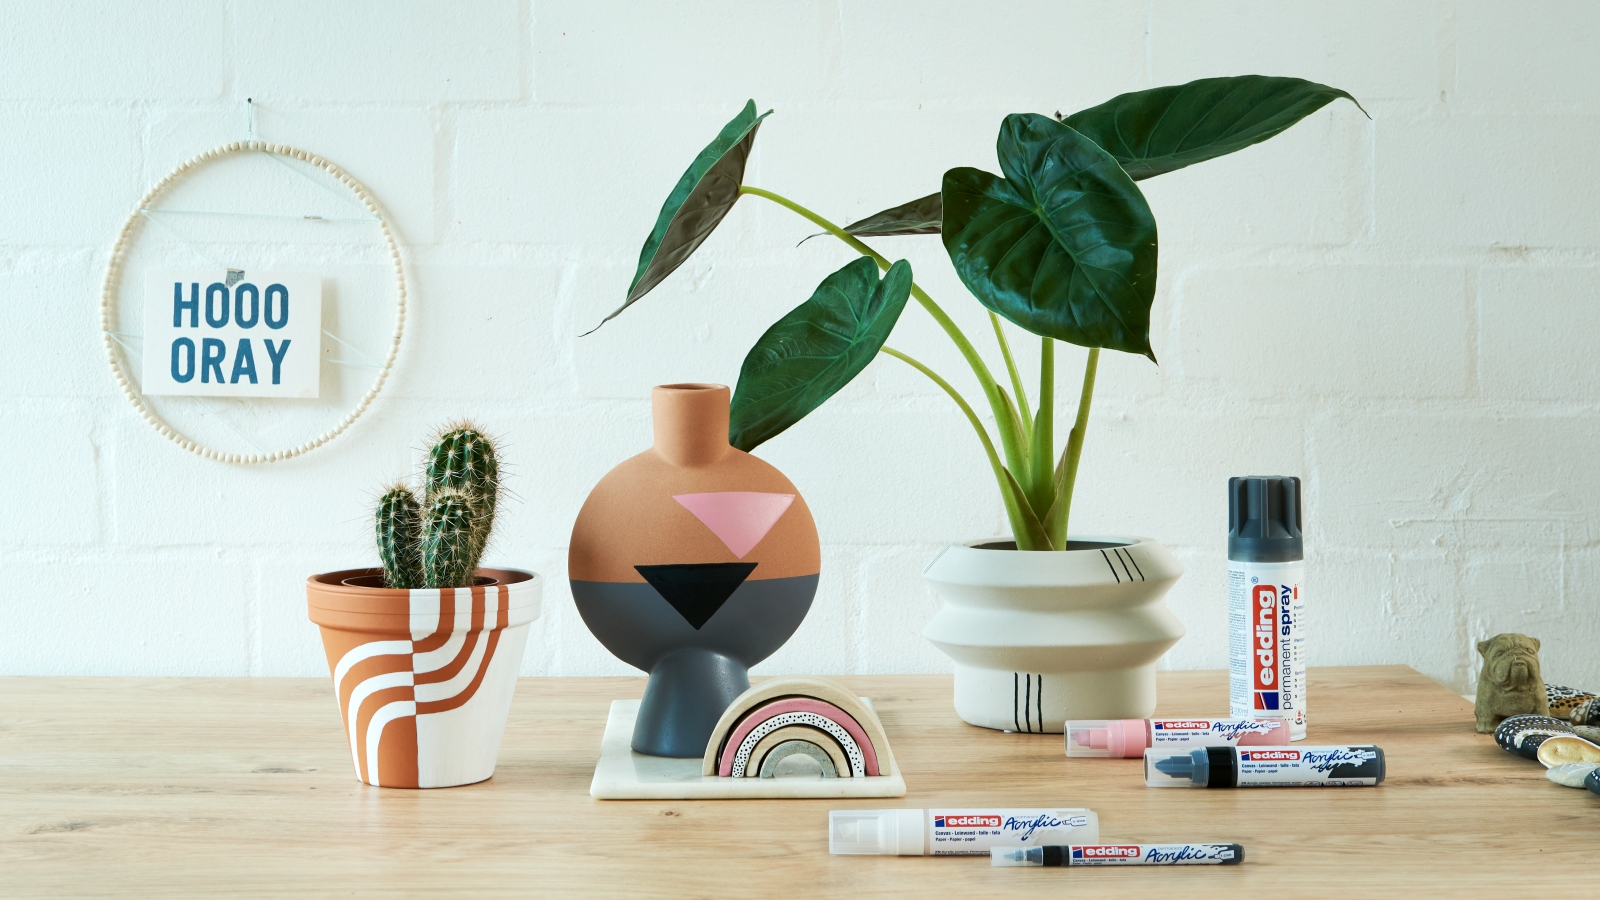
In our examples, we’ve used the following products: the broad edding 5000 acrylic marker in classy mauve, traffic white and black; the medium edding 5100 acrylic marker in black and edding permanent spray in anthracite. Rub down the containers with a damp cloth before you begin to get rid of any dust and leave to dry.
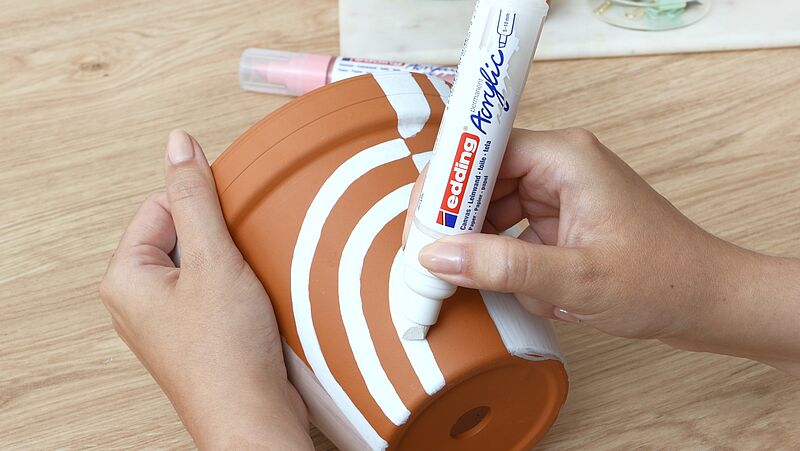
Step 2
Before you start, activate your markers: shake each marker with the cap still on until the mixing balls inside can clearly be heard. Carefully prime the pen by pressing the nib up and down until ink appears in the tip. Test the pen on a piece of scrap paper. To design the flowerpot, use a pencil to draw two vertical lines on opposite sides of the pot to create two halves. Using the white acrylic marker, draw 3 broad lines in the form of incomplete semicircles from bottom to top as far as the pencil marking. Colour in one part of the area completely in white.

Step 3
Once everything is dry, you can design the other half in the same way, but the other way round. In this half, the broad lines will start at the top and curve round as far as the middle. Completely colour the bottom half of the pot in white.

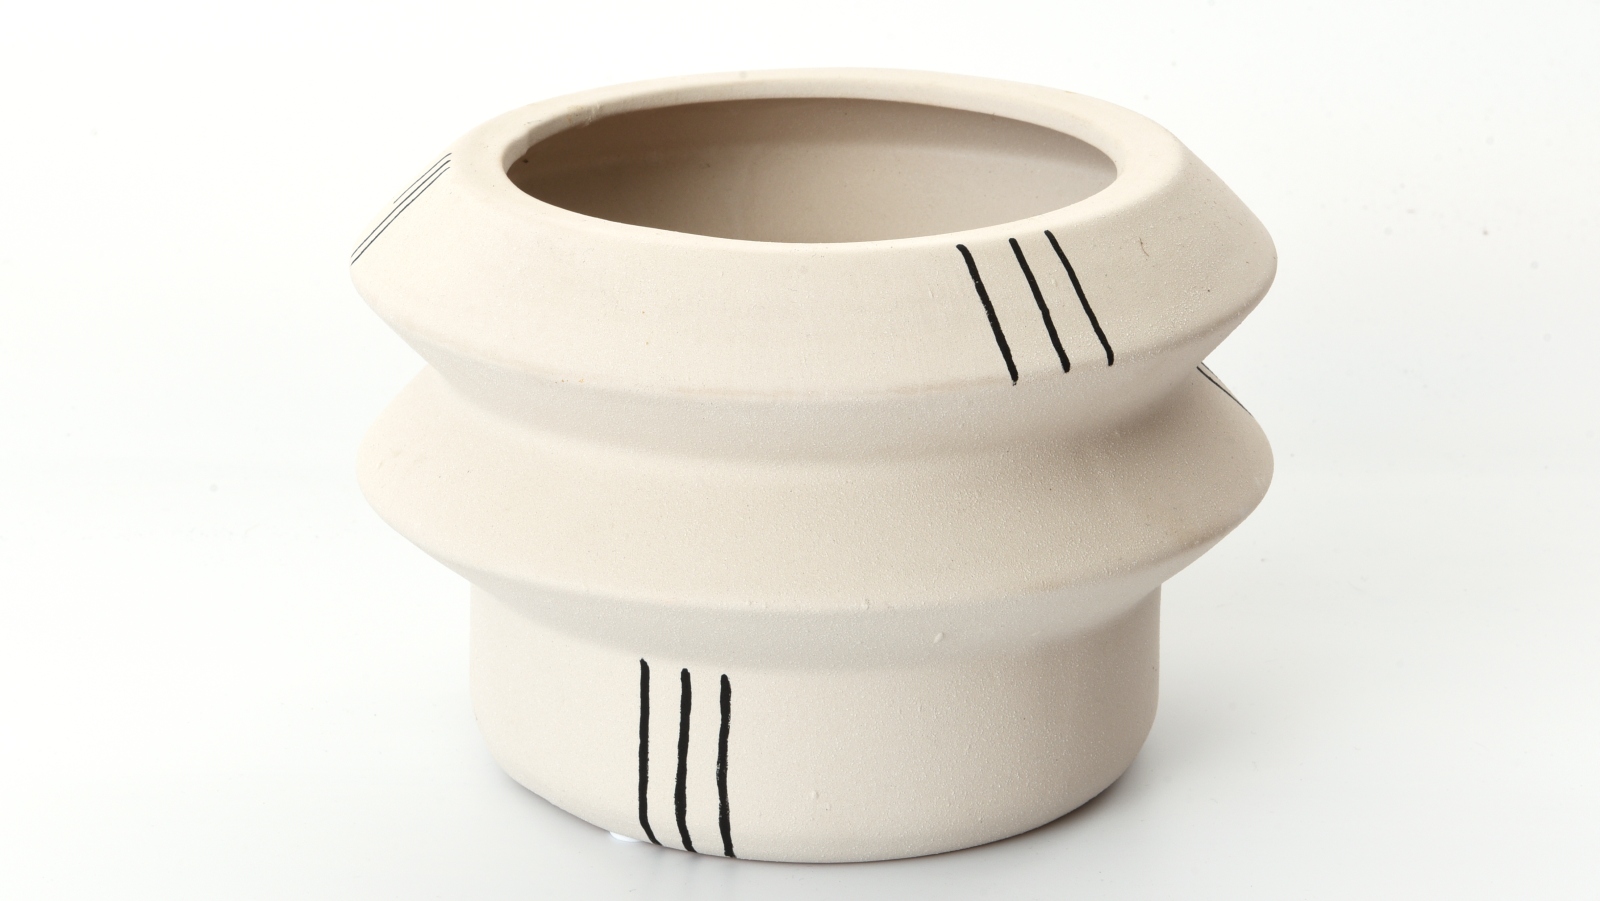
Step 4
Next, take the vase with its interesting design and paint using permanent spray in anthracite. As you are only spraying a particular area, use paper and sticky tape to mask off the bottom of the vase really well. In our Spray basics section, you’ll find tips and tricks for the perfect spraying technique.

Step 5
Let the coat of paint dry thoroughly before removing the masking tape. To ensure the graphic pattern is nice and straight, we recommend tracing out the two triangles with a pencil first. Use the black broad acrylic marker to colour in the first triangle.
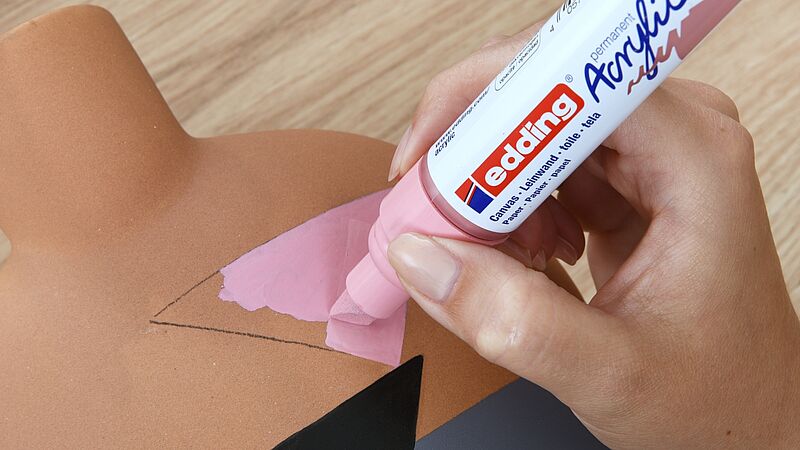
Step 6
Now, it’s time to apply the classy mauve marker. Use it to colour in the next triangle. Using the acrylic markers with finer tips, you’ll be able to add really nice details and individual touches of colour – as you can see on the white pot.
Products and materials


Other materials
- Ceramic or terracotta pots and containers
- Pencil
- Damp cloth
- Paper and adhesive tape for sticking down
- Masking tape for use when spraying
- Screwdriver
- Protective glove (optional)
Additional images

Related ideas

Shelf decorated with love
Make children’s dreams come true

Create your own concrete look
Unique upcycled bedside table

Earth Day
A little better every day

Designs in natural tones
Record baby's first milestones with these creative keepsakes

Discover the joy of manga drawing
Create impressive manga characters with ease
Name plaque for your best friend
DIY idea for dog lovers
Creative Newsletter
Subscribe to our newsletter, and we’ll send you inspirational and creative DIY ideas, along with details of our latest products and special offers.