
Step-by-step
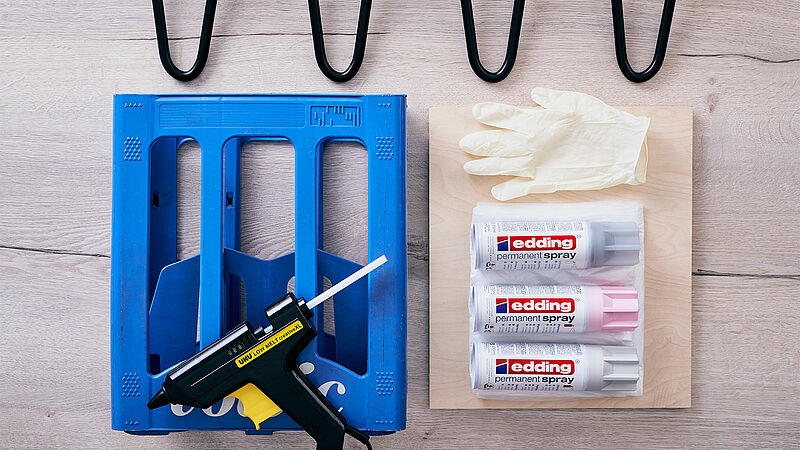
Step 1
Gather all of the materials you need before you start. For our crates, we used permanent spray in light grey (colour code 925) and pastel rose (914) and universal primer.
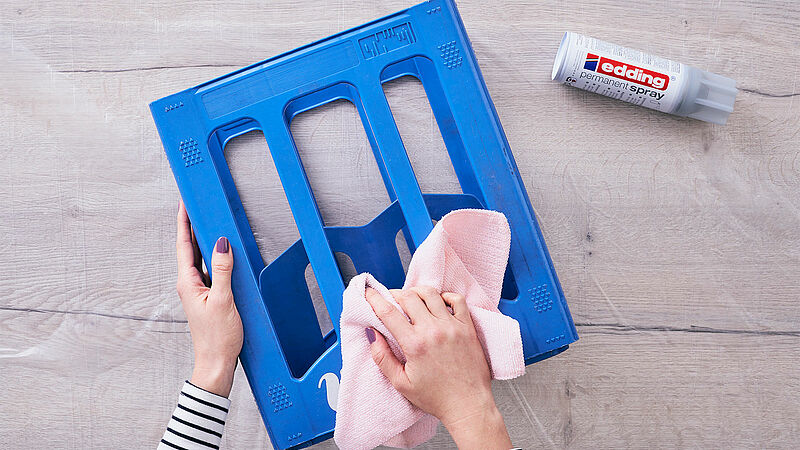
Step 2
To prepare, wash the crates thoroughly and cover your working area extensively with protective film.
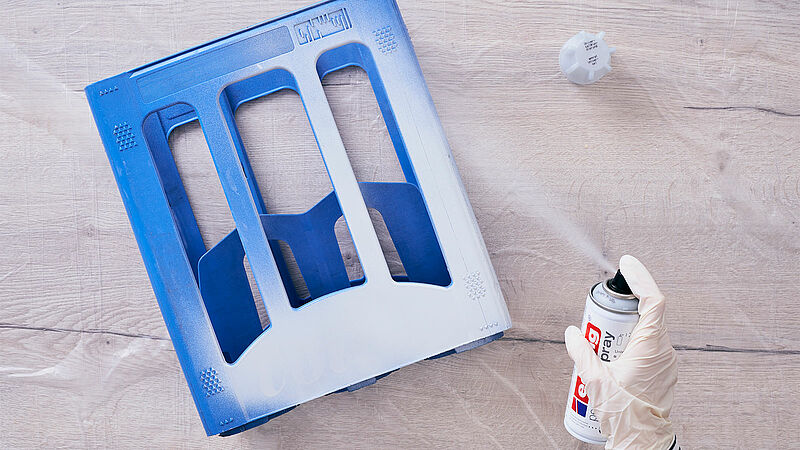
Step 3
First of all, give the crate a coat of universal primer. This provides excellent adhesion and gives the subsequent topcoat a beautiful sheen. Before spraying the primer, shake the spray can for 3 minutes, then remove the sprayhead and prise off the safety ring with the aid of a screwdriver. We recommend that you spray continuously at a distance of approx. 25 cm, using horizontal and vertical strokes, so the paint covers more evenly. Check out our Spray Basics section where you’ll find handy tips on how to achieve the perfect spraying technique. Leave the primer to dry for 2-4 hours.
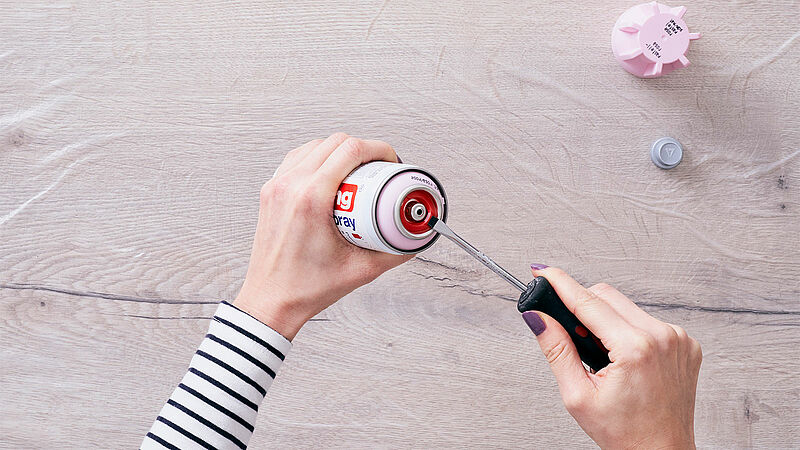
Step 4
When the primer is completely dry, it’s time to give the crate some colour. Shake the spray can for 3 minutes, remove the sprayhead and use the screwdriver to help you prise off the safety ring.
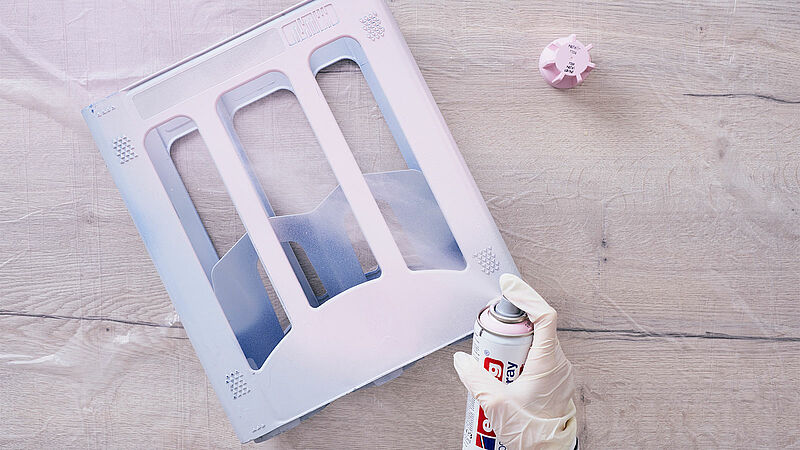
Step 5
In the photo below, you can see the crate being sprayed in pastel rose. Repeat the same steps for the second crate – prime the surface and, when it’s fully dry, spray on your chosen colour.
Step 6
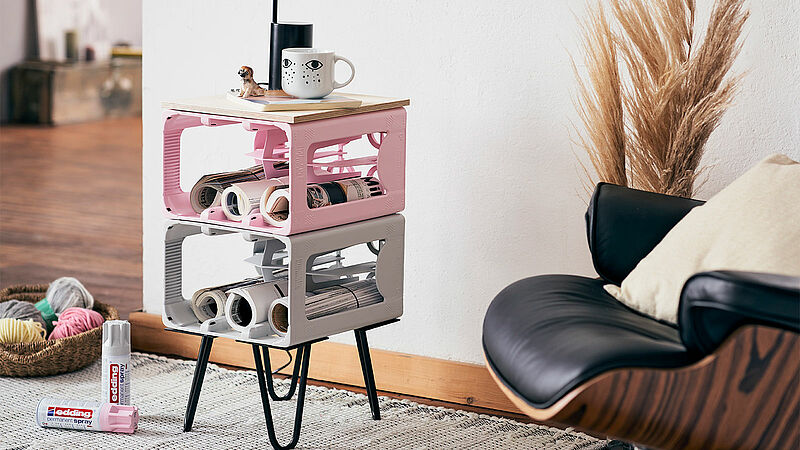
After approx. 30 minutes, check whether the paint has dried. Once it’s totally dry, you can start to assemble your table. Place one crate on top of the other with the open side facing towards you, and glue them together using the hot glue gun. Place the wooden panel on top to create the tabletop. If you want, you can attach legs to the bottom of your new crate side table, either with screws or with glue.
Products and materials


Other materials
- Empty bottle crates
- Large covering sheet to protect your work area
- Gloves, breathing mask (optional)
- Screwdriver for removing the safety ring from the can
- Wooden panel, the same size as the side of your crate
- Hot glue gun
- A stand or legs for your table, if desired
Related ideas

Create your own concrete look
Unique upcycled bedside table

Upcycling idea for an old chest of drawers
A stylish new look for planters

Placemat upcycling idea
A stylish addition for your dinner table

Your very own designer side table
Create an eye-catching piece of furniture with this fun upcycling project
Repair scratches in your wooden floor
DIY hack: the simple way to get rid of dents and scratches
Magical flowers on your window
Decorate your windows and glass doors with striking floral designs
Creative Newsletter
Subscribe to our newsletter, and we’ll send you inspirational and creative DIY ideas, along with details of our latest products and special offers.