
Step-by-step
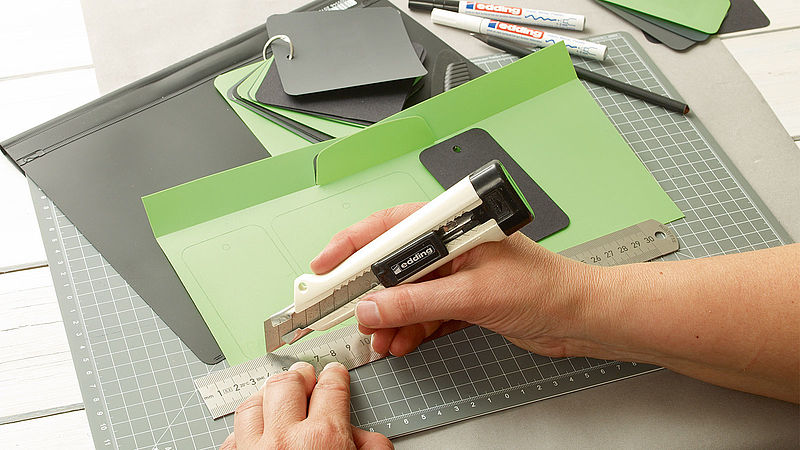
Step 1
To make the calendar tags you only need the coloured back cover of the folder, so start out by cutting off the front sheet. Position the template for the calendar tags on the plastic sheets and use a pencil to draw round it as many times as you need. Then cut them out with the craft knife. You'll need narrow pieces for the numbers and wider ones for the months and days of the week.
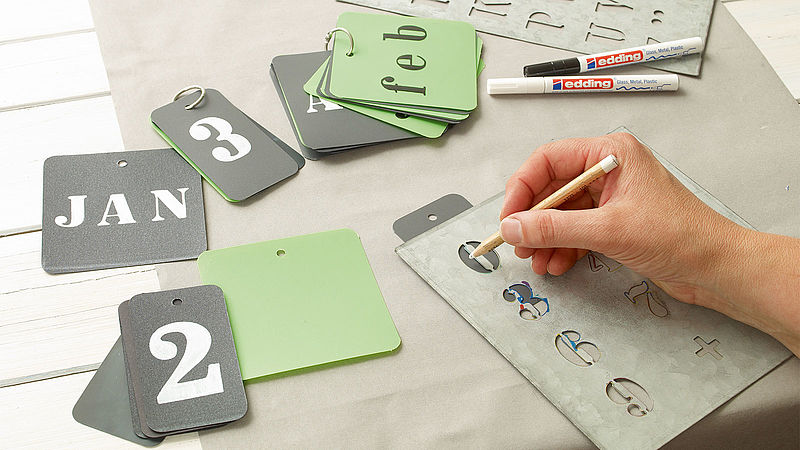
Step 2
Now take the stencil and use a pencil to draw an outline of the letters and numbers on the plastic sheet. If you're using a black background, you may wish to write with a contrasting white pen. Use 3-letter abbreviations for the months and days of the week.
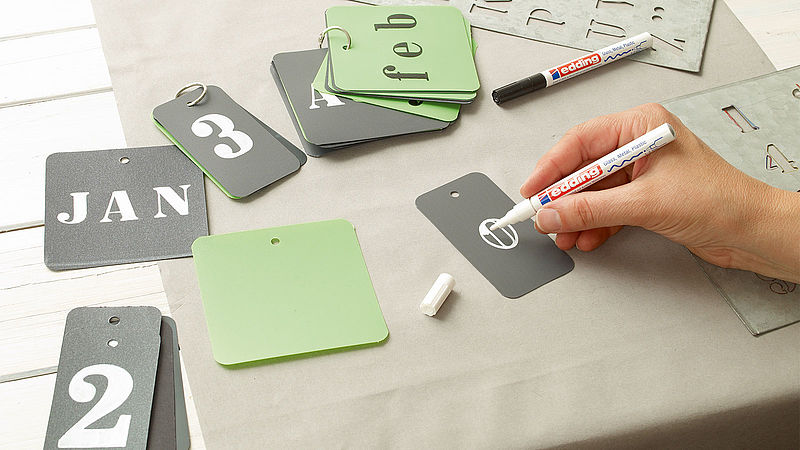
Step 3
Using the edding 751 gloss paint marker, go over the outline of the characters and colour them in. We recommend white against black calendar pages, but black would also look good on light green. As well as being quick-drying, the ink is both waterproof and non-wipe.
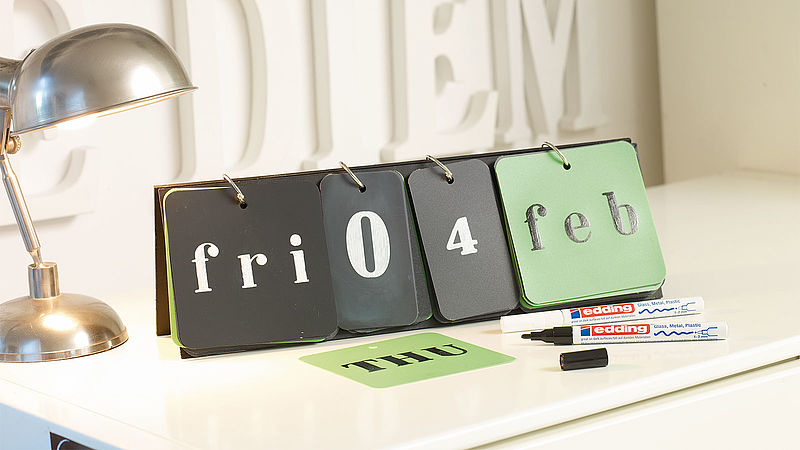
Step 4
Place the individual tags in the right order, punch a hole in the centre of each one and fasten them together with the binding rings. Cut a back sheet and a front cover out of the plastic folders the same size as the calendar and punch 4 holes in the appropriate positions so that the individual tags can be held in place. Punch identical holes in the cardboard and use as a backing to give stability.
Products and materials


Other materials
- A total of around 6 plastic folders in different colours
- Template for the individual tag shapes, lettering and number stencils (from a craft specialist or downloaded from our website)
- Craft knife, ruler, scissors
- Binding rings (from a book binding supplier), hole punch
- A piece of rigid cardboard the same size as the calendar
Templates

Roman font
Related ideas

Create your own concrete look
Unique upcycled bedside table

Upcycling idea for an old chest of drawers
A stylish new look for planters

Placemat upcycling idea
A stylish addition for your dinner table

Your very own designer side table
Create an eye-catching piece of furniture with this fun upcycling project
Repair scratches in your wooden floor
DIY hack: the simple way to get rid of dents and scratches
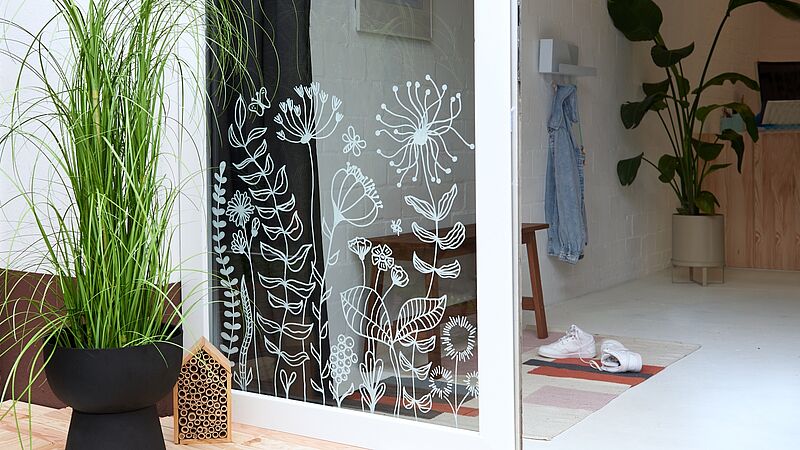
Magical flowers on your window
Decorate your windows and glass doors with striking floral designs
Creative Newsletter
Subscribe to our newsletter, and we’ll send you inspirational and creative DIY ideas, along with details of our latest products and special offers.