
Krok po kroku
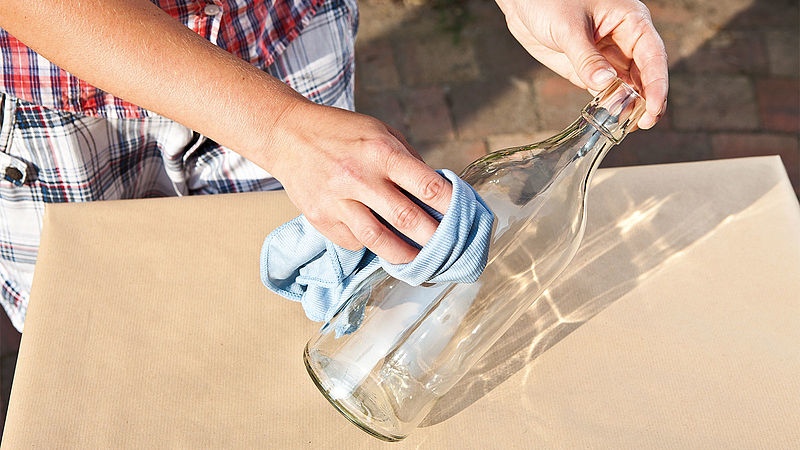
Krok 1
Proper preparation is the key to a perfect paint finish. Your item should be clean, dry and free from grease. Carefully wipe the surface clean with a soft cloth or something similar.
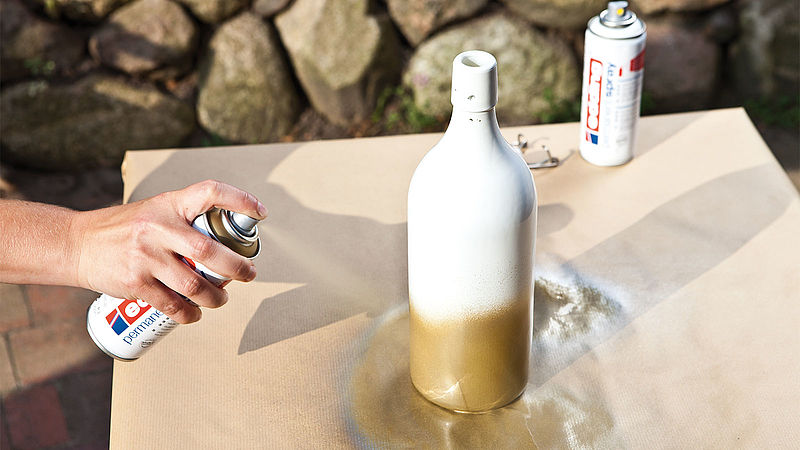
Krok 2
Now you can start painting the bottle straight away. Turn the bottle whilst painting with both horizontal and vertical strokes at a distance of approx. 25 cm to ensure an even finish. Leave to dry for a short while, then simply use a second colour to spray over a section of the object to achieve a two-tone effect.
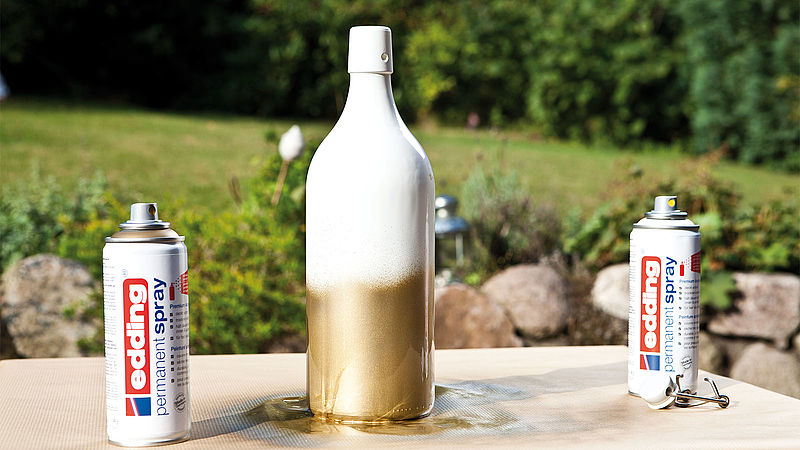
Krok 3
The paint takes approximately 30 minutes to dry completely, and there you have it – your new visual highlight is ready to liven up the atmosphere of your kitchen.
Produkty i materiały

Pozostałe materiały
- Glass bottles
- Soft cloth for cleaning
- Something to cover your working space
Podobne pomysły

Pojemnik na przybory kuchenne w betonowej szarości
Upcyklingowy pomysł, jak uporządkować akcesoria kuchenne

Odświeżanie fug
Dodaj blasku fugom w łazience i kuchni

Ręcznie wykonane etykiety na wino
Pięknie zaprojektowane, ręcznie robione etykiety na wino – ozdób w oryginalny sposób butelki wina z pisakami i markerami do kaligrafii edding
Nowy wygląd staroświeckiego serwisu obiadowego
Upcykling porcelanowych talerzy po babci
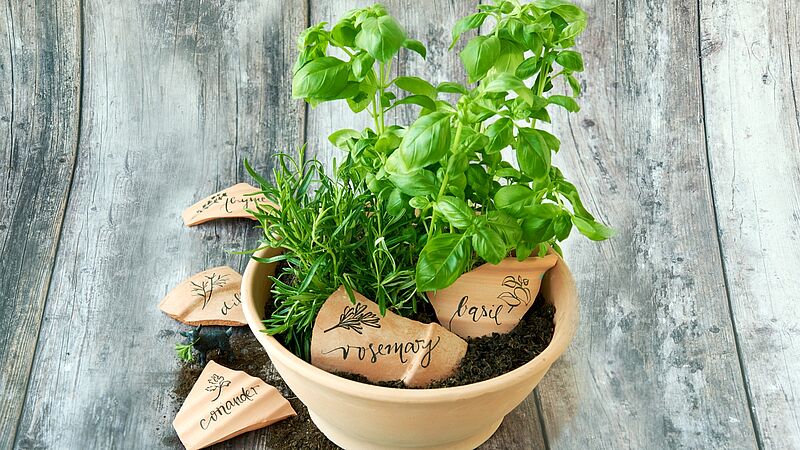
Dekoracyjne zioła do kuchni
Stylowe etykiety do roślin z terakoty
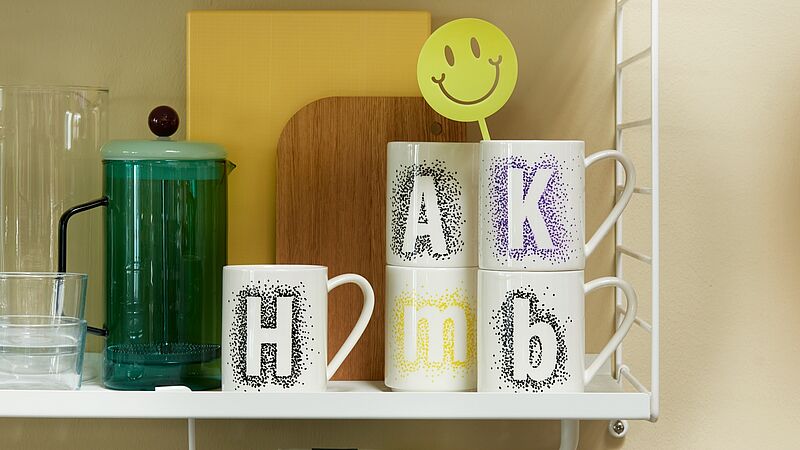
Ulubione kubki z grafiką DIY
Nadaj ton wzorem z kropek
Kreatywny Newsletter
Zapisz się do naszego newslettera, a my dostarczymy Ci inspirujących i kreatywnych pomysłów DIY wraz z najświeższymi informacjami o naszych produktach i ofertach specjalnych.