
Krok po kroku
Krok 1
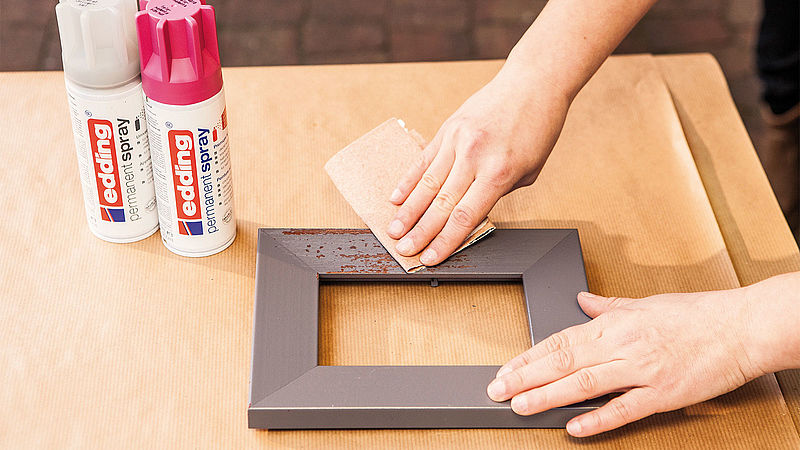
Before you start painting, sand the wood to remove traces of old paint and to smooth out any unevenness. Wipe off any remaining dust, leaving the item clean, dry and free from grease.
Krok 2
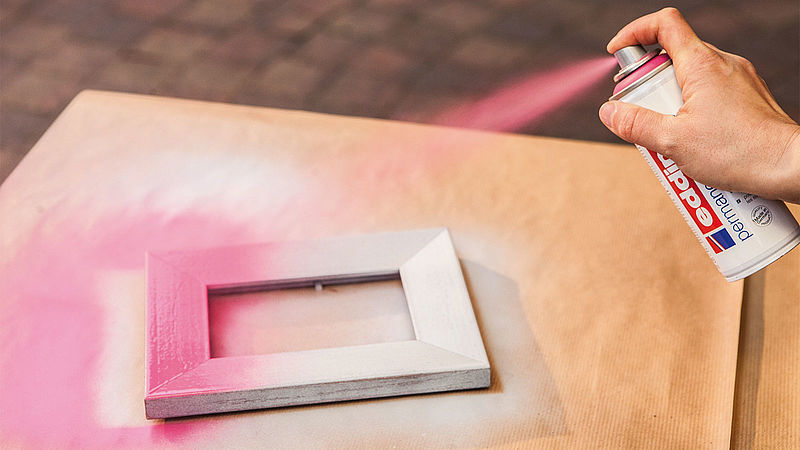
To achieve a smooth and even surface when painting, first apply a coat of edding Universal Primer. This maximises adhesion, enhances the sheen and guarantees that the subsequent coat of paint can be applied more sparingly. After the primer has been left to dry for a short while, paint your wooden frame with edding Permanent Spray in the colour of your choice. To achieve a perfect result, make sure you paint using horizontal and vertical strokes at a distance of approximately 25 cm from the object.
Krok 3
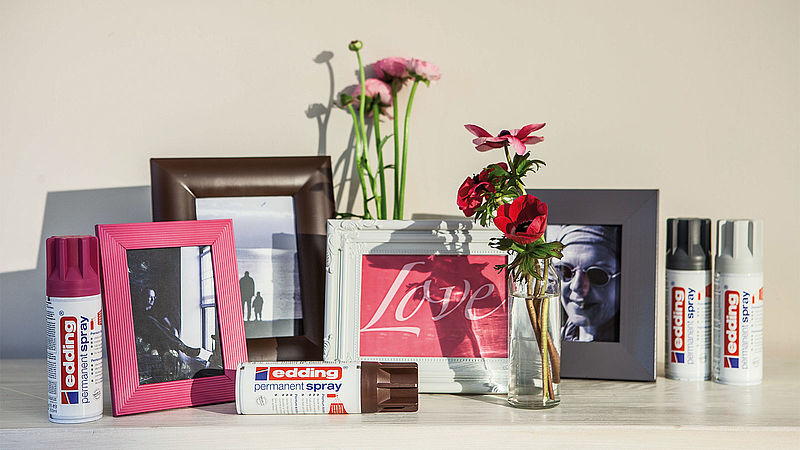
Allow to dry thoroughly. Now all you need to do is choose a picture for your latest home accessory!
Produkty i materiały
Pozostałe materiały
- Wooden picture frame
- Paper to cover your work surface
Podobne pomysły

Stwórz własną imitację betonu
Unikalny stolik nocny z upcyklingu

Pomysł na upcykling starej komody
Nowy, stylowy wygląd doniczek

Pomysł na upcykling podkładki pod talerz
Stylowy dodatek na stół
Naprawa zadrapań na drewnianej podłodze
Patent DIY: prosty sposób na pozbycie się wgnieceń i zadrapań

Twój własny designerski stolik
Stwórz oryginalny mebel w zabawnym projekcie upcyklingowym
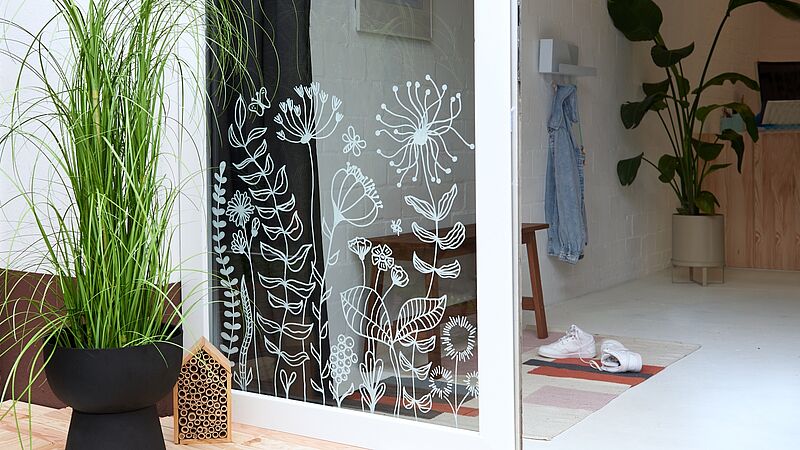
Magiczne kwiaty na oknie
Udekoruj okna i szklane drzwi pięknymi kwiatowymi wzorami
Kreatywny Newsletter
Zapisz się do naszego newslettera, a my dostarczymy Ci inspirujących i kreatywnych pomysłów DIY wraz z najświeższymi informacjami o naszych produktach i ofertach specjalnych.