
Step-by-step
Step 1
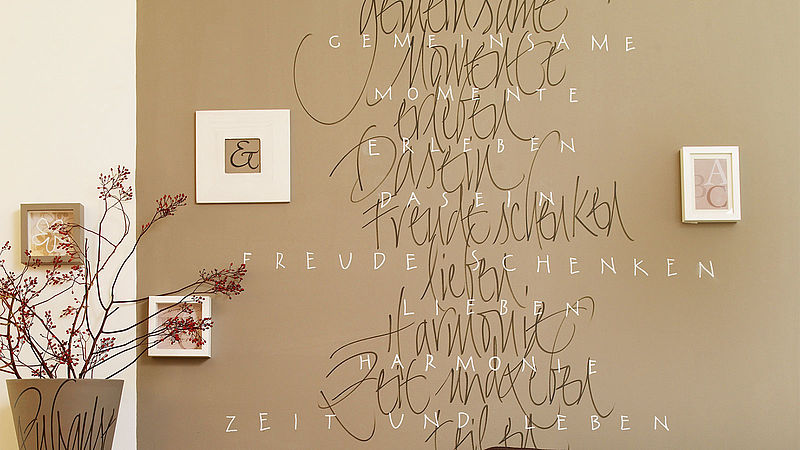
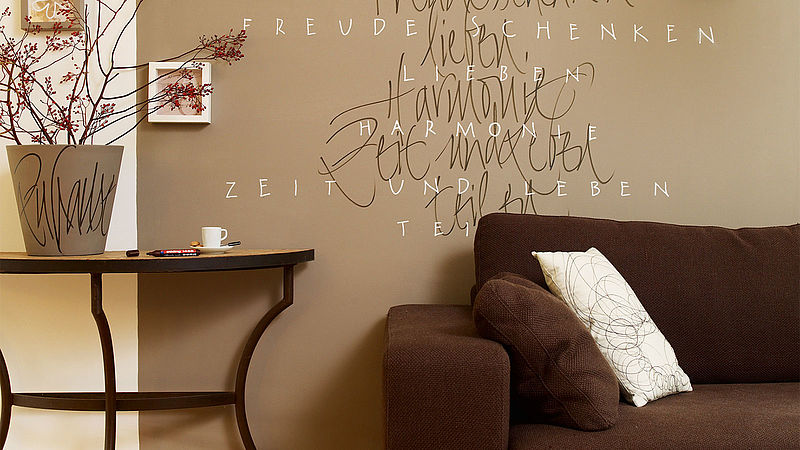
To create this attractive wall decoration, begin by priming the wall area. We recommend you use a colour that coordinates with the colour of the writing. In our example we used brown to match the dark brown and white writing. The painted areas should be completely dry before you start writing.
Step 2
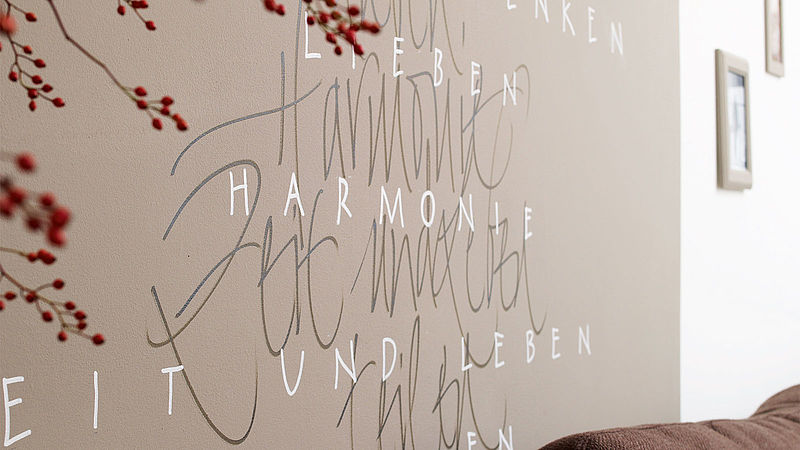
The individual letters and motif templates can be designed on a computer and then projected onto the wall using a projector if you have one. Alternatively, place transfer paper under the printed template directly on the wall and trace the motifs. Use guide lines on the wall to keep your writing straight. Go over the projected text on the wall with the edding calligraphy marker with flexible nib in dark brown. The ink dries very quickly, it's water and smudge proof and extremely lightfast, which means it won’t fade.
Step 3
The ink in the edding matt paint marker offers great coverage, and is also particularly suitable for dark backgrounds. Apply the brown writing with the edding calligraphy marker first, and then the text in white lettering. If you want to learn more about calligraphy, we recommend our Calligraphy Training.
Products and materials

Other materials
- Wall paint for priming
- Transfer paper
- Pencil
Related ideas

Create your own concrete look
Unique upcycled bedside table

Upcycling idea for an old chest of drawers
A stylish new look for planters

Placemat upcycling idea
A stylish addition for your dinner table

Your very own designer side table
Create an eye-catching piece of furniture with this fun upcycling project
Repair scratches in your wooden floor
DIY hack: the simple way to get rid of dents and scratches
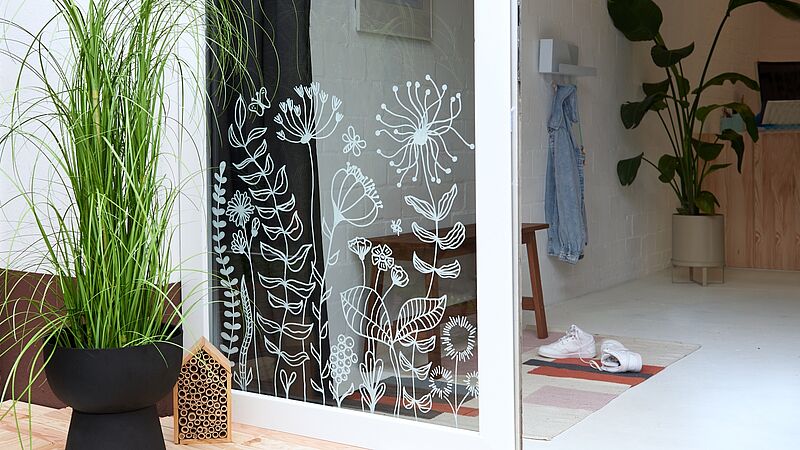
Magical flowers on your window
Decorate your windows and glass doors with striking floral designs
Creative Newsletter
Subscribe to our newsletter, and we’ll send you inspirational and creative DIY ideas, along with details of our latest products and special offers.