
Step-by-step

Step 1
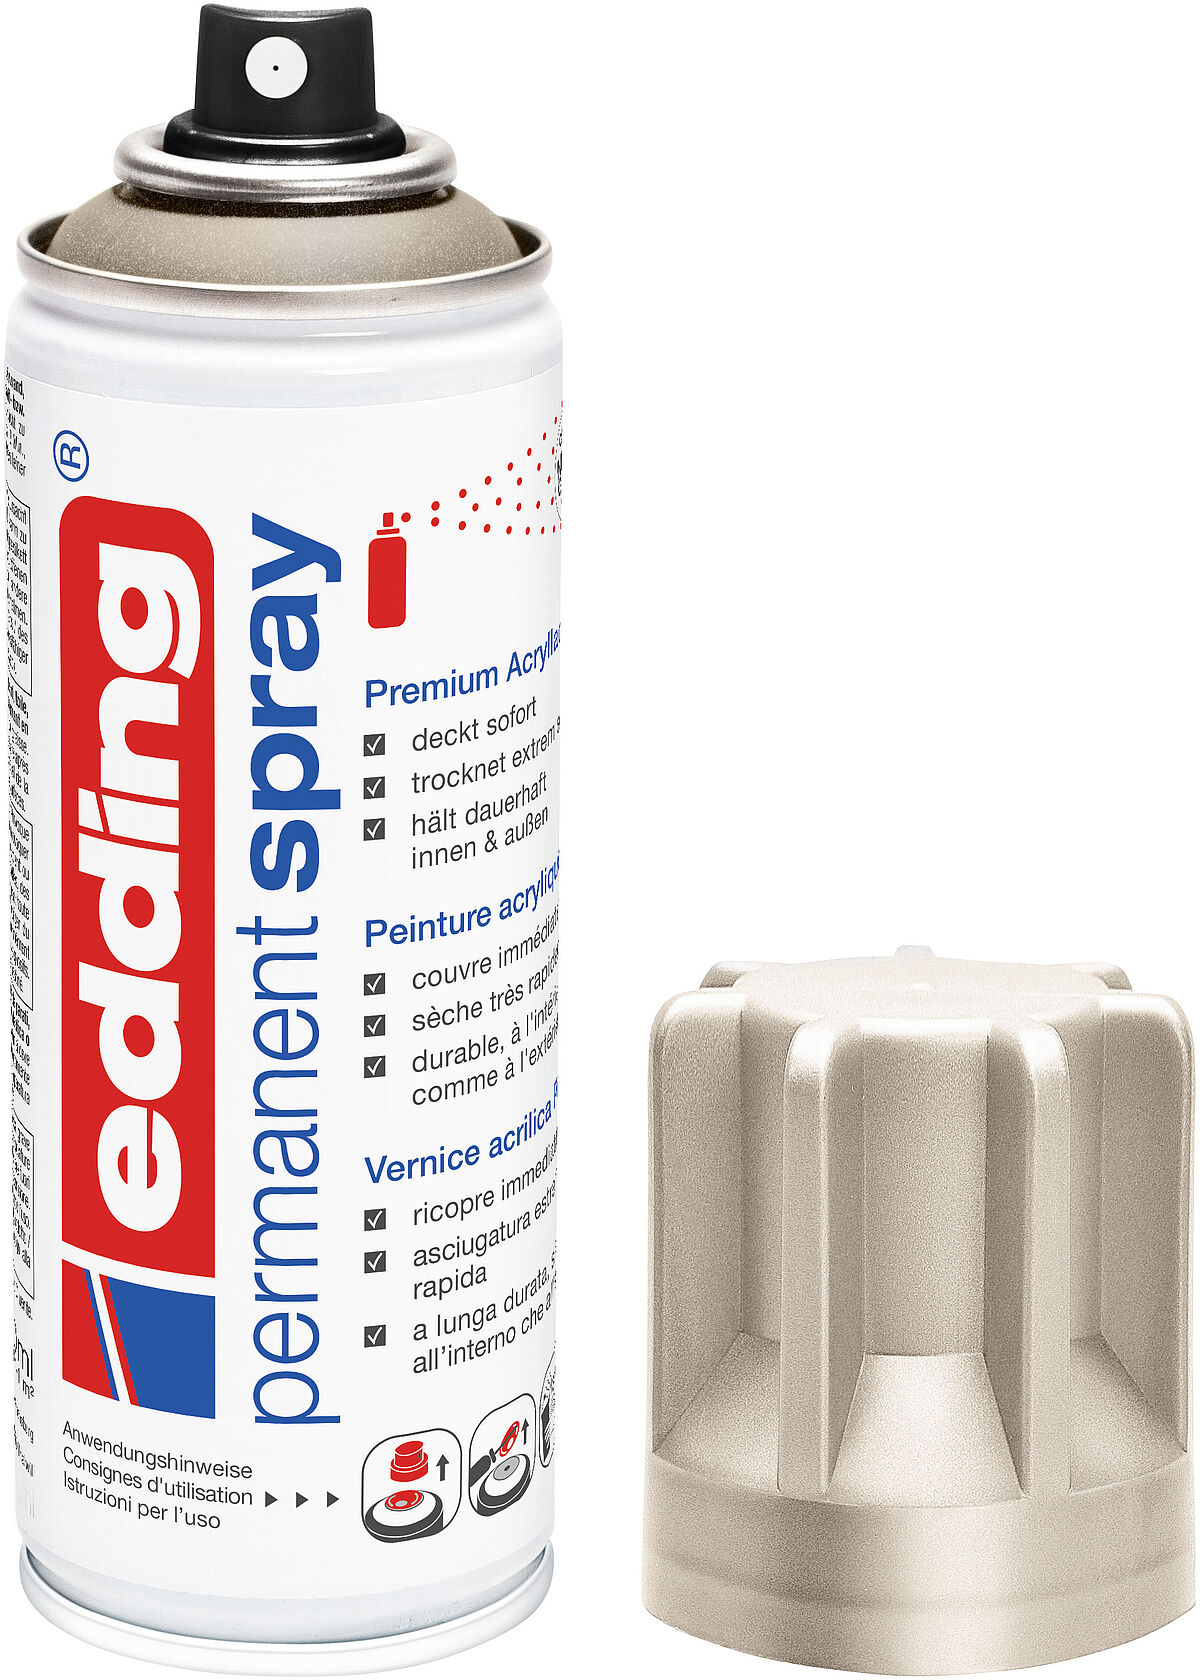
To design your mini hats, you’ll need edding 5200 permanent spray in a colour of your choice. In our example, we used Traffic White (922) and Black (901), plus a black gloss paint marker. First, carefully tear off the outside edge of your egg box, taking care to avoid accidentally ripping the cushion posts in the middle of the egg box.

Step 2
Next, carefully tear off the cushion posts (these will be your little hats).

Step 3
And trim the base of your cushion posts to make them neat.

Step 4
Before you start spraying, cover the work surface well with paper or film. In our Permanent Spray Basics, we’ve got handy tips on how to achieve a perfect finish. We recommend you wear gloves and a mask when spraying. Spray some of your hats in black and the rest in white. Now leave everything to dry thoroughly.

Step 5
Draw a few circles on the black coloured card. As your template you could use a glass, for example. Cut out your circles. These circles will serve as the brims of your hats, so make sure you cut them to the right size.

Step 6
Once all the sprayed parts are dry, use a hot glue gun to attach the black hats to the centre of the cardboard circles and leave them to dry.

Step 7
Next, wind coloured ribbon around each hat and tie it in a bow.

Step 8
If you like, you can add extra little bows in a contrasting colour. And that’s it! Your mini witches’ hats are ready!

Step 9
Use the black gloss paint marker to add a mouth and eyes to your white hats to create mini ghosts in a matter of moments.
Products and materials

Other materials
- Egg box
- Scissors
- Coloured craft paper (black)
- White crayon
- Coloured ribbon
- Hot glue gun
- Mask
- Gloves
- Protective cover during spraying
- Screwdriver
Related ideas

Paper fortune teller
Fun game for Halloween!

Spooky stones!
Who’s behind these frightening faces?

DIY ghosts!
Mini phantoms made from toilet roll tubes

Pumpkin painting made easy
For a “really gourd” Halloween party
Halloween garland
Mini ghost garland

October Journal - Halloween
How to throw the perfect Halloween party
Creative Newsletter
Subscribe to our newsletter, and we’ll send you inspirational and creative DIY ideas, along with details of our latest products and special offers.