
Step-by-step
Step 1
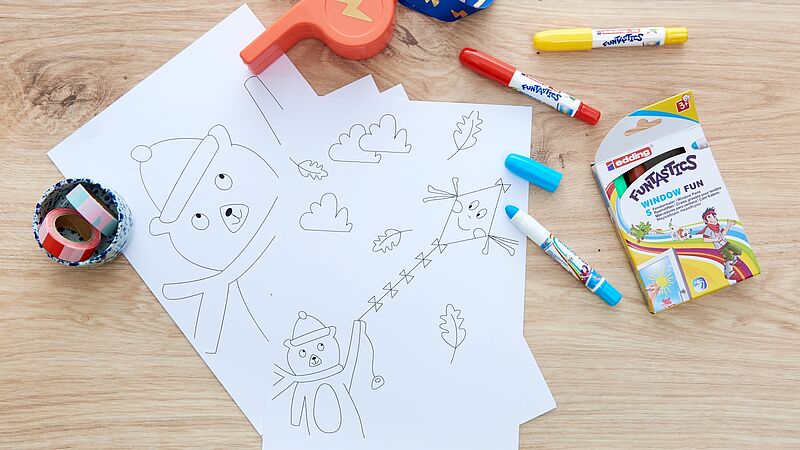
Using the edding 16 Funtastics Window Fun window markers for children, you can paint and draw freehand to your heart’s content or use one of our templates. The window markers are available in a handy set of 5 vibrant colours.
Step 2
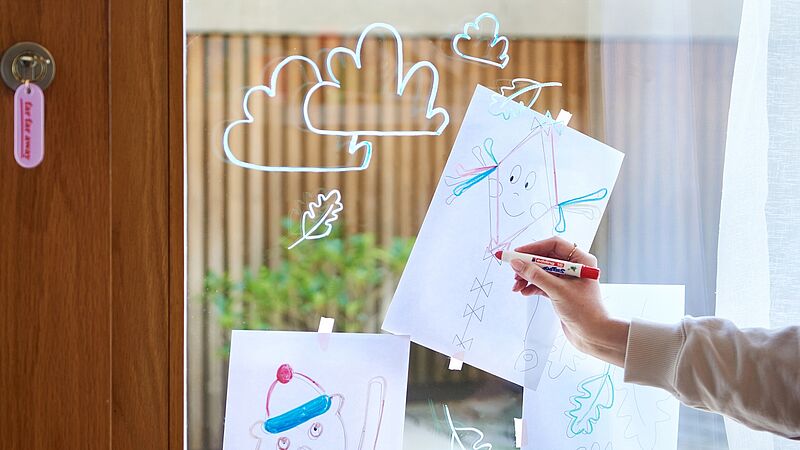
In this step, it’s a good idea for parents to be on hand to offer a little help: print out the templates and stick them behind the window using the adhesive tape. By doing this, the motifs will clearly show through, allowing you to transfer the outlines onto the glass with ease using the window markers for children.
Step 3
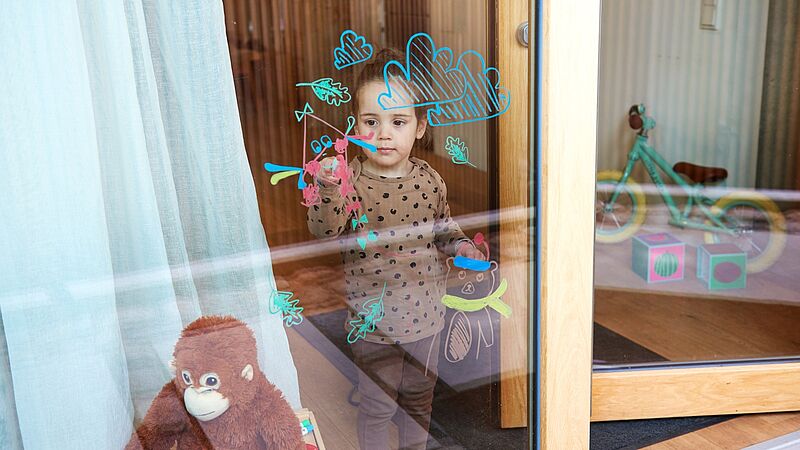
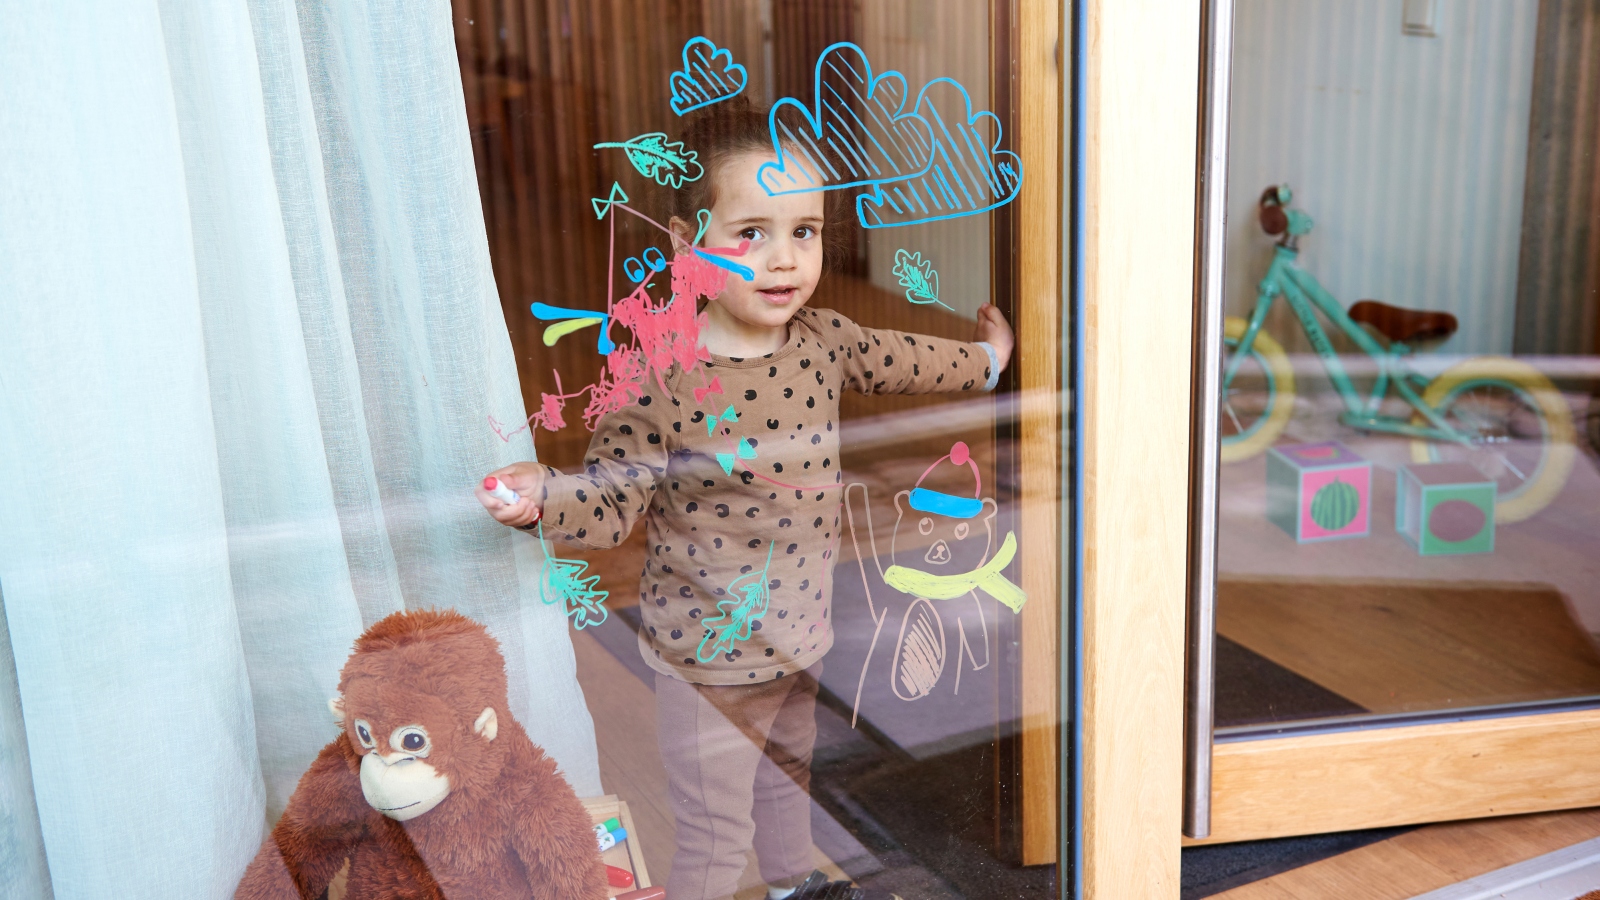
Now it’s the turn of the little ones: clouds, dragons or teddy bears can be coloured in and decorated in all manner of colours using the window markers. If you make a mistake, simply wipe it off using a damp cloth.

Step 4
The window drawings can be removed without a trace at any time using a cloth and water, meaning you can add new colourful images to suit the season.
Products and materials

Other materials
- Template (optional)
- Adhesive tape
- Damp cloth (if needed)


Additional images
Related ideas
Atmospheric decorations for Advent
Designs using natural materials
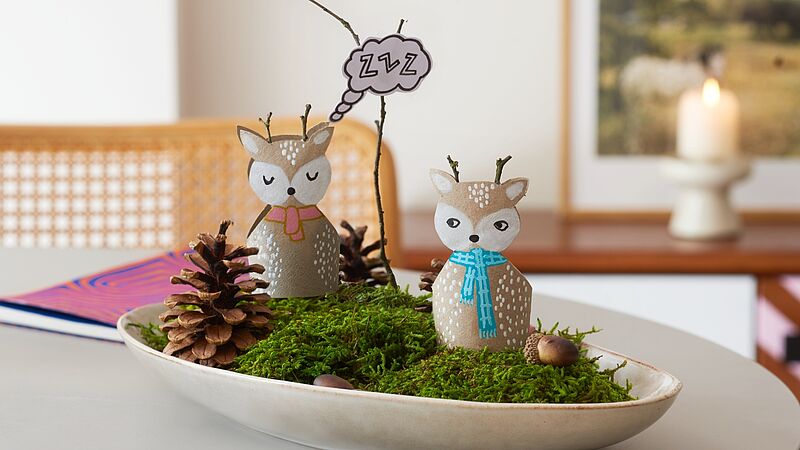
Cute autumn decoration
Simple craft idea using empty cardboard tubes
Colouring picture in pastel shades
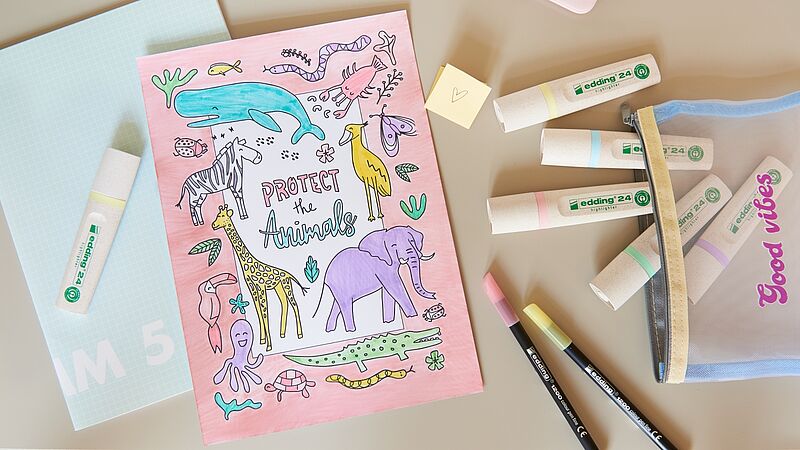
"Protect the animals” motif

A love of leaves
Colourful leaves for your journal

Candle holders with an autumnal feel
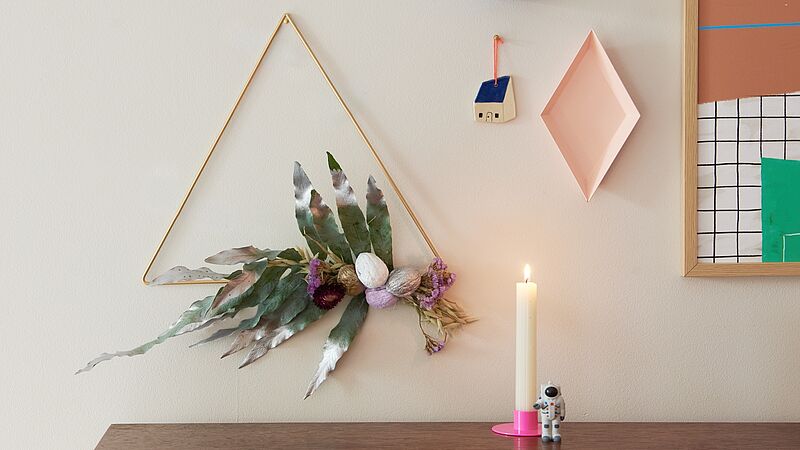
Ambient candlelight for those darker autumn days
Everything in its place
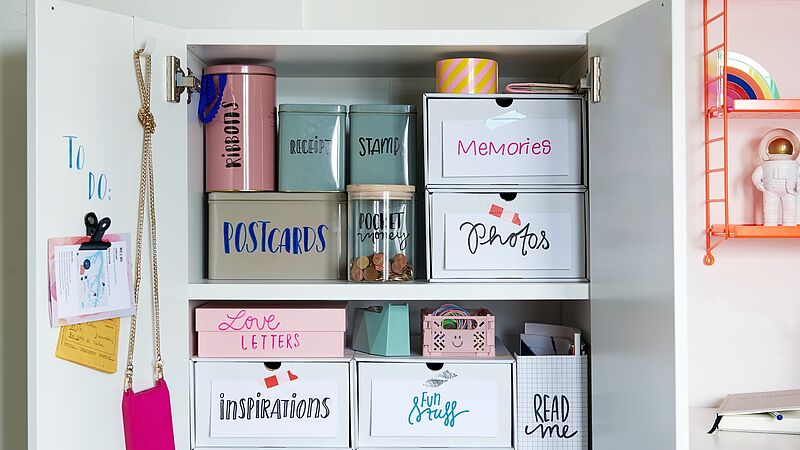
An easy way to keep things neat and tidy
Creative Newsletter
Subscribe to our newsletter, and we’ll send you inspirational and creative DIY ideas, along with details of our latest products and special offers.