
Step-by-step
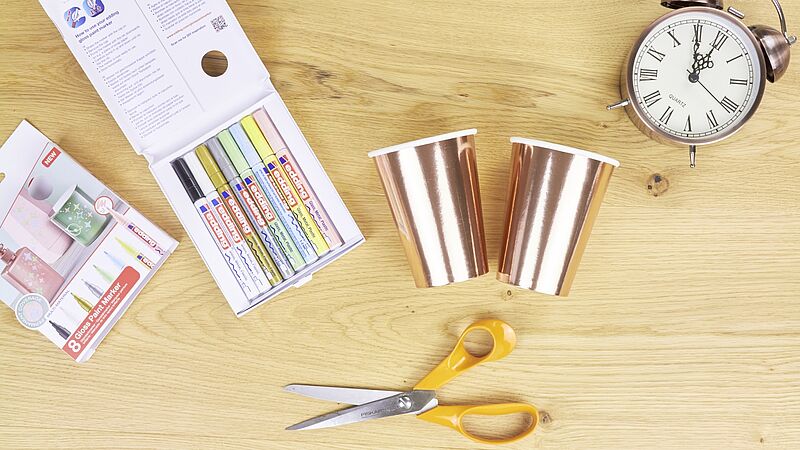
Step 1
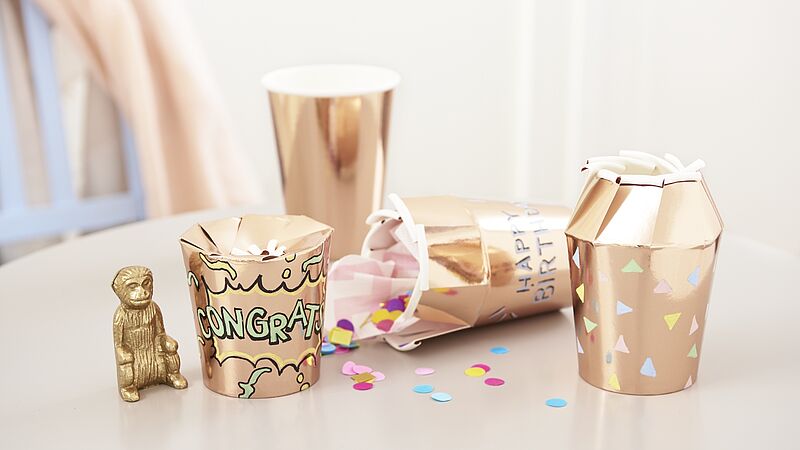
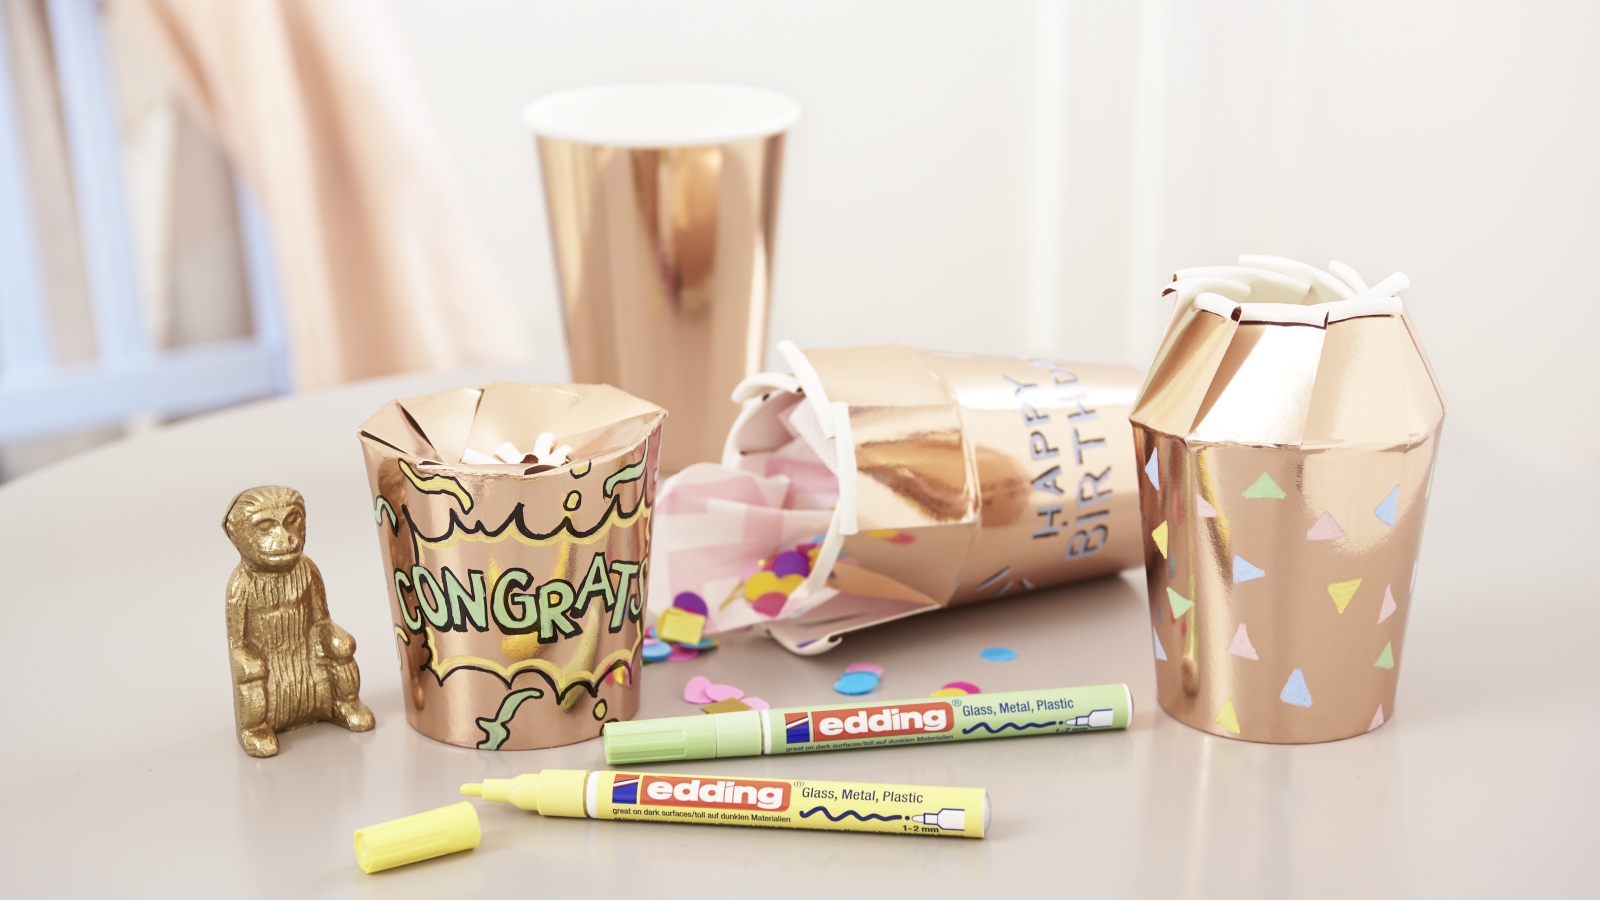
You can see all the materials at a glance in our photo. For this idea, you’ll a set of edding 751 gloss paint markers containing 8 pens in a selection of colours that includes 4 pastel shades plus gold, silver, black and white.
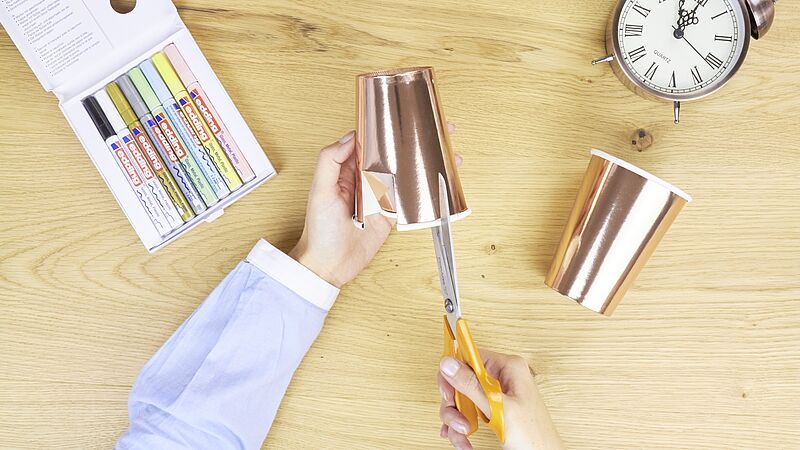
Step 2
Cut a series of slits roughly 2 cm deep around the rim of the cup. Before using a gloss paint marker, you need to activate it: shake the marker vigorously with the cap on, then remove the cap, place the nib on absorbent paper and pump it up and down gently a few times until ink appears in the nib. Now you’re ready to get decorating. (And don’t forget to always store the marker horizontally after use.)
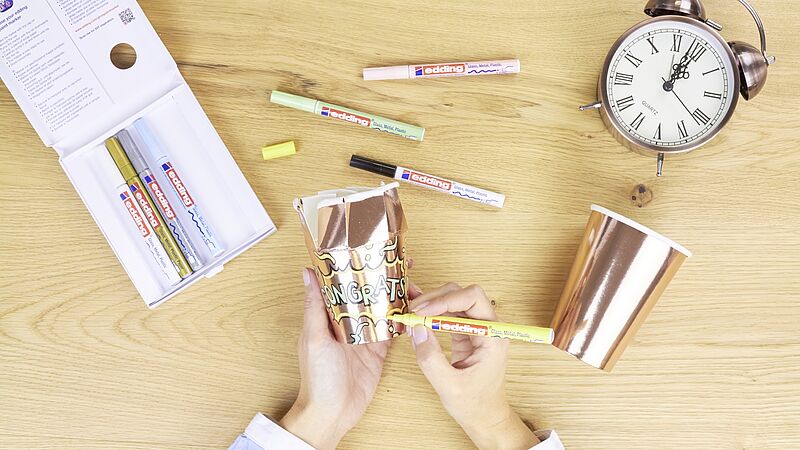
Step 3
The cup can be decorated however you like – with good luck wishes, for example, or intriguing clues about what’s inside. The gloss paint markers are not only smudge-proof and waterproof, they’re also completely opaque, making them superb for shiny surfaces. If you want to use multiple colours, it’s always best to let one colour dry before continuing with the next.
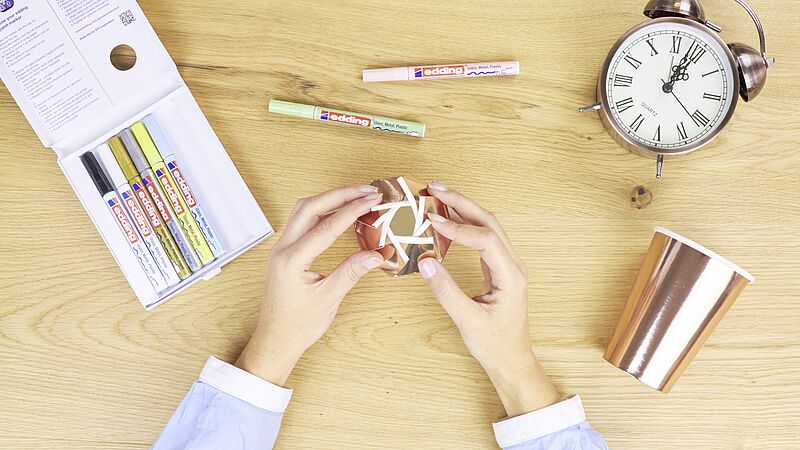
Step 4
When you’ve finished designing, close the paper cup by folding down the edge tabs – and there, you now have a ready-made gift box!
Step 5
Here’s the finished gift box in a variety of designs.
Products and materials

Other materials
- Plain paper cups, e.g. copper-coloured (available at Amazon e.g.)
- Scissors
- Mini gifts
Additional images
Related ideas

From old plates to stylish wall art
Upcycling idea for gran’s old porcelain

Handmade wine labels
Beautifully designed wine labels - idea for Father's Day
DIY shopping bags
Trendy bag designs – the easy way
Photo styling
Design your own photo gifts with ease
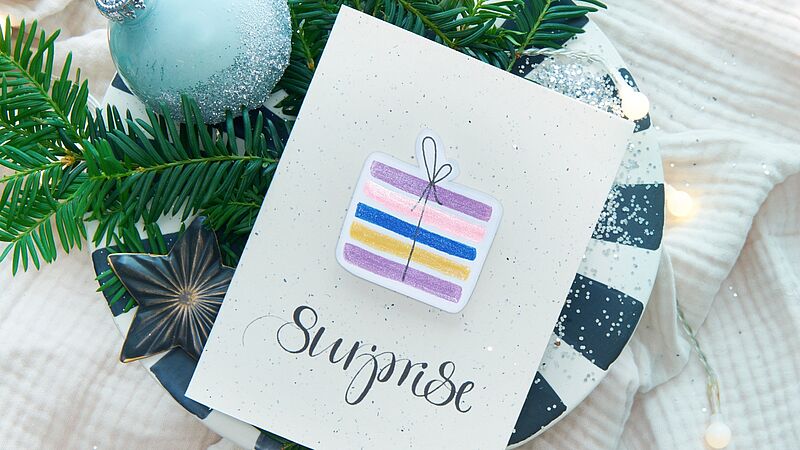
Surprise!
Glitter card with the wow factor
For magical moments
A glittery look for your party
Creative Newsletter
Subscribe to our newsletter, and we’ll send you inspirational and creative DIY ideas, along with details of our latest products and special offers.