Step-by-step
Step 1
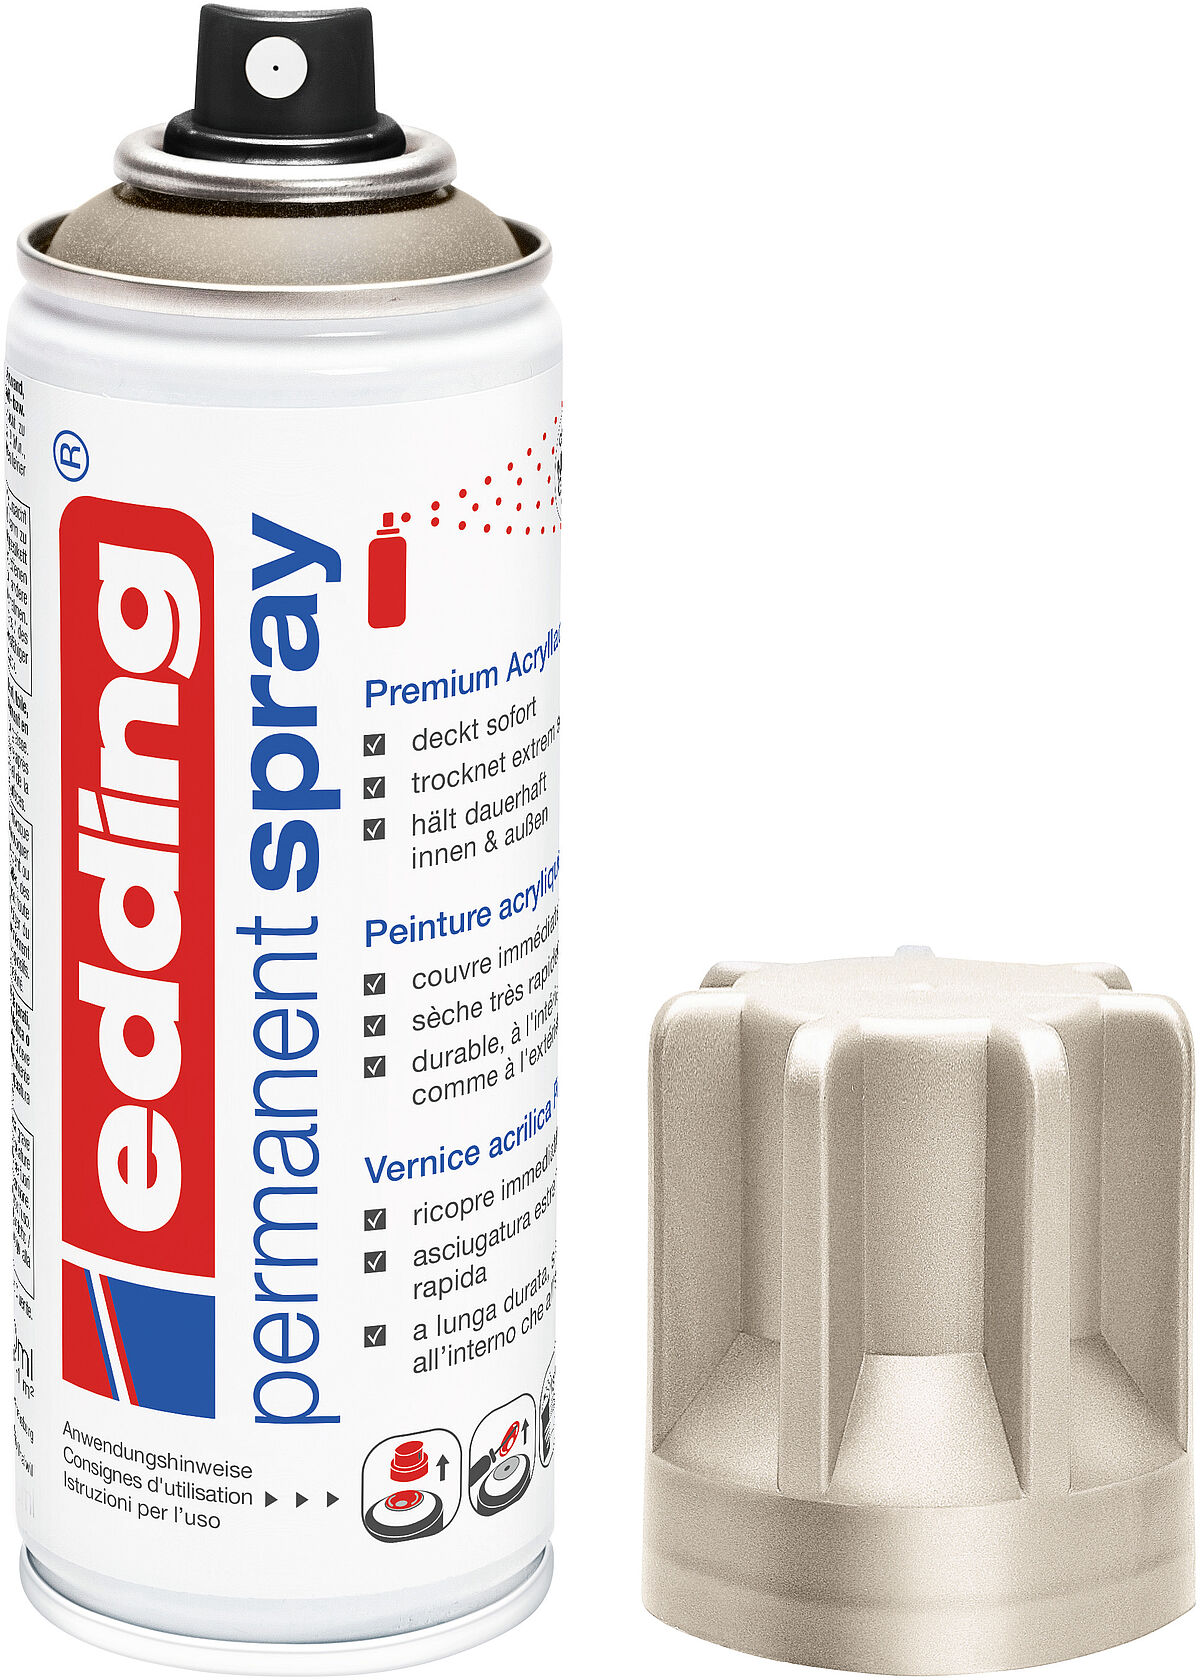
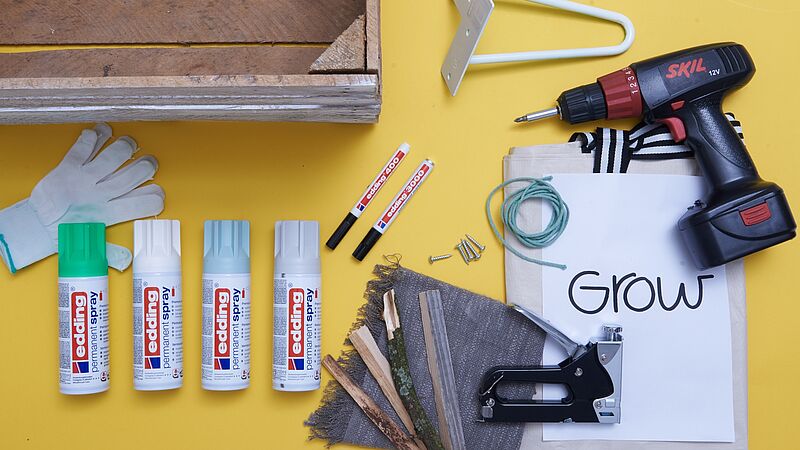
You can see everything you need in this photo. For spraying, you will need edding 5200 permanent spray in a spray colour of your choice. In our example, we’ve used white (colour code 922), neon green (964), light grey (925) and mild mint (928). You will also need edding 400 and 3000 permanent markers in black.
Step 2
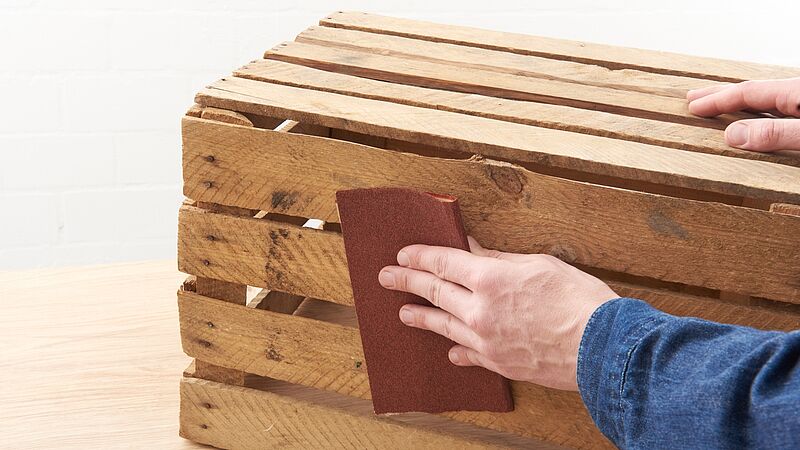
First, clean the wooden crate and remove any unevenness using the sandpaper.
Step 3
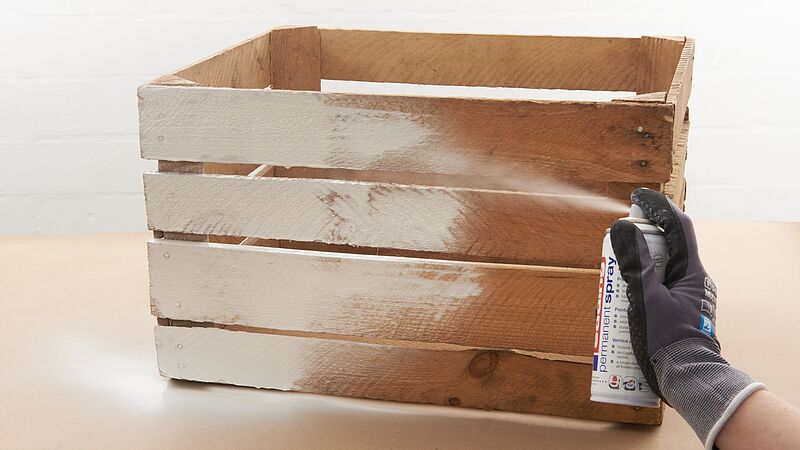
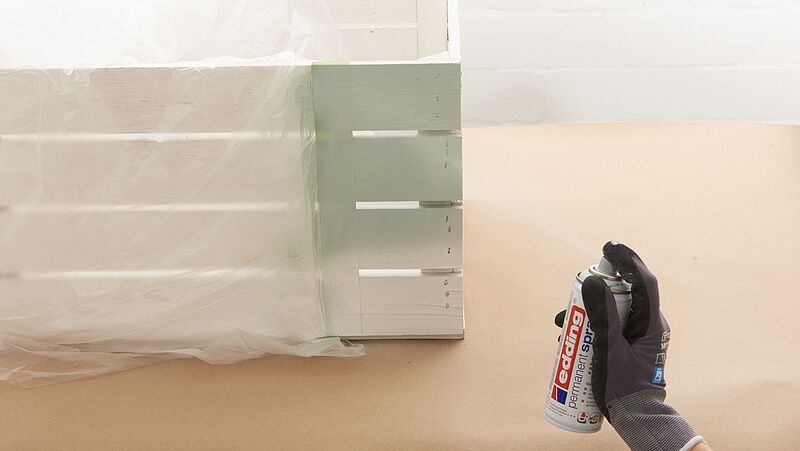
Before you spray, make sure your work area is well protected by covering it with film or paper. In our Spray basics section, we’ve got important tips to help you achieve the perfect spraying technique. We recommend you spray at a distance of approx. 25 cm in a criss-cross motion to ensure as even coverage as possible. First, spray on the white paint then let the surface dry thoroughly.
Step 4
Once dry, use film to mask off the part of the crate you want to remain white. Now it’s the turn of the spray in mild mint. Leave to dry.
Step 5
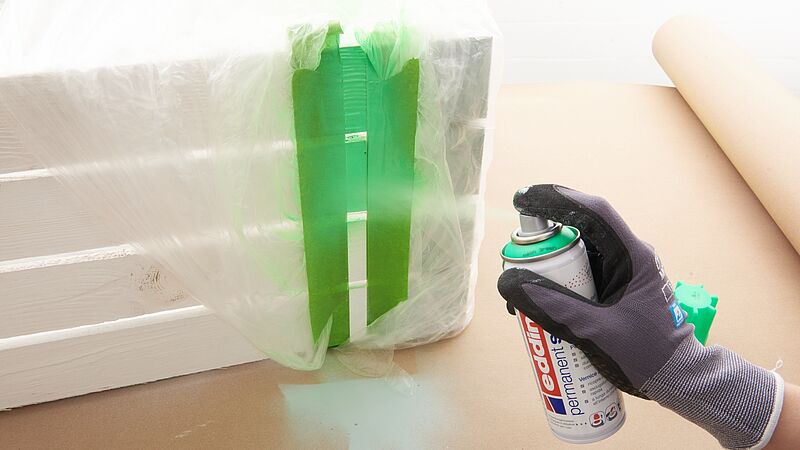
A narrow strip in neon green will give the mint-coloured area a defined border, creating an attractive contrast with the white. To achieve this, also mask off the mint-coloured area except for a narrow strip which you then spray in neon green. Leave everything to dry thoroughly.
Step 6
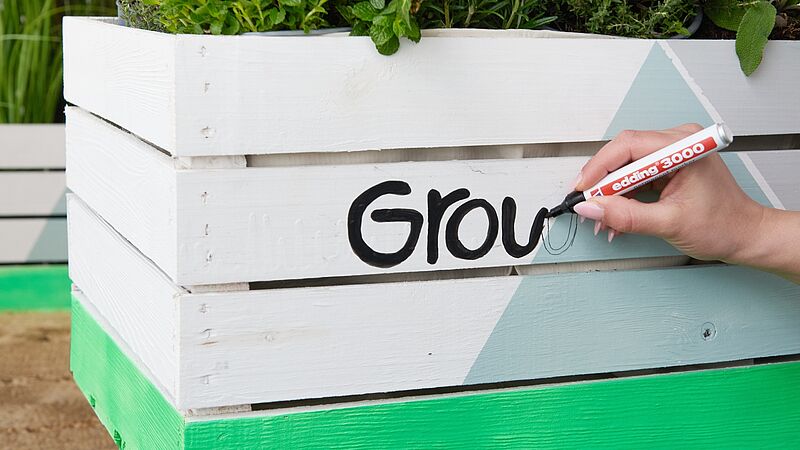
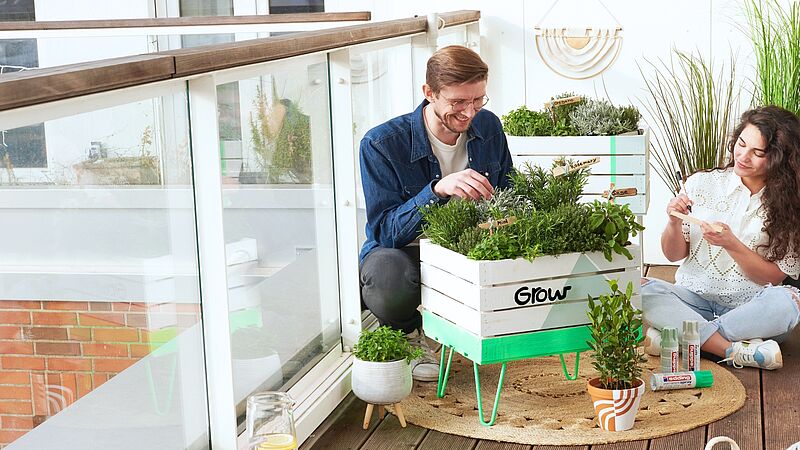
To finish, you can use the permanent marker to label your crate planter in whatever way you see fit. By masking off individual sections of colour, you can keep creating new designs. In our photo, you can see a design using triangles in various shades (e.g. in mild mint and light grey).
Step 7
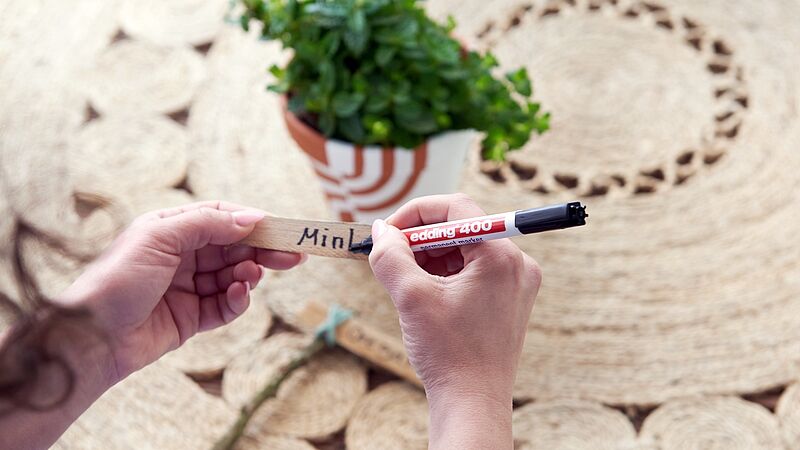
What’s growing here? To avoid getting confused later on about which herb is which, you can fashion plant labels from bits of wood and label them using the edding 400 permanent marker. Its fine tip will ensure good legibility.
Step 8
If you like, you can also spray the metal feet in a matching colour.
Products and materials
Other materials
- Fruit or vegetable crate in the desired size
- Mask
- Glove
- Sandpaper
- Masking film
- A protective base for use when spraying
- Bits of old wood or wooden sticks for plant labels
- Cord for attaching the plant labels
- 4 metal feet + screws to fit
- Cordless screwdriver
Video
Additional images
Related ideas
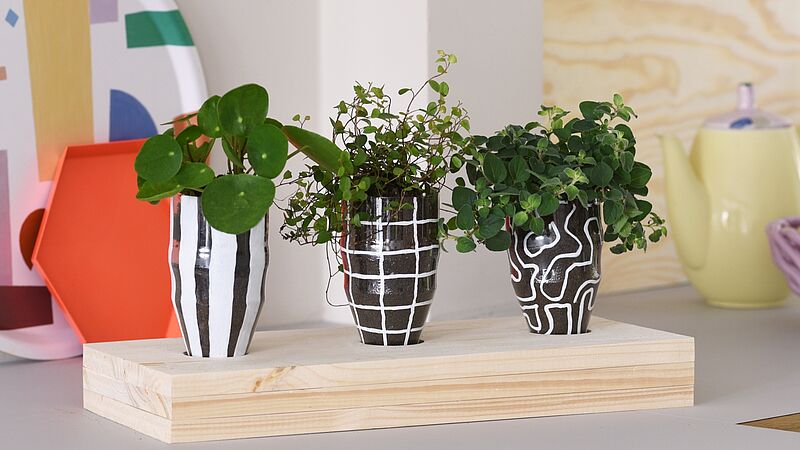
DIY plant pots
Decorative upcycling idea using plastic bottles
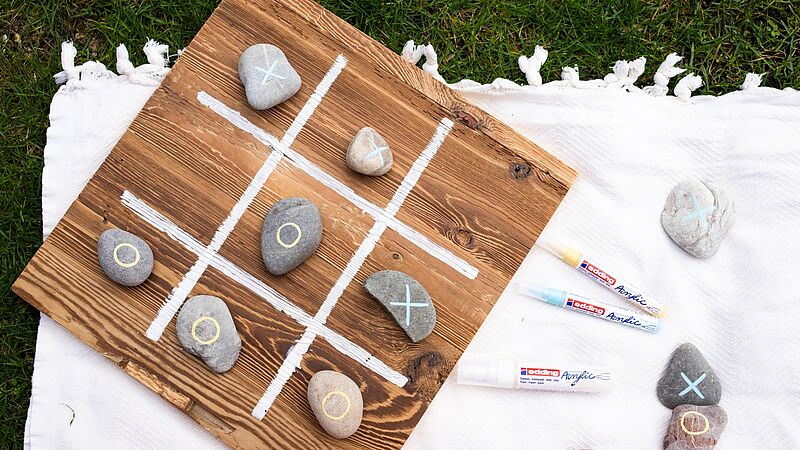
Play Noughts and Crosses
Get that summer feeling with a handmade board game
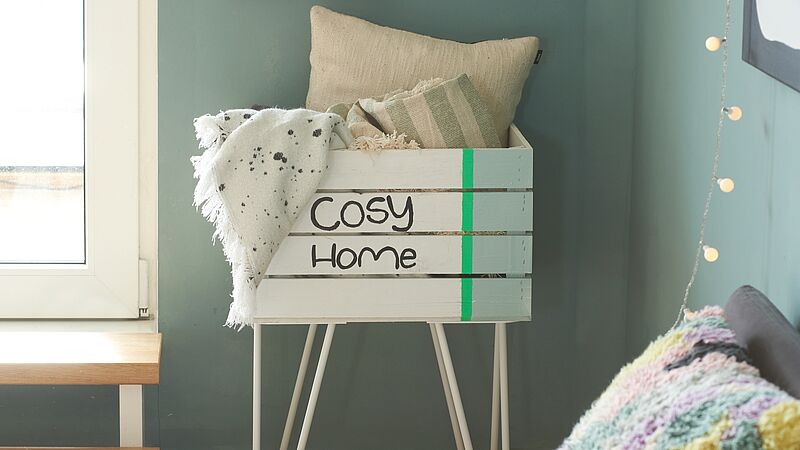
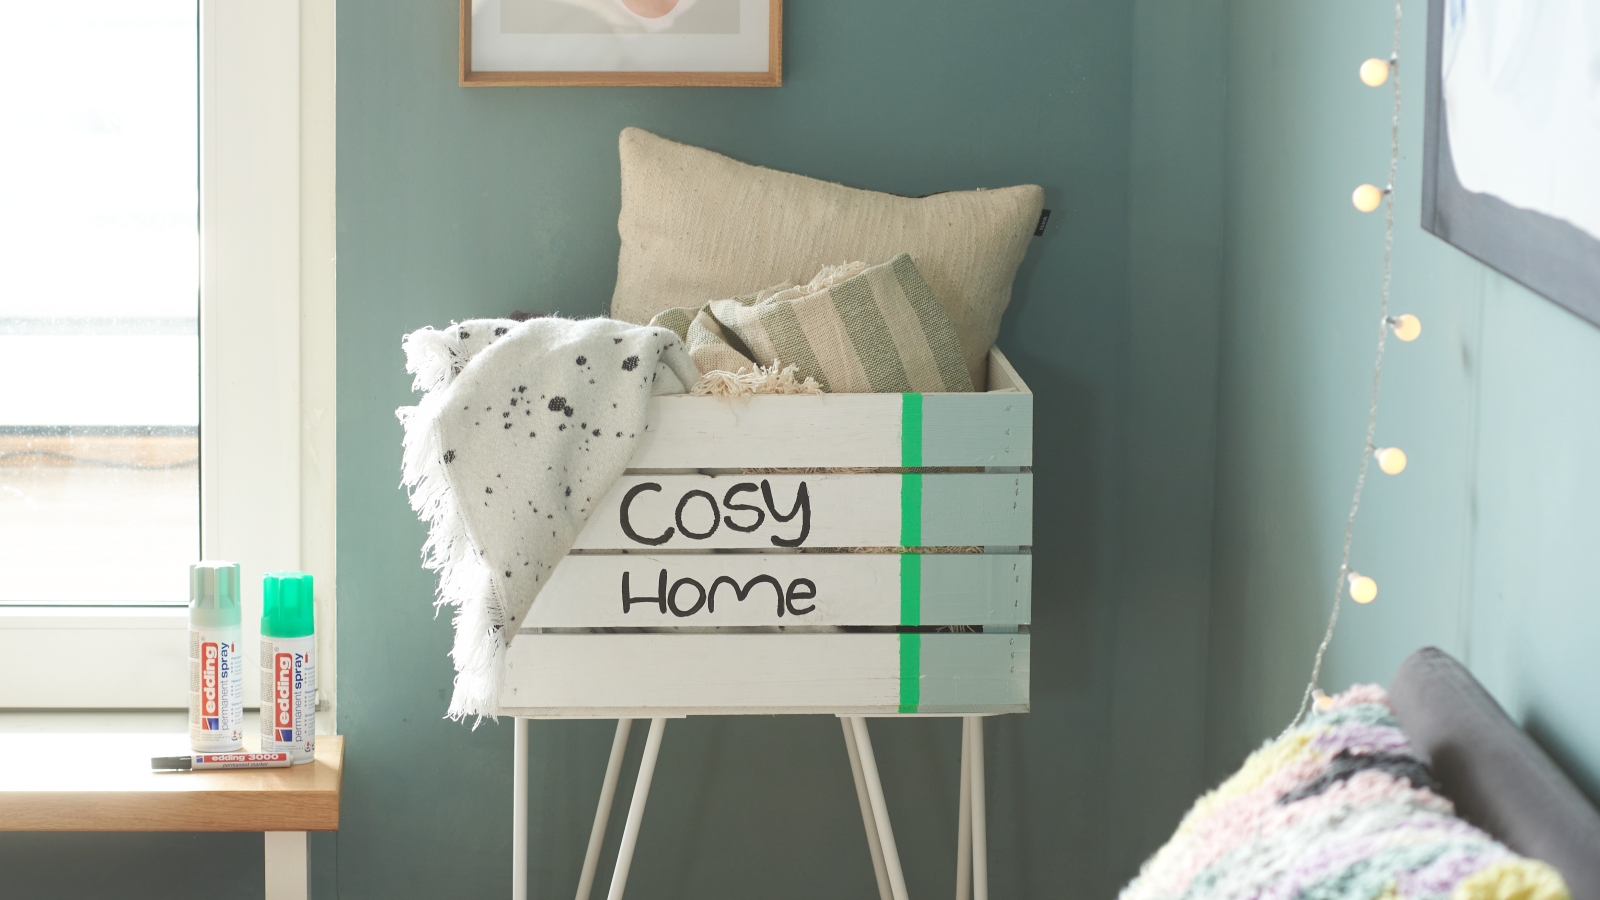
Neat storage idea for your cushions
Upcycling idea for your home
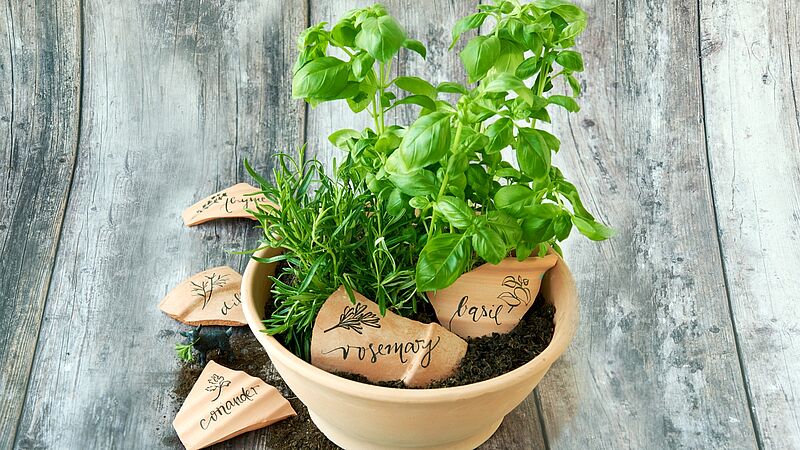
Decorative kitchen herbs
Stylish terracotta plant labels
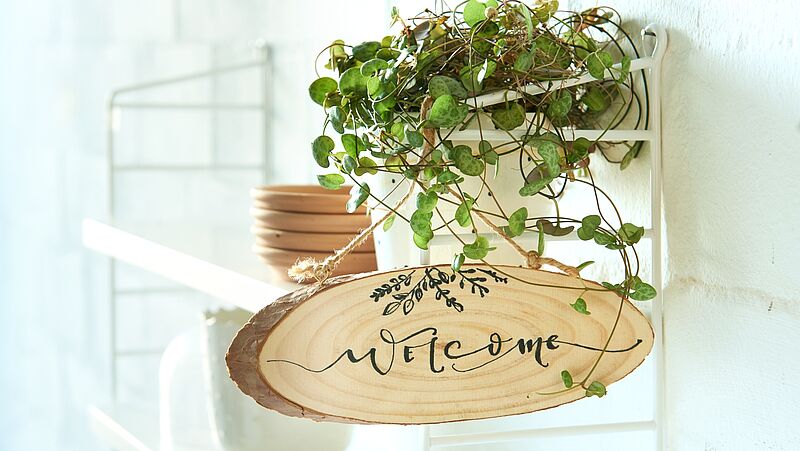
Wooden welcome sign
Stylish greeting sign for your guests
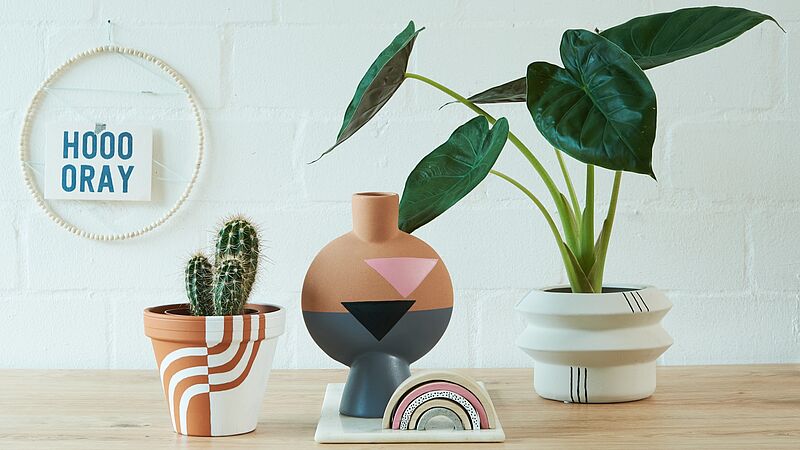
Unique ornaments for your windowsill
Homemade designer objects
Creative Newsletter
Subscribe to our newsletter, and we’ll send you inspirational and creative DIY ideas, along with details of our latest products and special offers.

