
Step-by-step
Step 1
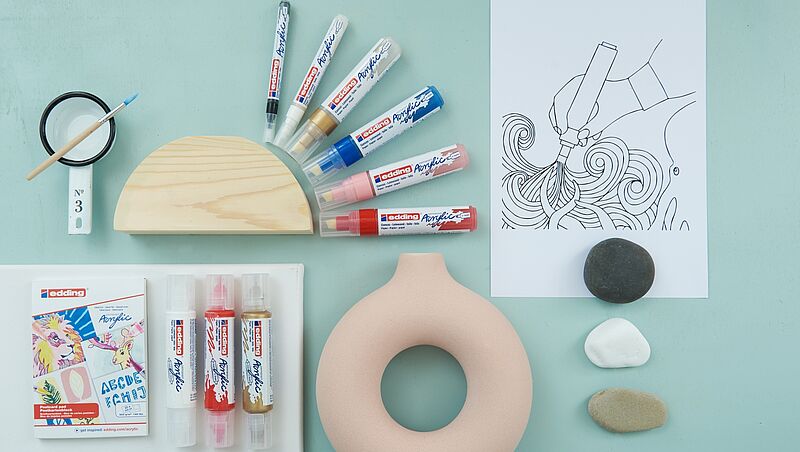
You’ll need the following products: broad edding 5000 acrylic marker in classy mauve, traffic red, gentian blue and rich gold, medium edding 5100 acrylic marker in white, fine edding 5300 acrylic marker in black, edding 5400 acrylic 3D double liner in rich gold, traffic red and white. To start with, wipe the containers with a damp cloth to remove any dust and leave to dry.

Step 2
To decorate the canvas, print out the template and, with the help of a light source, transfer onto the canvas. You’ll find lots of handy hints for working with templates here. Before starting to paint, you’ll need to activate your marker: shake the marker with the cap on until you can clearly hear the mixing balls inside the pen. Next, pump the marker up and down carefully until ink appears in the tip. Try the pen out on a piece of scrap paper. Now decorate the large sections with the broad acrylic marker in classy mauve.
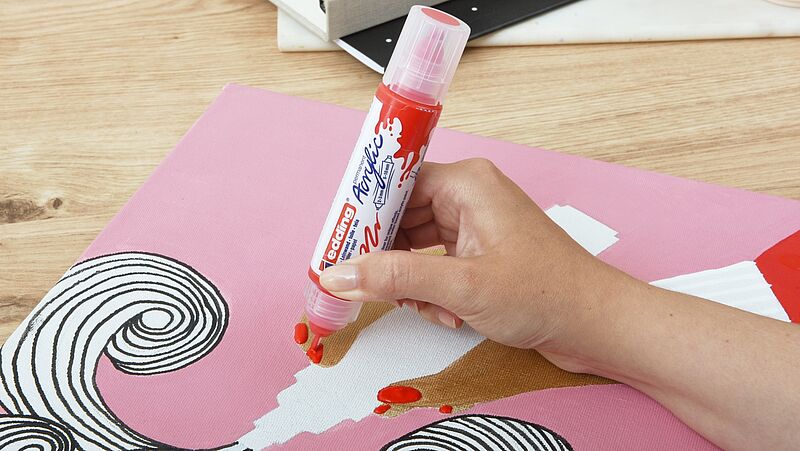
Step 3
You can create the wave-shaped motif using the fine acrylic marker in black. Use the gold-coloured acrylic marker to decorate the hand. Let these sections dry before colouring in the red fingernails with the fine tip of the double liner. Use traffic red for the sleeves.
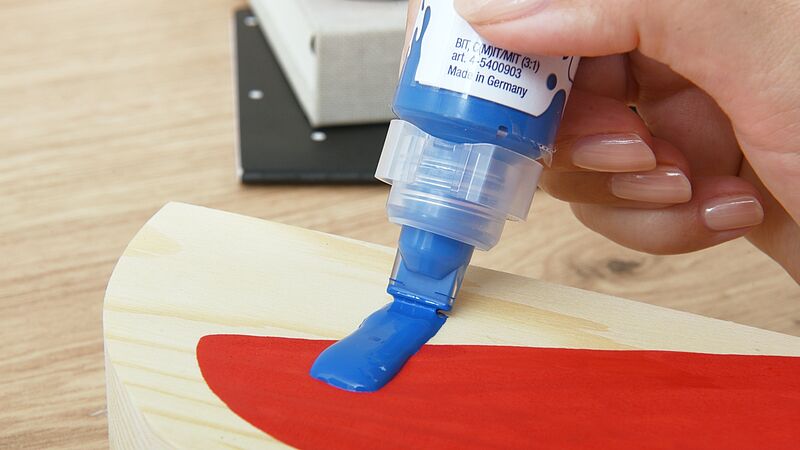
Step 4
We’ve decorated the wooden candleholders in vibrant colours by adding a simple graphic design. The 3D double liner in gentian blue creates striking effects. Simply apply a single continuous broad stroke from the tube’s wide opening without stopping. Finally, apply a thick red dot to the red surface using the double liner.
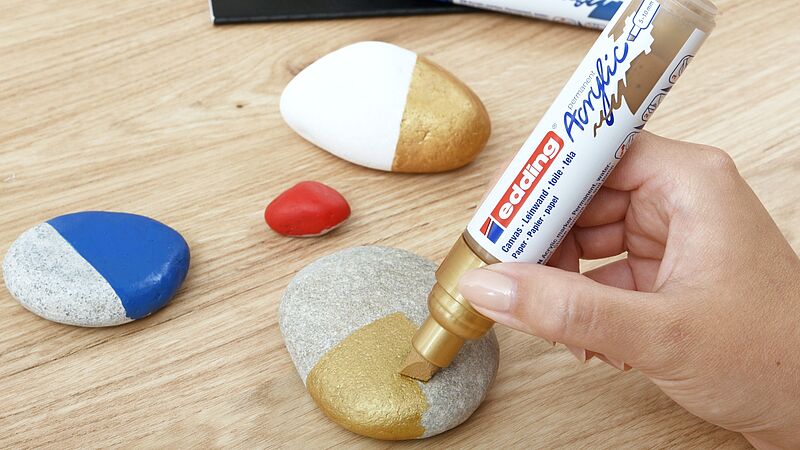
Step 5
Acrylic paint is also brilliant for decorating smooth stones and pebbles. Here, we’ve painted half of each stone with a vivid colour using the broad acrylic marker.
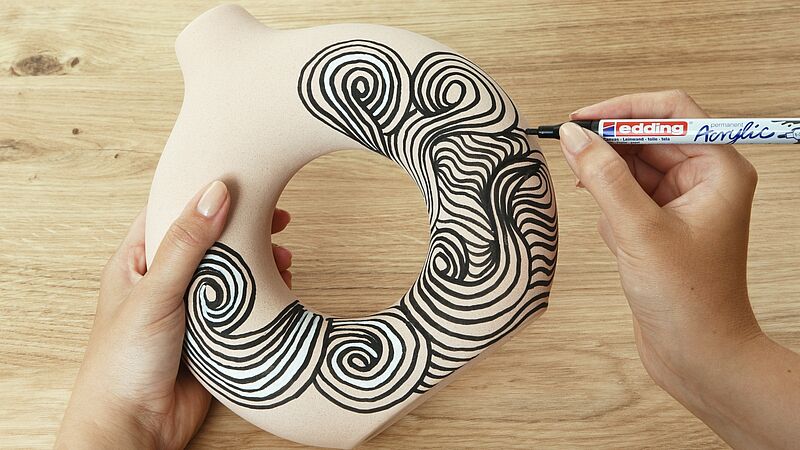
Step 6
If you love graphic patterns, you’ll simply adore this vase. Draw circular waves on the vase using the fine-tipped acrylic marker. It’s best to start in the middle at the bottom and decorate from there. The filigree pattern looks perfect on canvas. Once the pattern is dry, you can use the medium-width marker in white to fill in individual sections.
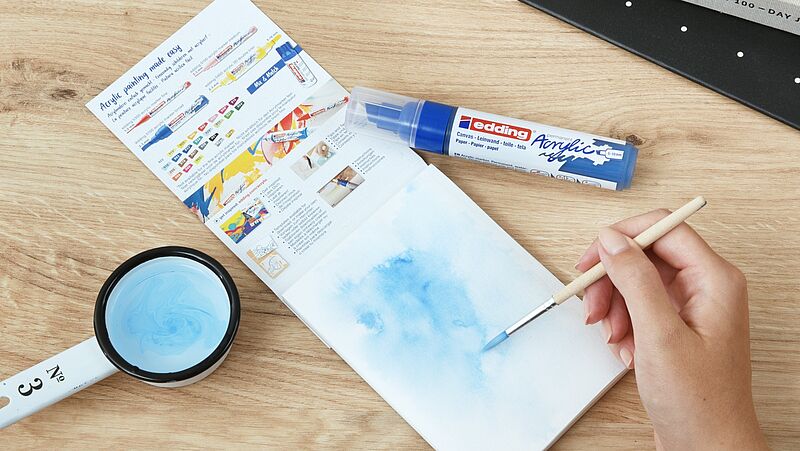
Step 7
You can also achieve beautiful watercolour effects using the acrylic markers. Simply apply some ink – preferably using the broad marker – to acrylic paper and use a wet paintbrush to spread it out.
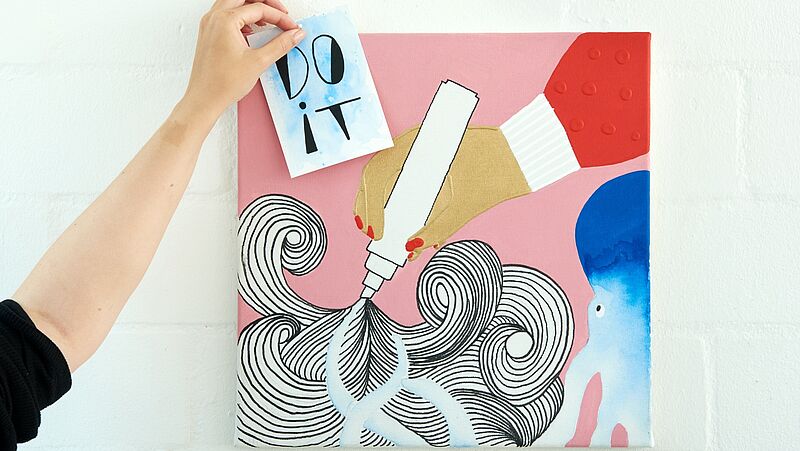
Step 8
Once the paper is dry, further decoration can be added using acrylic markers, such as the “DO IT” lettering shown here.
Products and materials


Other materials
- Terracotta or ceramic vase
- Wooden candle holder
- Smooth pebbles
- Paintbrush and tumbler
- Pencil
- Template for the canvas
Templates

Canvas marker
Related ideas

Create your own concrete look
Unique upcycled bedside table

Upcycling idea for an old chest of drawers
A stylish new look for planters

Placemat upcycling idea
A stylish addition for your dinner table

Your very own designer side table
Create an eye-catching piece of furniture with this fun upcycling project
Repair scratches in your wooden floor
DIY hack: the simple way to get rid of dents and scratches
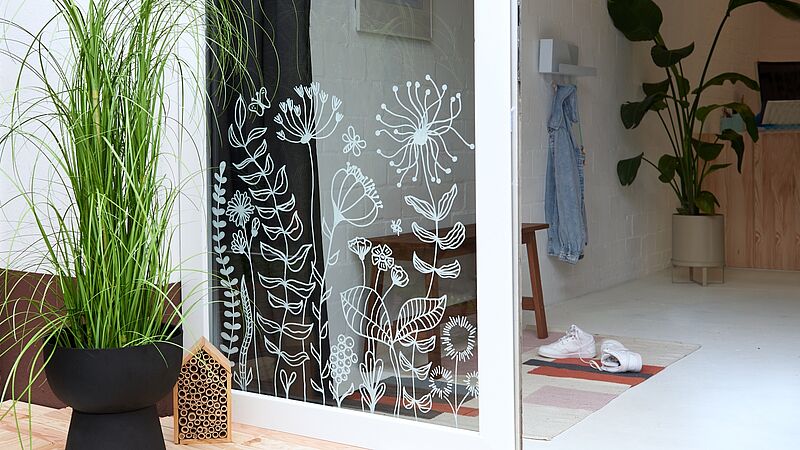
Magical flowers on your window
Decorate your windows and glass doors with striking floral designs
Creative Newsletter
Subscribe to our newsletter, and we’ll send you inspirational and creative DIY ideas, along with details of our latest products and special offers.