
Step-by-step
Step 1
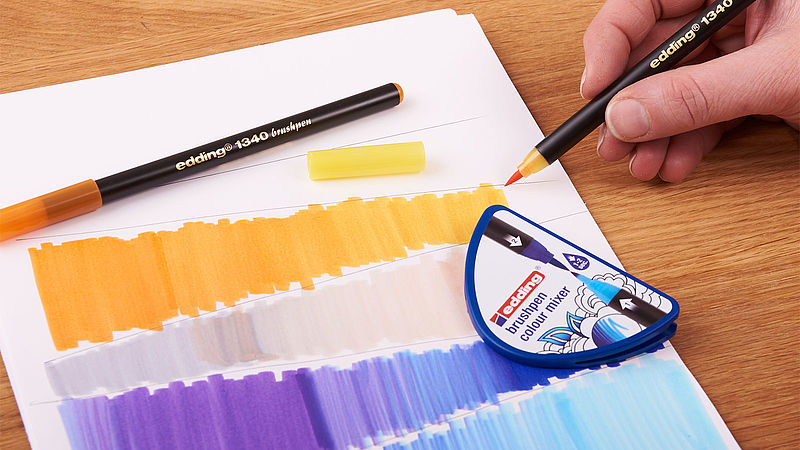
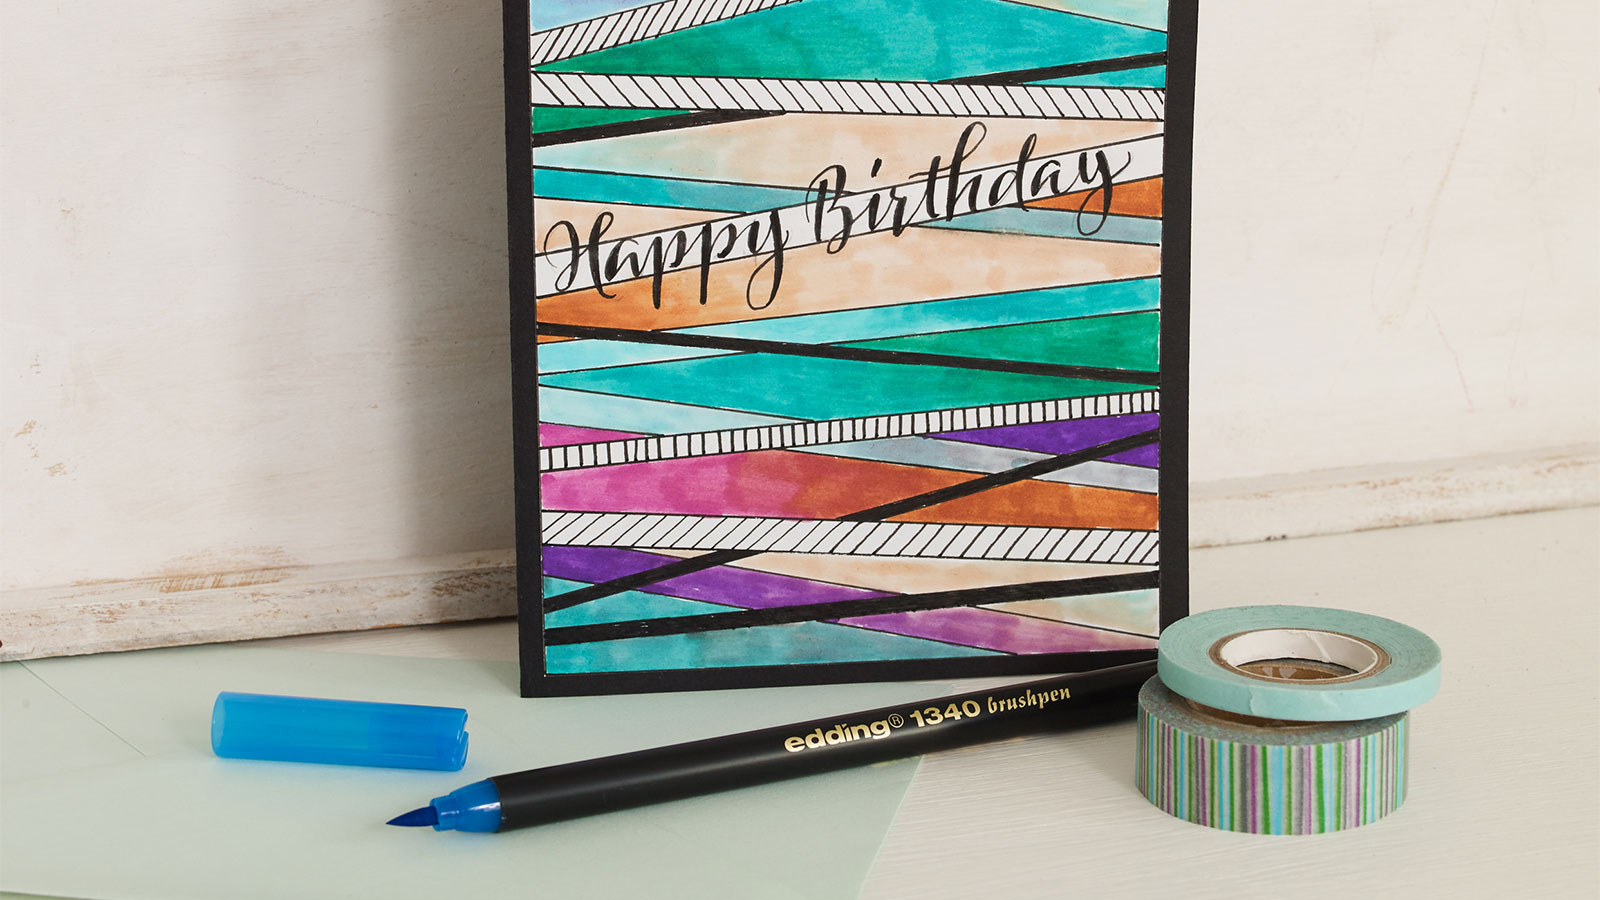
First of all, use a pencil and ruler to mark out triangular-shaped strips on a sheet of paper. Next, colour them in using the edding 1340 brushpens and colour mixer.
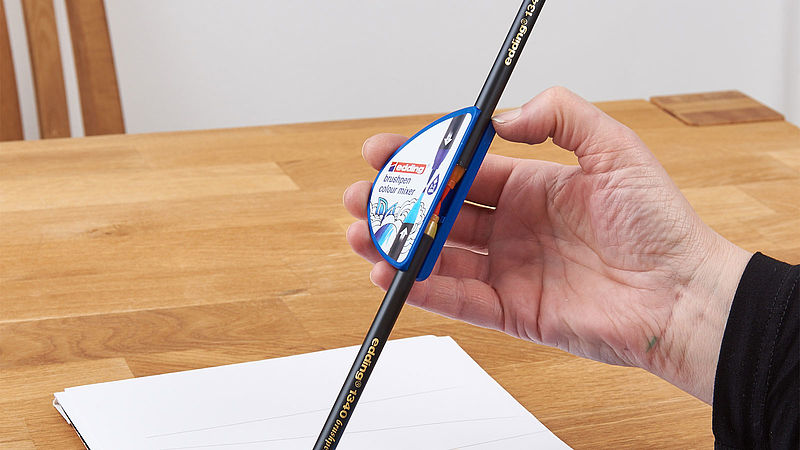
This is where the Colour Mixer comes into its own; you will need at least two brushpens for each colour gradient. Let’s say you want to make an orange-yellow gradient: insert the orange pen in the top of the colour Mixer and the yellow pen in the bottom, making sure the pen tips are touching. Hold the pens vertically and wait 1-2 seconds.
Step 2
The yellow brushpen will have absorbed orange ink which means you’re now ready to start drawing. The line you draw will be deep orange at first and will gradually change to yellow. You can repeat this process as often as you like with any of the colours. Try out a range of different colour combinations to achieve a bright and colourful result.

Step 3
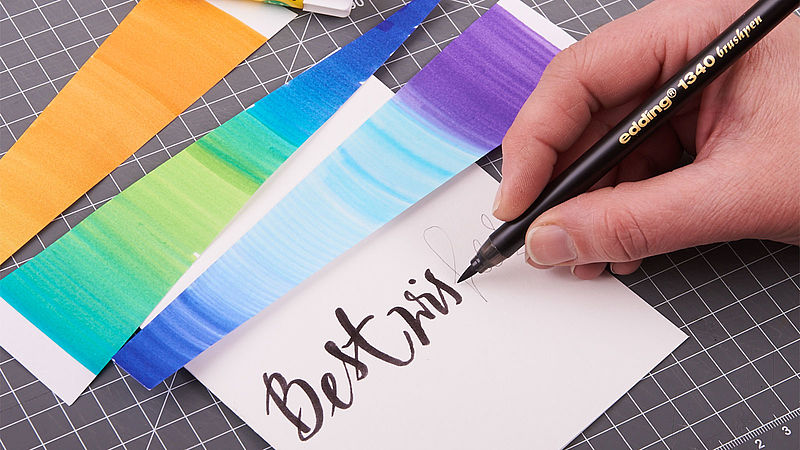
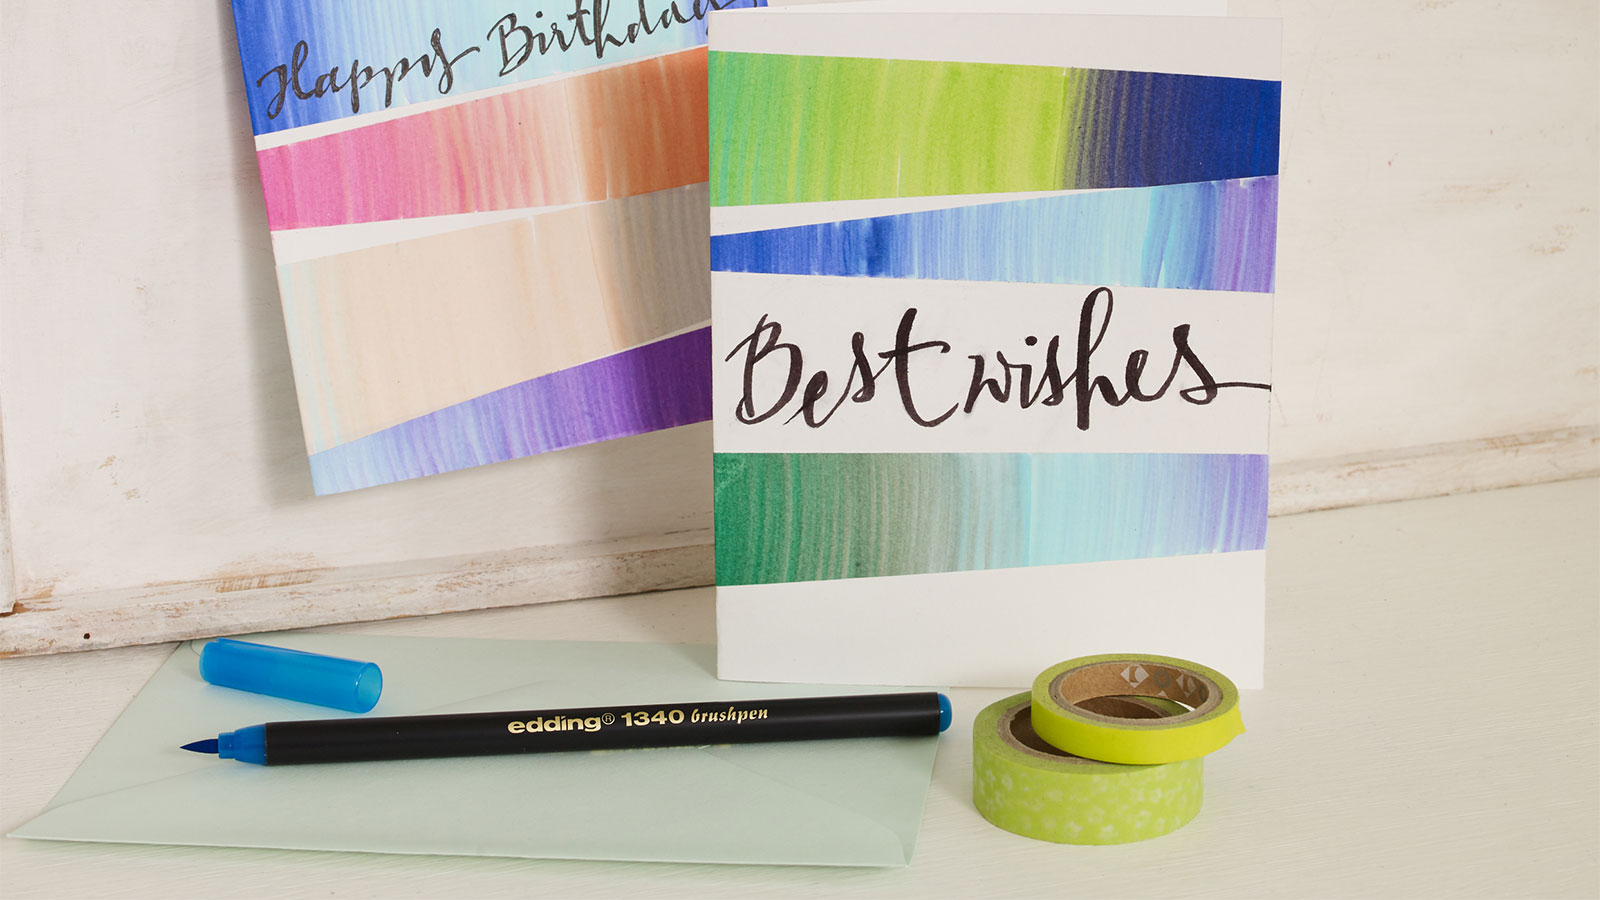
To make the card, fold a sheet of paper in half. Cut out the coloured strips, arrange them neatly on the card and glue them in place. Leave a blank strip in the centre for your hand-written message.
Step 4
Use the tip of the brushpen to give real expression to your greeting by varying the stroke width.
Products and materials


Other materials
- Several sheets of paper
- Pencil, scissors or craft knife, ruler, glue (e.g. UHU stic)
Additional images
Related ideas
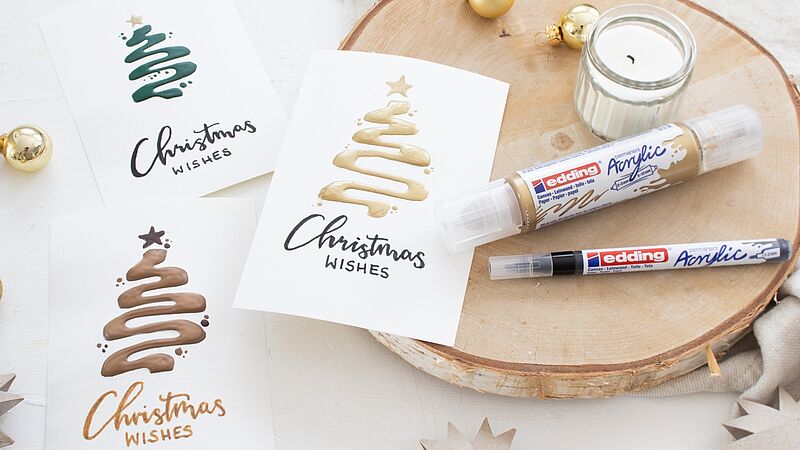
Easy-peasy season’s greetings
Creatively designed Christmas cards
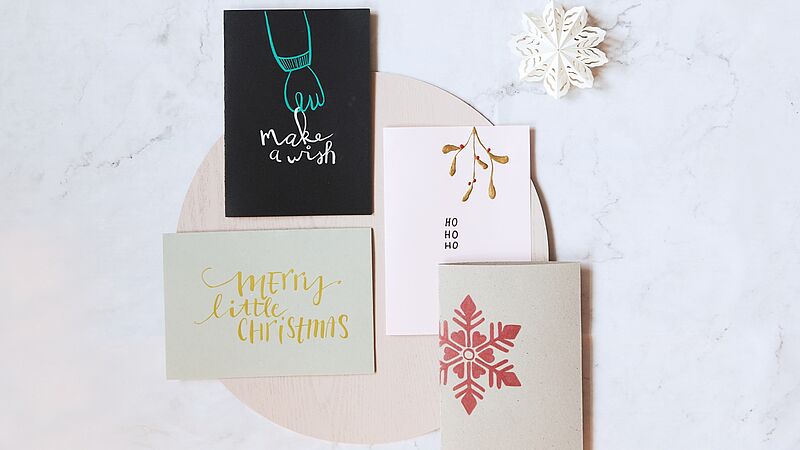
Christmas post with added sparkle
Eye-catching cards for your nearest and dearest
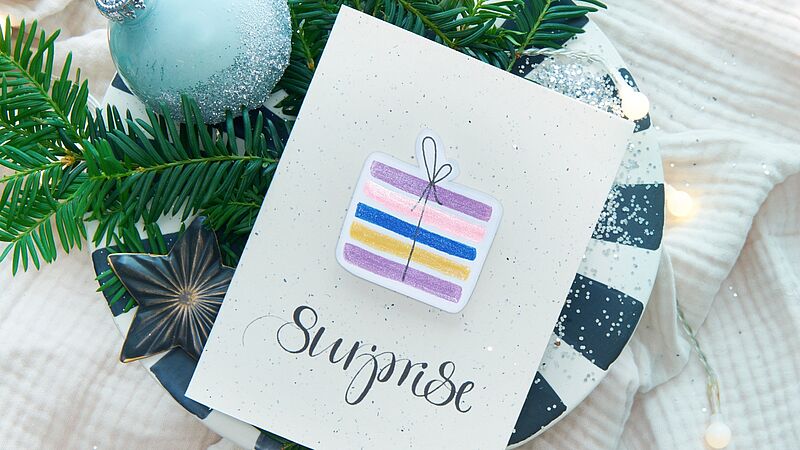
Surprise!
Glitter card with the wow factor
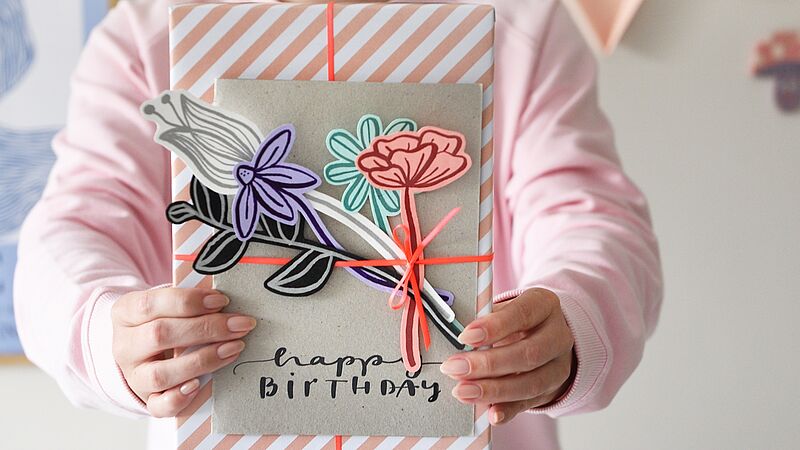
Birthday card
… with a floral decoration guaranteed not to wilt!
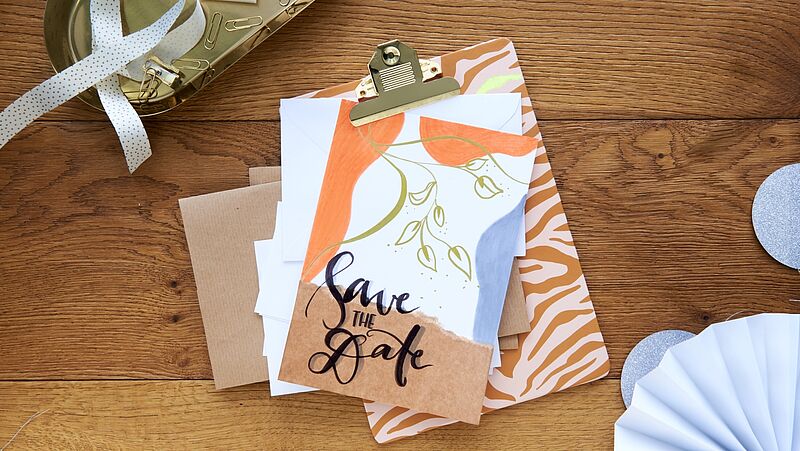
Save-the-date card
Highly effective decoration

Happy Birthday!!
Shiny metallic shades for eye-catching birthday cards
Creative Newsletter
Subscribe to our newsletter, and we’ll send you inspirational and creative DIY ideas, along with details of our latest products and special offers.