
Step-by-step
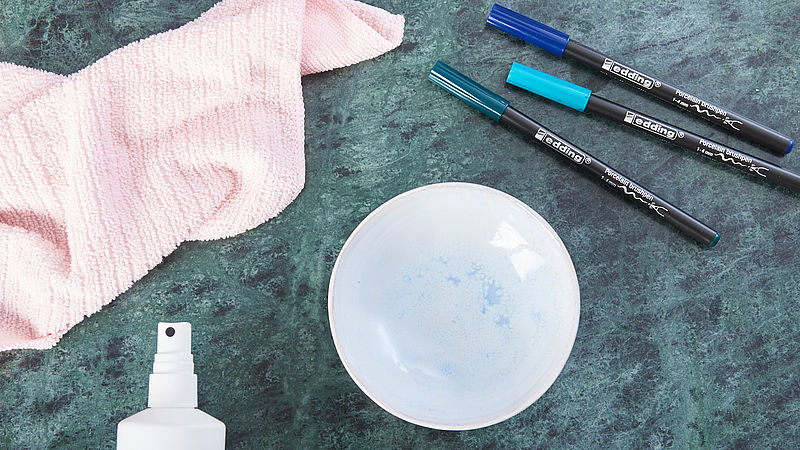
Step 1
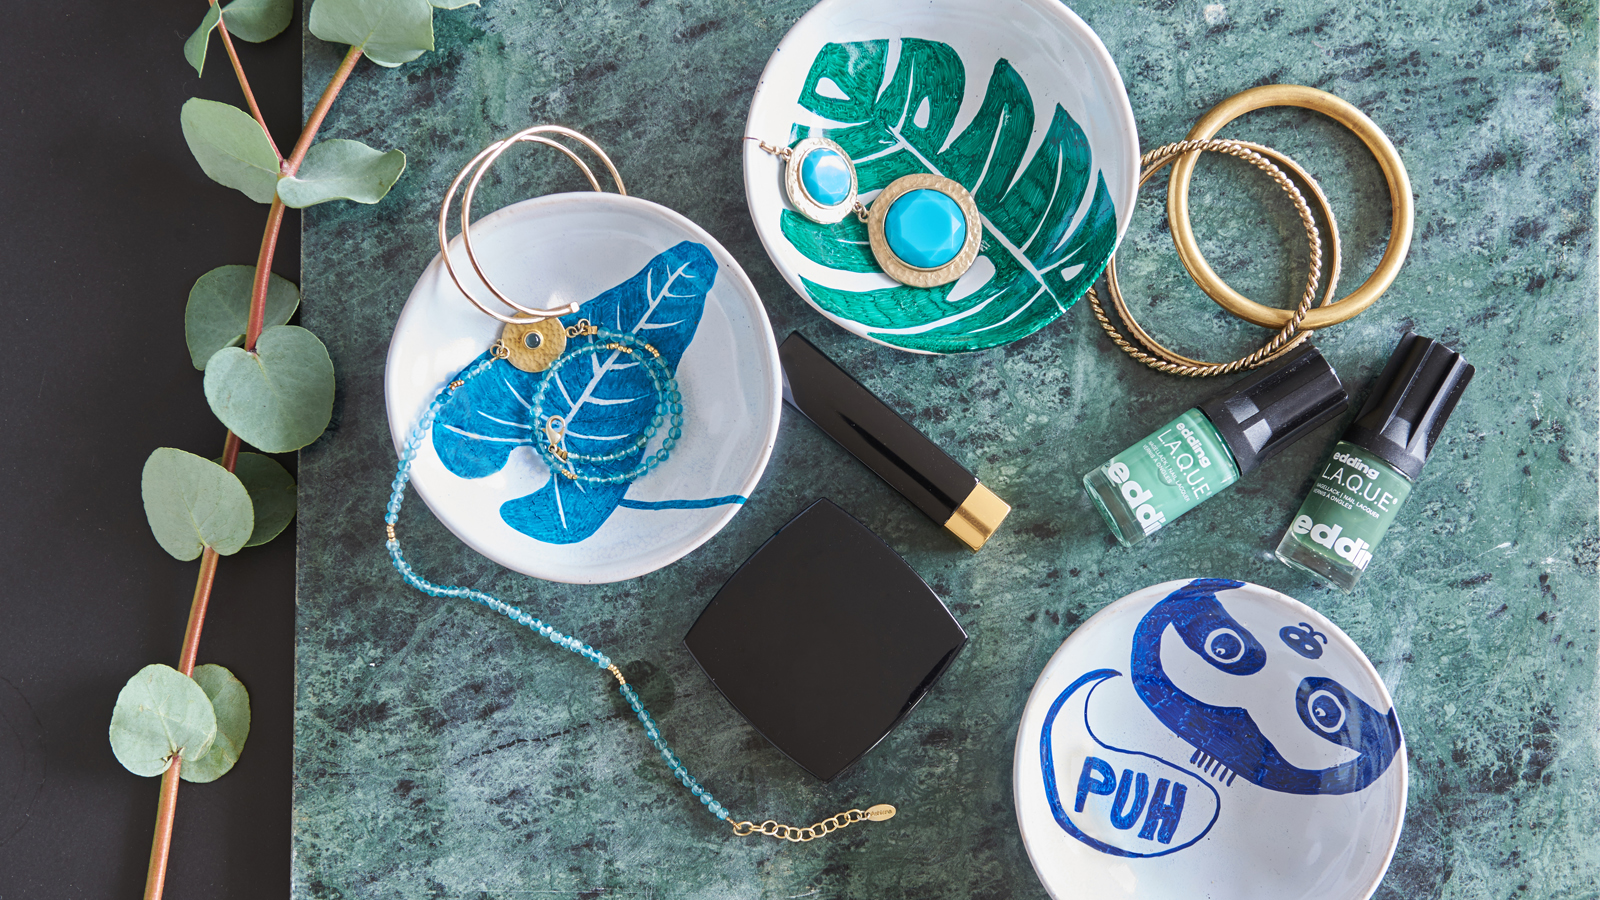
Make sure you have all your materials to hand before you start. You can see everything you need at a glance in our photo. The pen colours we’ve chosen are light blue (colour 010) steel blue (017) and blue (003).
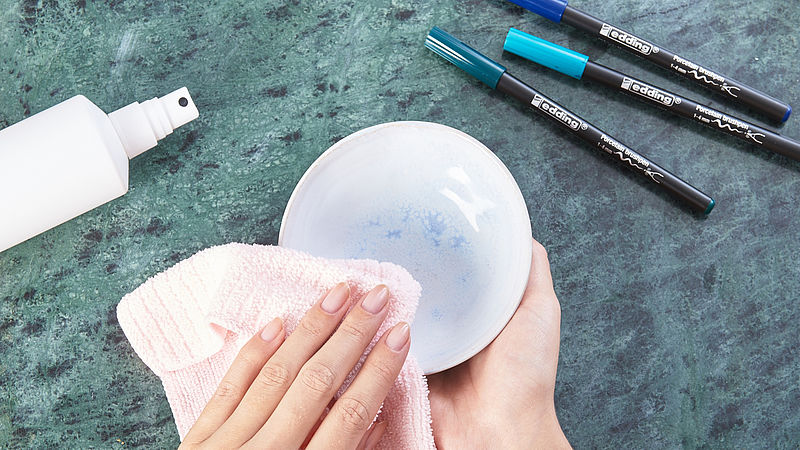
Step 2
For best results, first clean the bowls with water (ideally in a dishwasher) and wipe them over with methylated spirits.
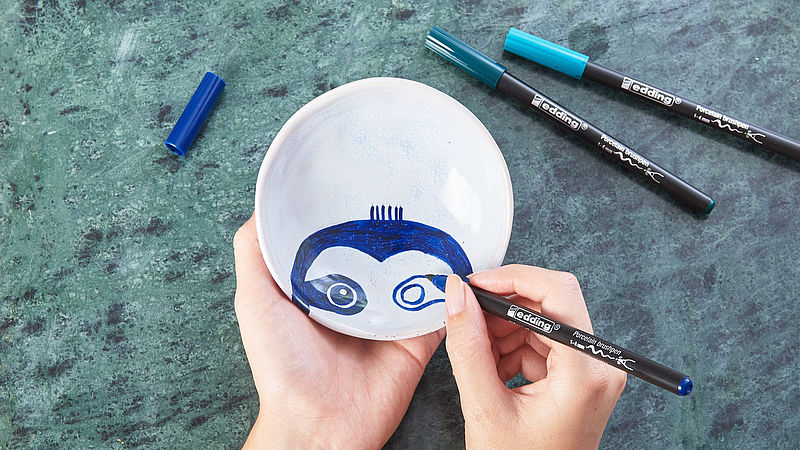
Step 3
The tip of the brush pen is highly versatile, allowing you to create very fine lines by applying the tip only, or broader brush strokes by holding the pen flatter. If you make a mistake, it’s no problem - simply wipe it off with a damp cloth or cotton bud.
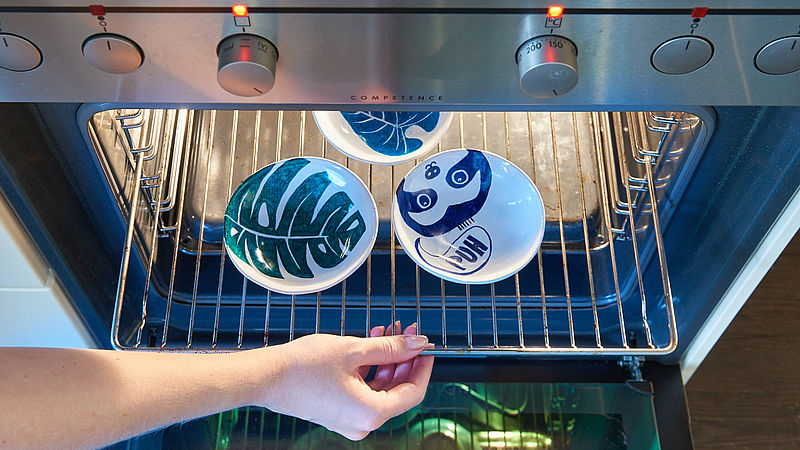
Step 4
When you’ve finished painting, leave the bowl to dry for 15 minutes. The design now has to be fixed in the oven. Place it on a cold oven rack, slide it into the preheated oven and bake it at 160°C for 25 minutes. Leave in the oven to cool afterwards. After baking, the bowls will be dishwasher-safe.
Products and materials

Other materials
- Small, light-coloured bowls made of porcelain or ovenproof ceramic
- Water and methylated spirits for initial cleaning
- Cotton buds and a damp cloth for making corrections
- A conventional oven
Additional images
Related ideas

From old plates to stylish wall art
Upcycling idea for gran’s old porcelain

Handmade wine labels
Beautifully designed wine labels - idea for Father's Day
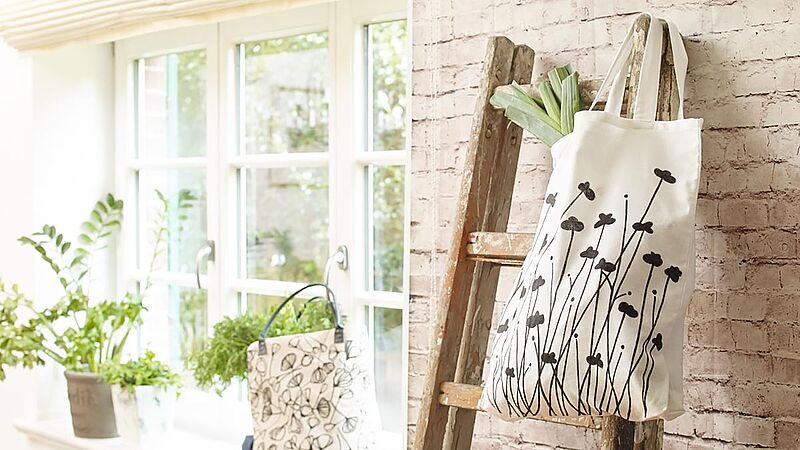
DIY shopping bags
Trendy bag designs – the easy way
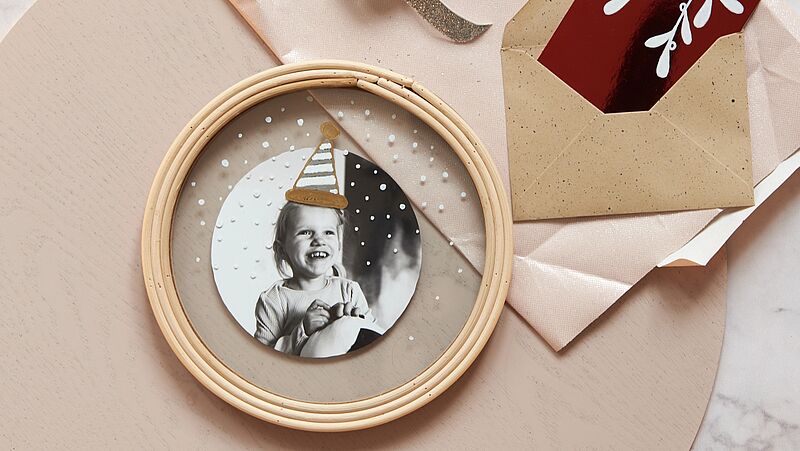
Photo styling
Design your own photo gifts with ease
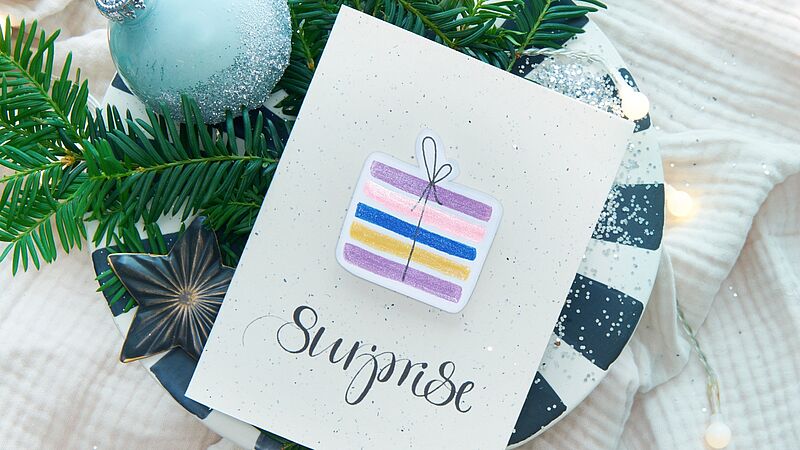
Surprise!
Glitter card with the wow factor

For magical moments
A glittery look for your party
Creative Newsletter
Subscribe to our newsletter, and we’ll send you inspirational and creative DIY ideas, along with details of our latest products and special offers.